
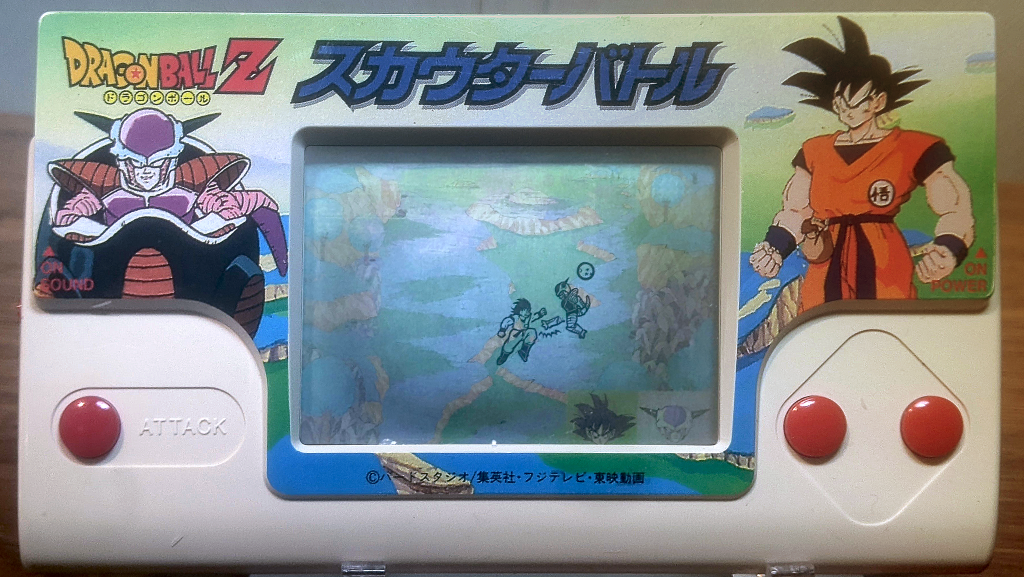
Bandai Pocket Club was a series of LCD games released in Japan. They released at least 100 different versions, each featuring different intellectual properties. To name a few: Hello Kitty, Ultraman, Gundam, Kamen Rider, Dragon Ball, etc. This one, in particular, had an interesting gimmick.
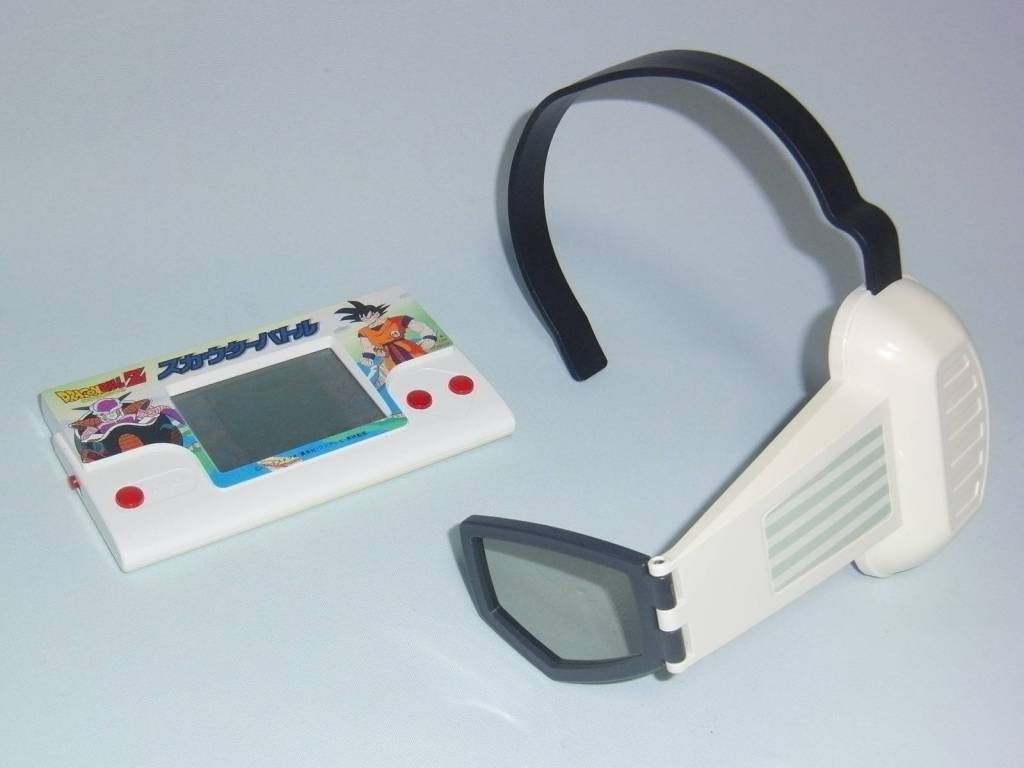
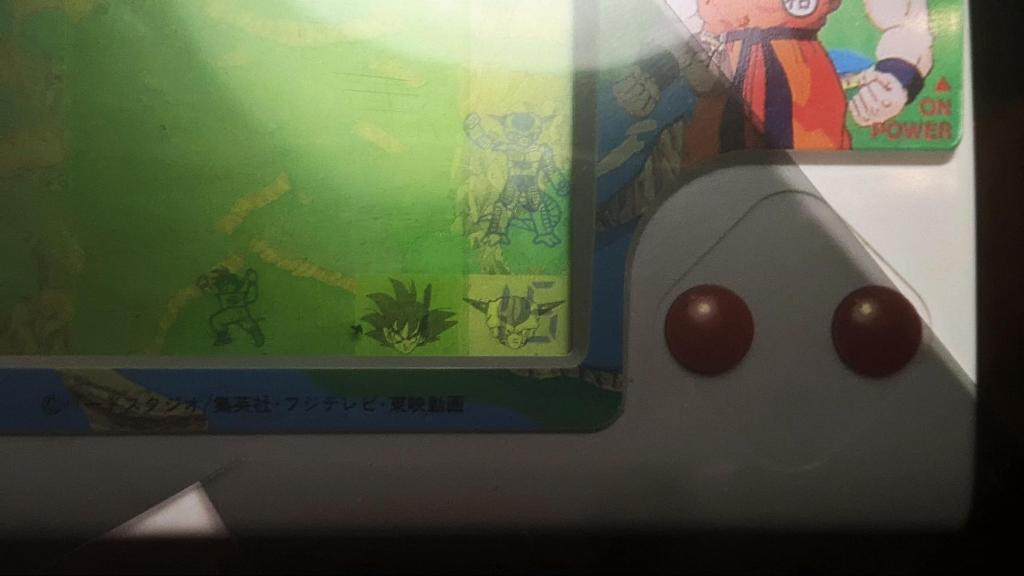
A section of the screen was ‘hidden’ from the player unless they wore a scouter (which was included). The scouter would allow the player to view more of the screen, revealing Frieza’s health and two possible locations.
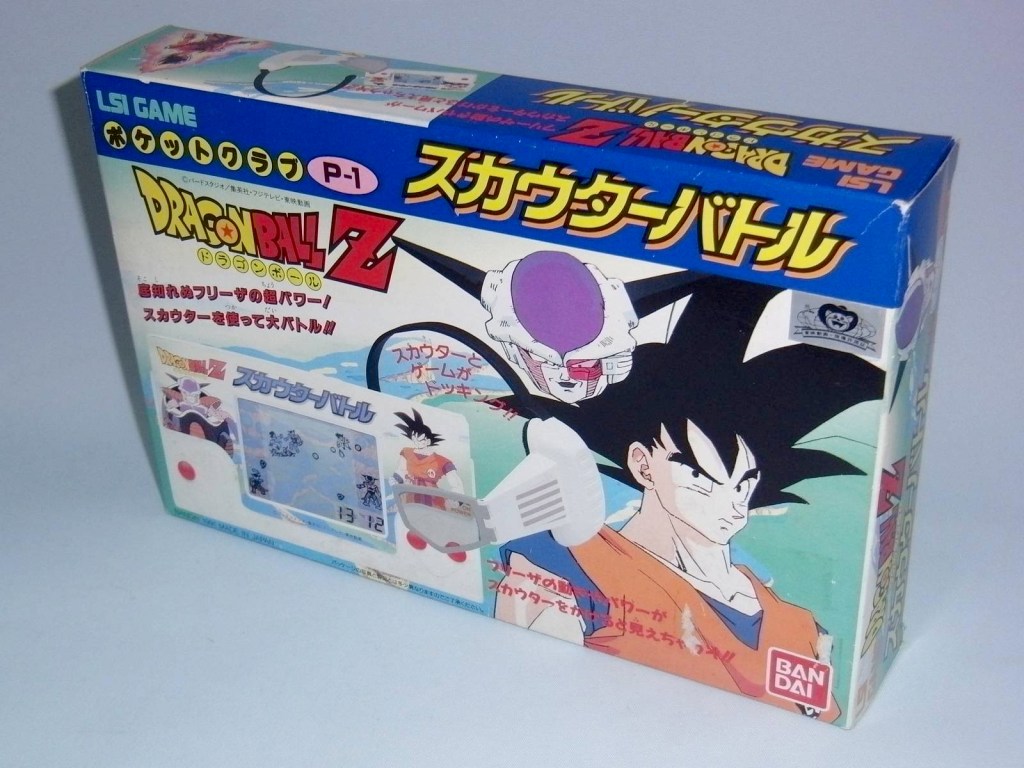
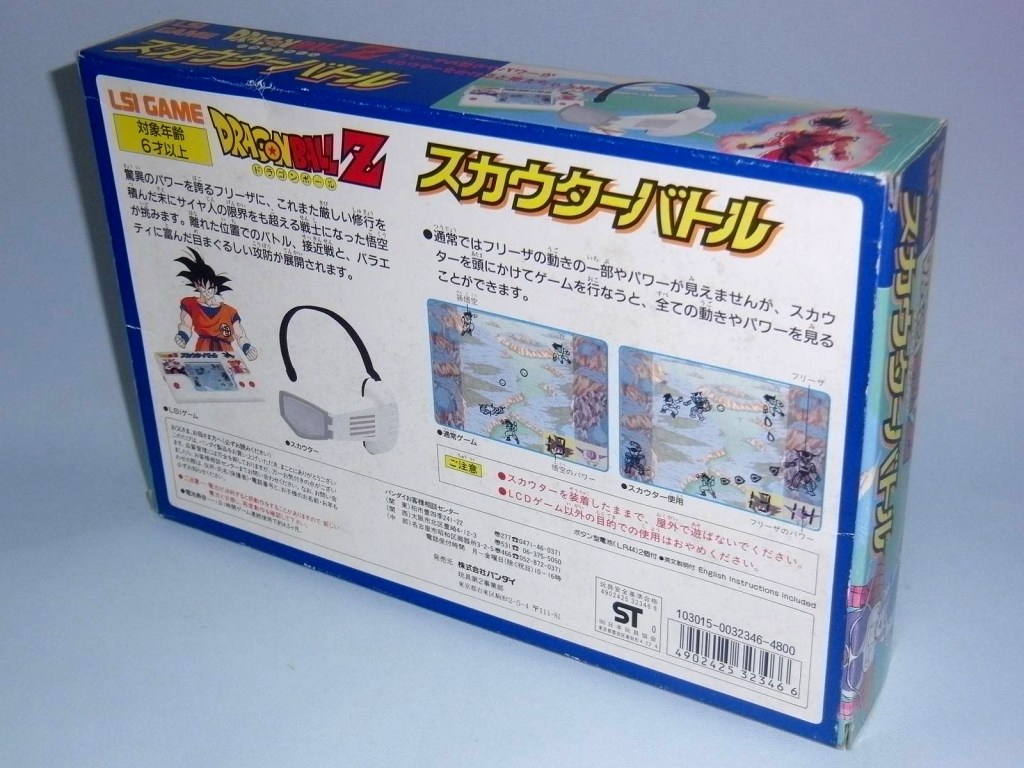
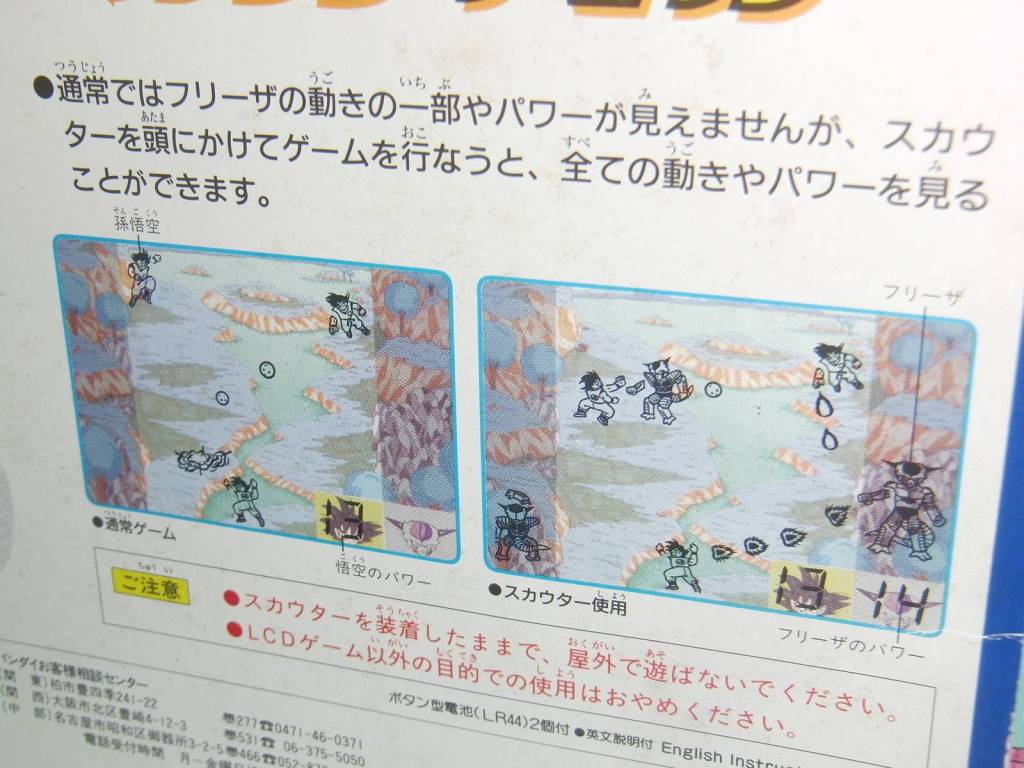
The box says its best, “Normally, you can’t see some of Freeza’s movements and powers, but if you play the game with the scouter on your head, you can see all of his movements and powers.”
Images provided by: http://pekindbz.blog90.fc2.com/blog-entry-1090.html
The left image on the box shows the display as ‘Normal Game,’ while the right shows ‘Scouter Use.’ I found it interesting that there was a bright yellow box with the word ‘Caution,’ while the text in red says, ‘Do not play outdoors with the scouter on.’ Why?
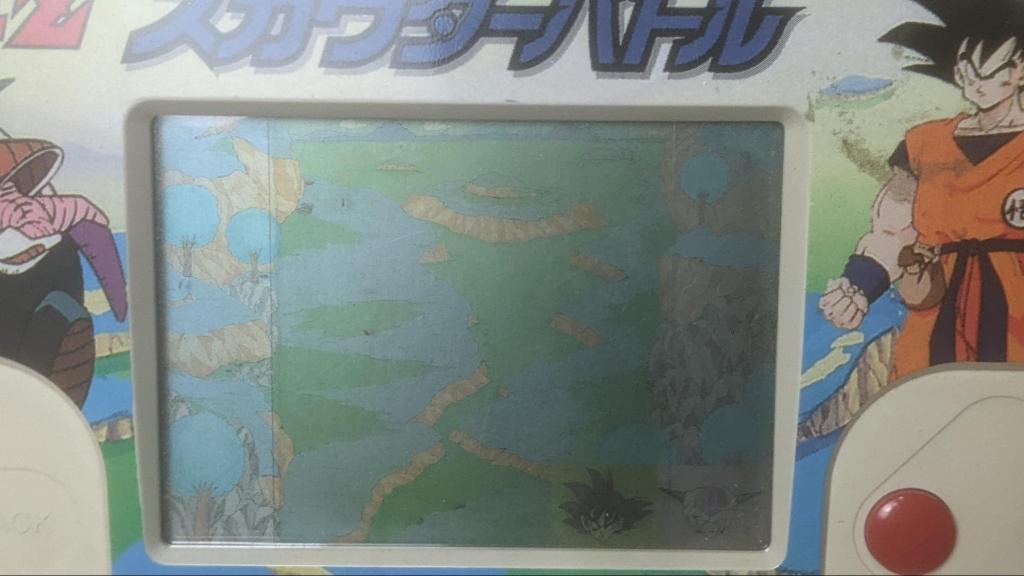
Sadly, I didn’t get the scouter with mine, and the device won’t turn on. So, I decided to take it apart, fix it, and make the game fully playable without a scouter. You can see in the image above that the center part of the LCD screen has a slightly greener tone. I figured that only the center of the LCD was polarized, making only the center viewable. The scouter, being a polarizer itself, allowed the ‘un-polarized’ portions of the screen to become visible.

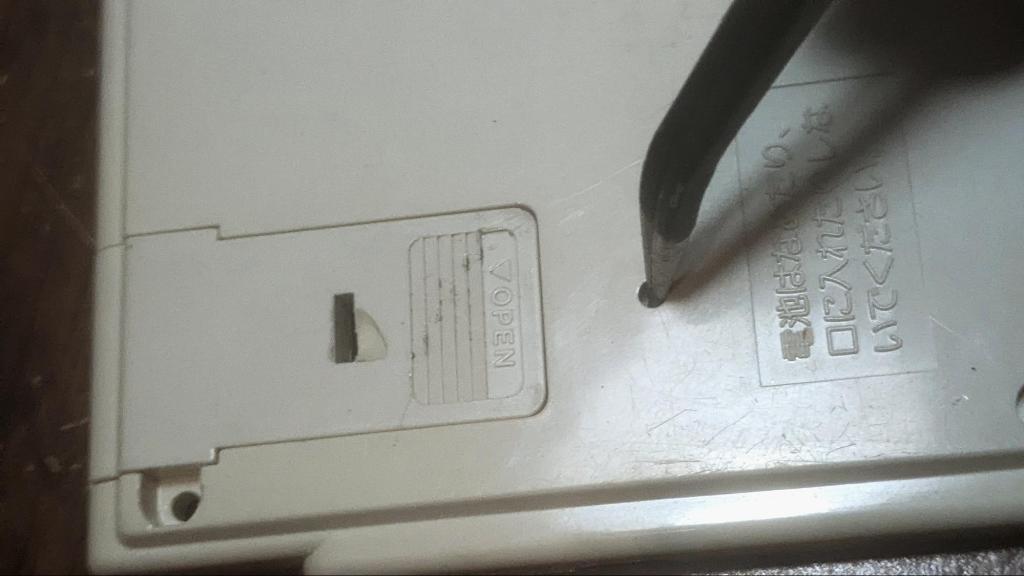
But before I try any polarizer film tricks, I need to get the thing working. The first step was to replace the coin batteries. The Yahoo auction listing warned me that the battery tray was stuck, but all you have to do is release a latch via the small hole beside the battery tray. I thought maybe the Japanese text near the hole would be instructions for the battery latch, but it just tells the reader not to lick or eat batteries. A useful tip, but for anyone trying to remove the tray.
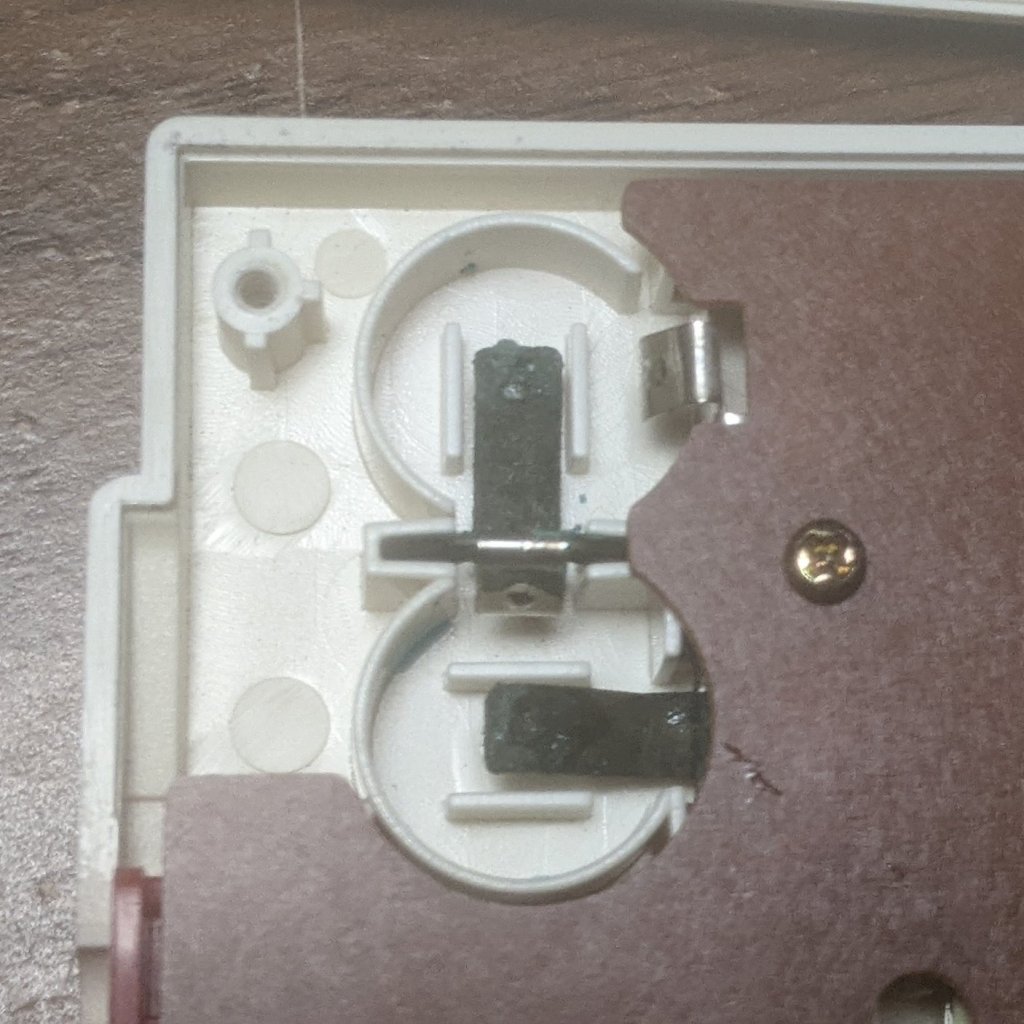
The batteries were ancient and leaking, which caused corrosion on the battery terminals. Once that was fixed, I still couldn’t get the device to power on.
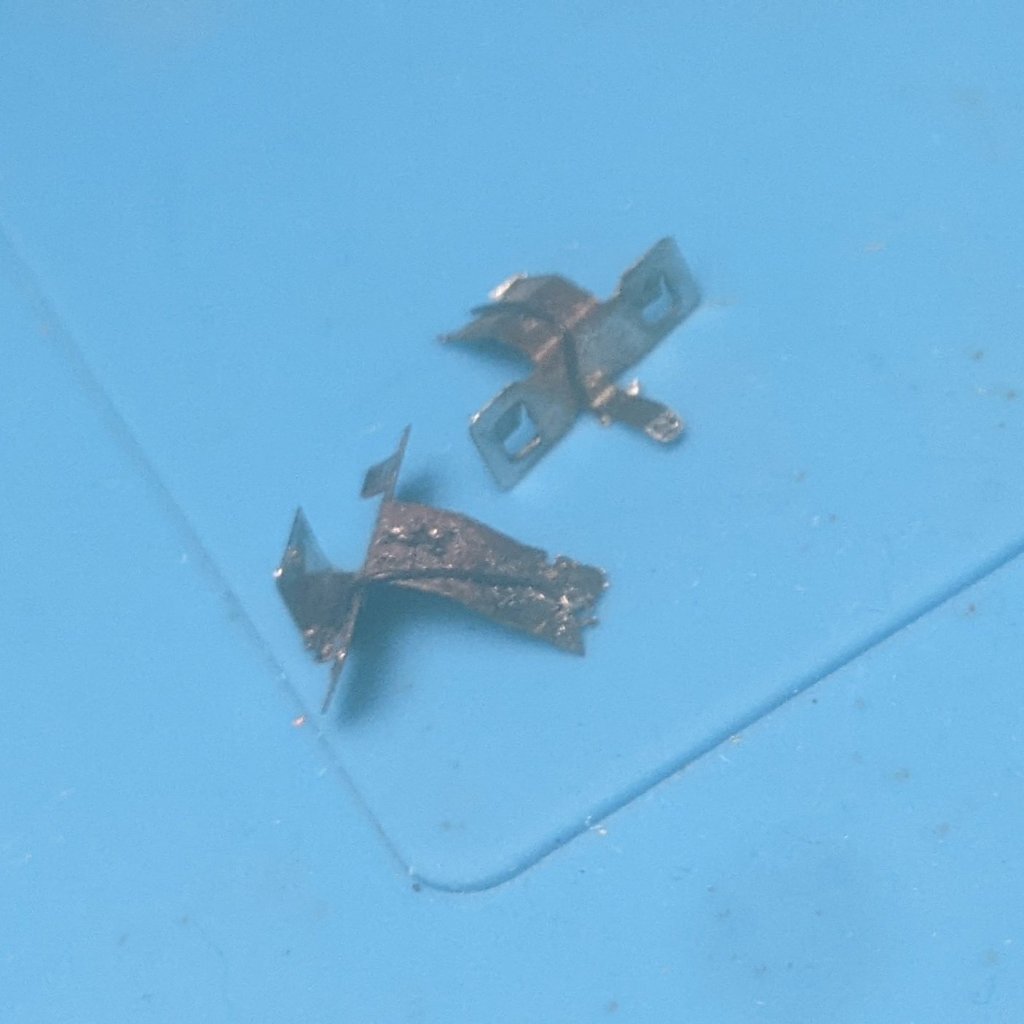
After a short troubleshooting session, I found that the power switch was worn out. The switch had a simple design and would easily suffer from metal fatigue after repeated use.
I flexed the metal into a more severe ‘U’ shape, which gave the switch proper contact with the PCB. This fixed the no-power issue, but now I wasn’t getting any sound. The sound ‘on/off’ switch had a similar design, so I did the same thing—flexing the metal back into shape.
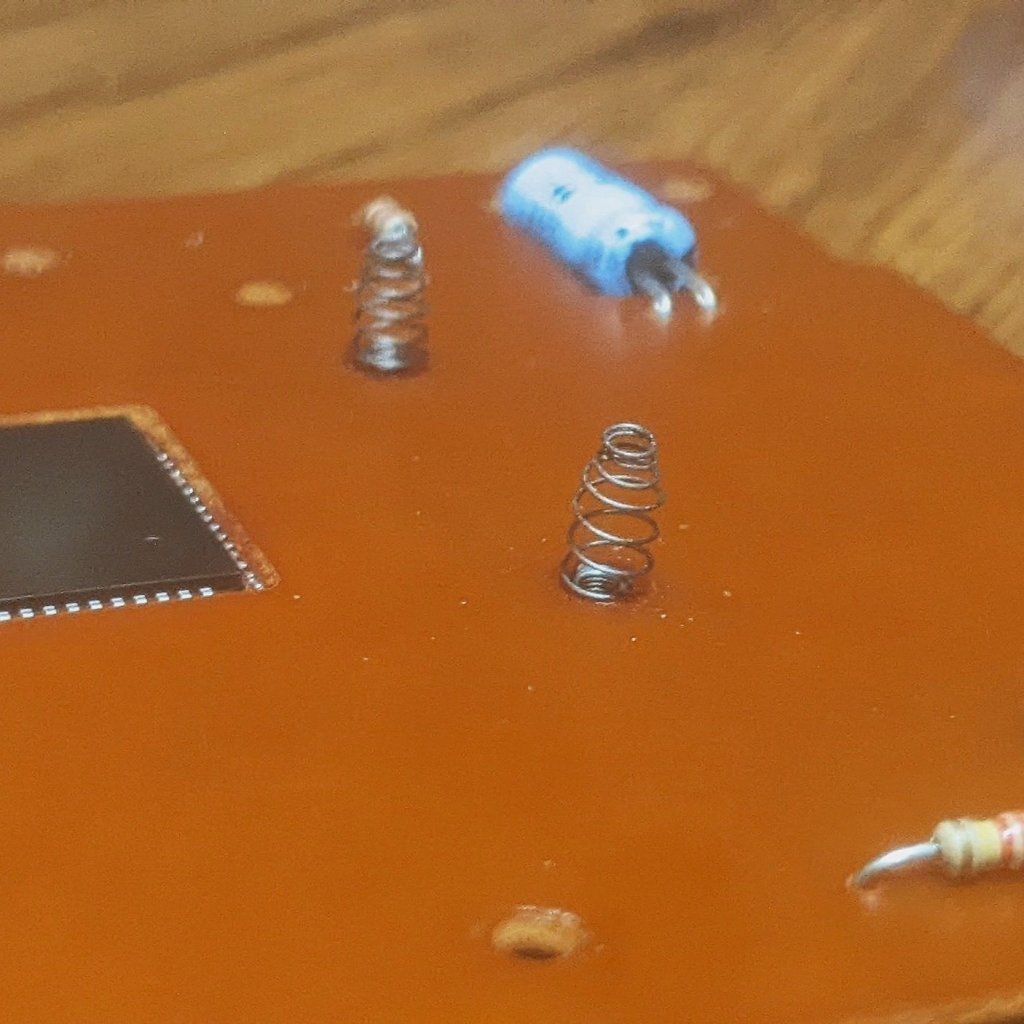
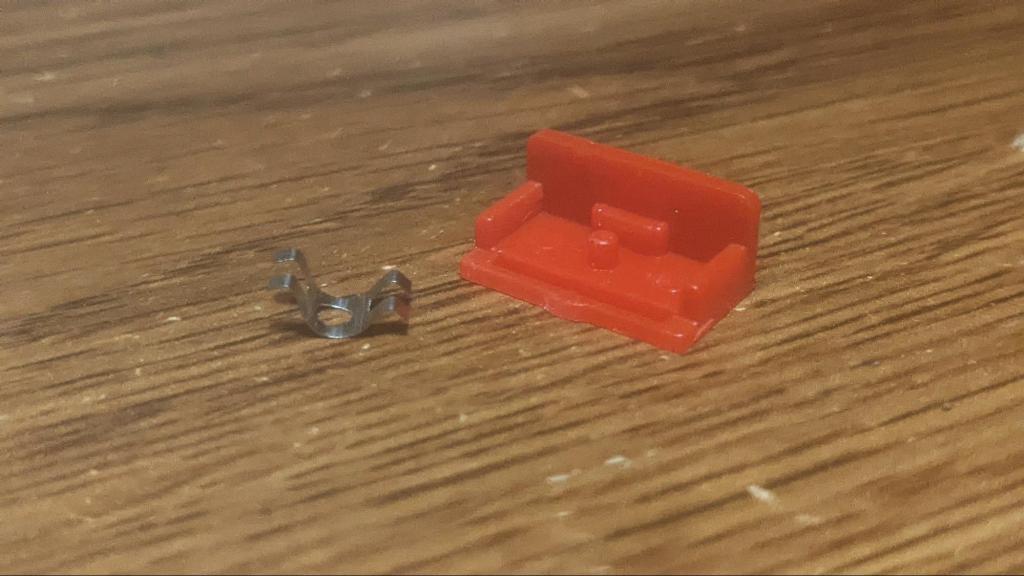
The speaker is located on the rear part of the plastic shell and makes contact with the PCB via springs. I extended the two springs to give them better contact with the speaker. After adjusting the springs, I was able to get sound!
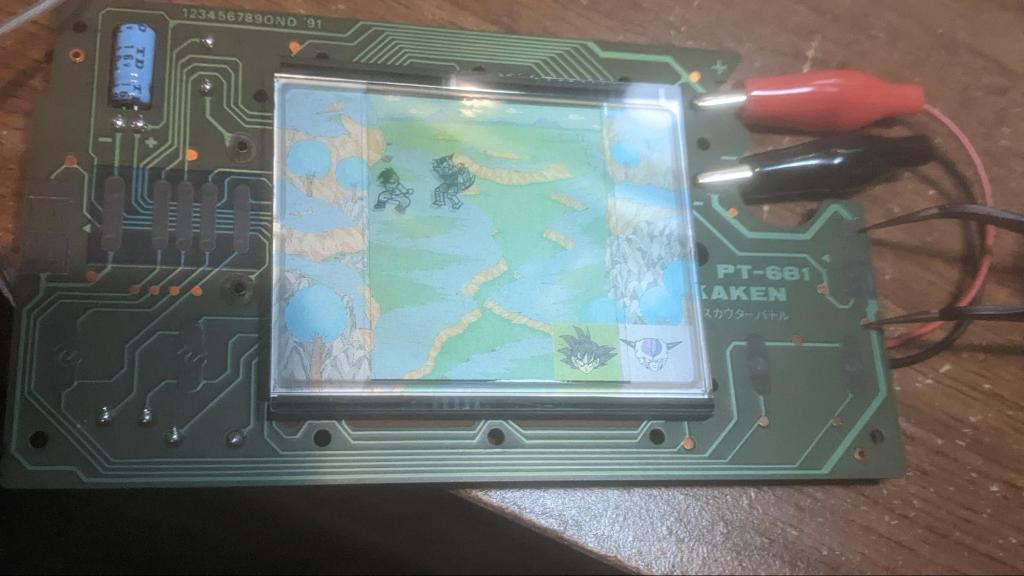
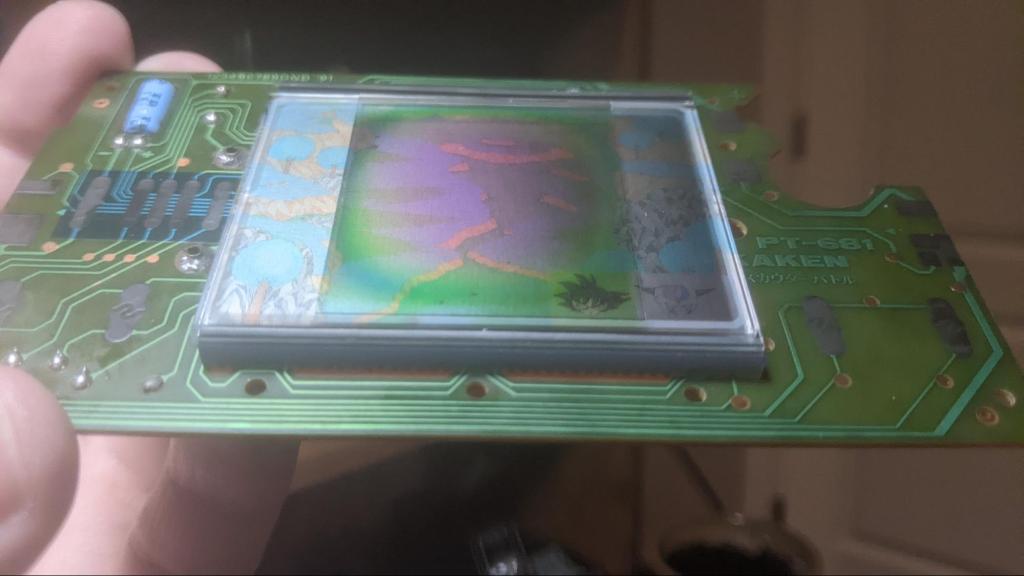
In the image above, I laid some polarizer film over the LCD display, revealing Frieza in one of his hidden locations and his health, which is displayed as 15.
The original polarizer wasn’t in good shape anyway and needed to be replaced regardless. I’m going to cut a large enough piece to cover the entire LCD screen, ‘unlocking’ the full game.
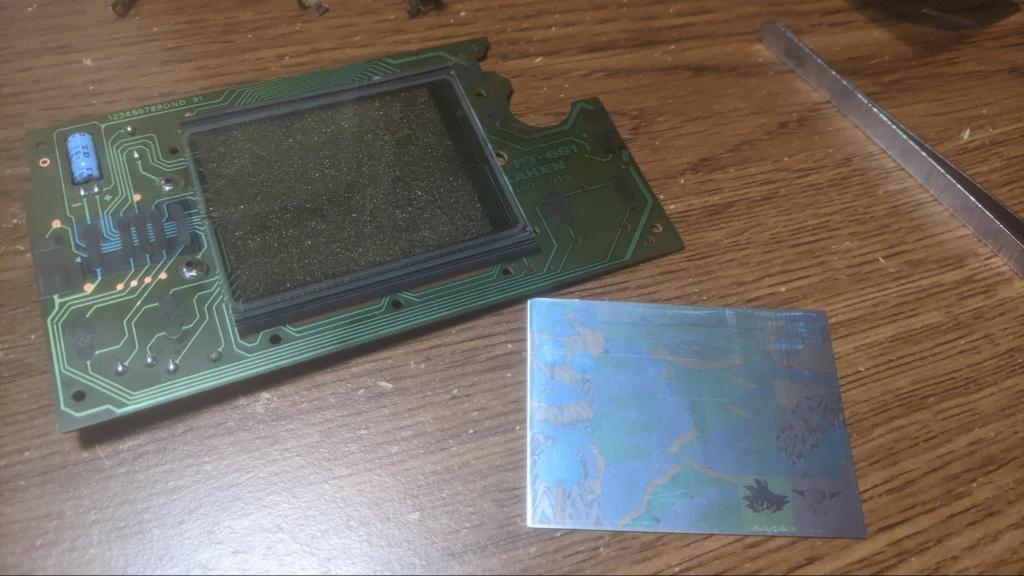
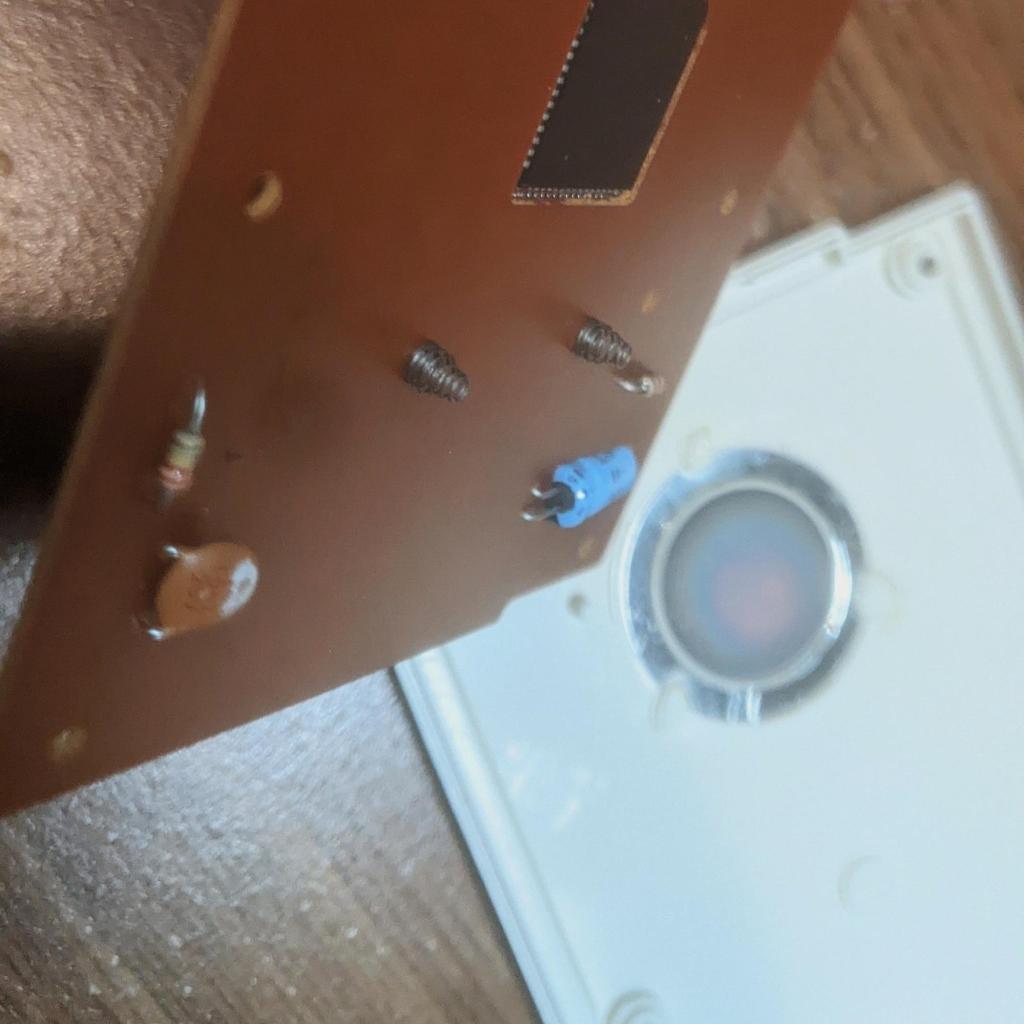
Here is the rear film section of the LCD. It was common in these LCD games to have a printed rear reflective film. The art on the back screen was part of the magic!
Sadly, the isopropyl alcohol I used to remove the residual glue left behind from the front polarizer made its way to the rear film and removed some of the ink. You can see the marks on the top left corner, on the trees. For future reference: remove the rear film before applying any alcohol.

No scouter needed.


Leave a comment