
There’s not much documented on the English-speaking internet about the PC9821 Cx3. Fortunately, the PC98 discord community as a whole is incredibly helpful. Without them, I’d have no chance of getting my Cx3 working like it is now. Maybe I’d have DOS with a few games, but certainly not a full setup with a Windows 95 and DOS dual boot, a working TV tuner, a MIDI sound module, the PC-FXGA (more on that in an upcoming post), and the dual floppy setup I’ll cover in this post.
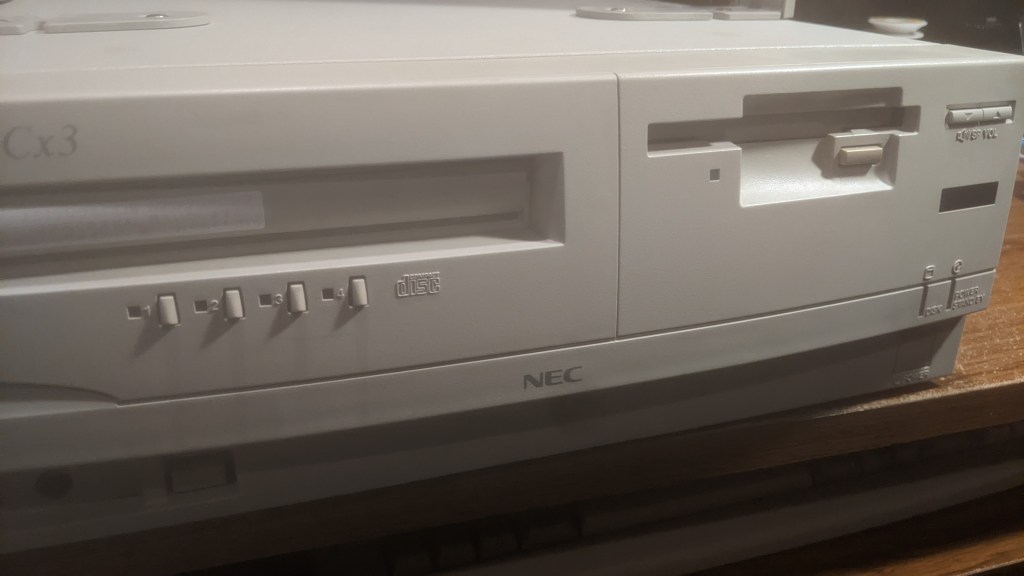
Many PC-98 models, including some in the Cx line, came with dual floppy drives. This setup allowed users to load the OS disk in one drive and run software from the other. However, by the time NEC released the Cx3, many models were beginning to ship with a single floppy drive and a hard drive. I assume this was because hard drives were becoming more affordable and practical.
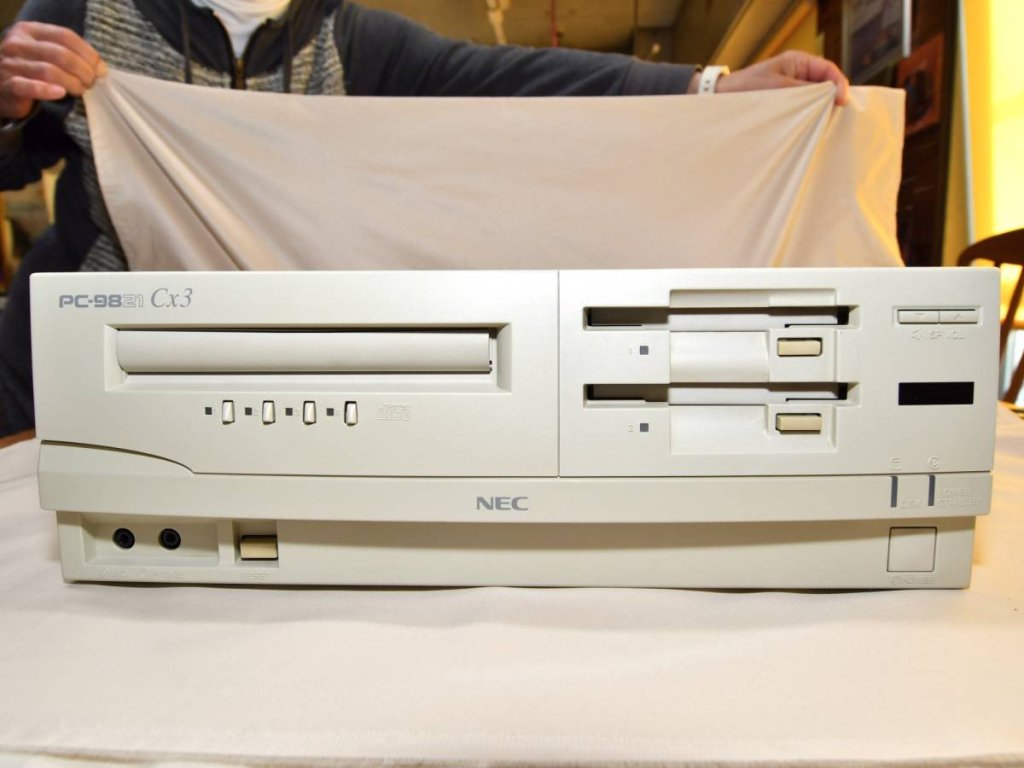
Dual-floppy Cx3s exist, but from what I can tell, the dual-floppy configuration was generally available only as a custom order rather than a standard retail option—making it as scarce as hen’s teeth. The one pictured above was an untested unit that sold at auction back in 2018 for ¥18,000 (approximately $117 USD). That’s nearly $60 more than my single-drive model, which was sold as tested and working, complete with a CRT monitor and matching speakers.
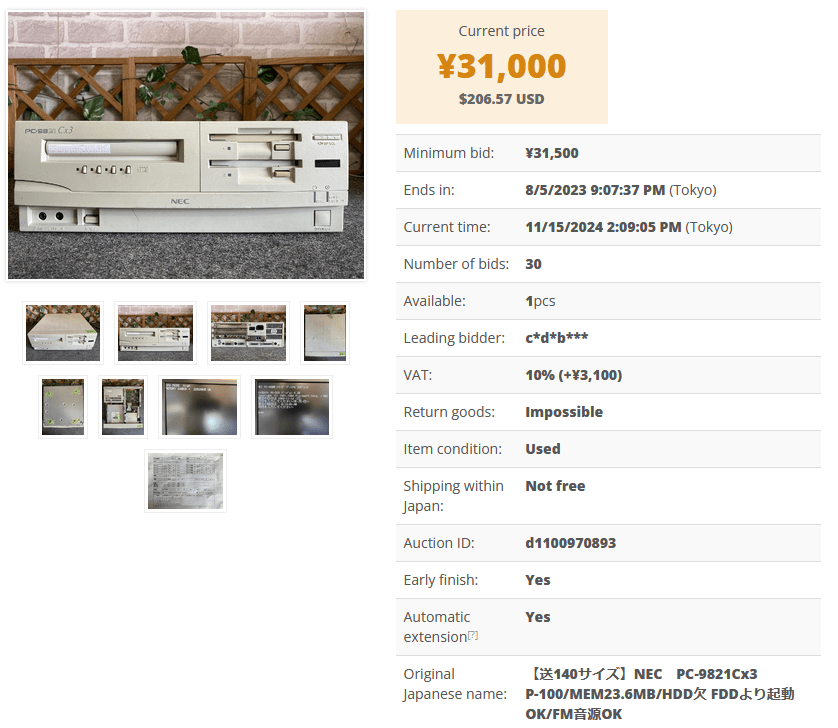
The prices for dual-floppy units weren’t getting any cheaper either. Last year (2023), a working Cx3 sold for ¥31,000. So, I figured the only reasonable way I’d get a dual-floppy setup was by buying a junked dual-drive Cx3. I had saved searches and was waiting for the right auction, but it never came. After a year, I assumed I’d never convert my lonely single jingle for under $200. Then, during a random late-night search, this listing popped up.
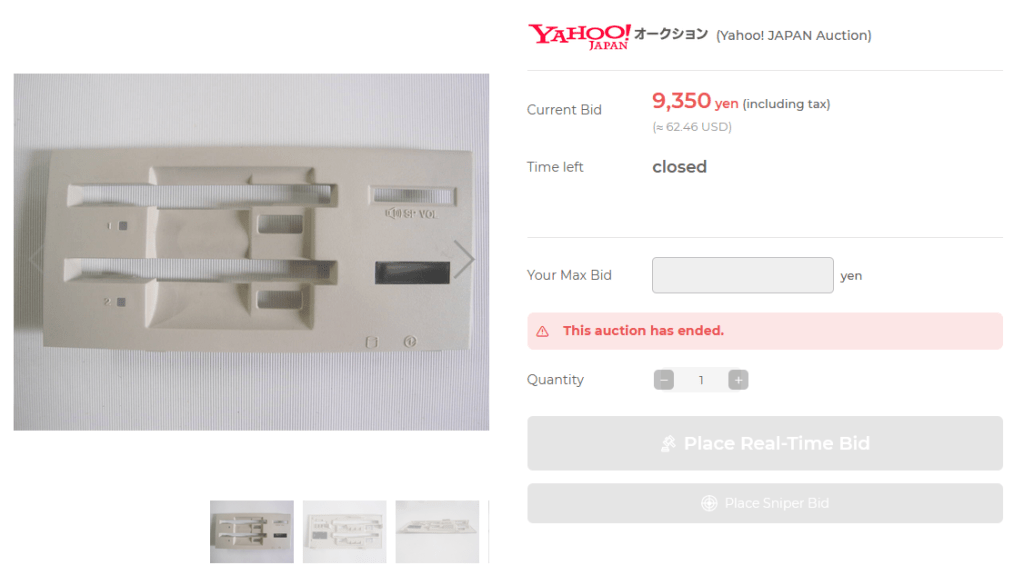
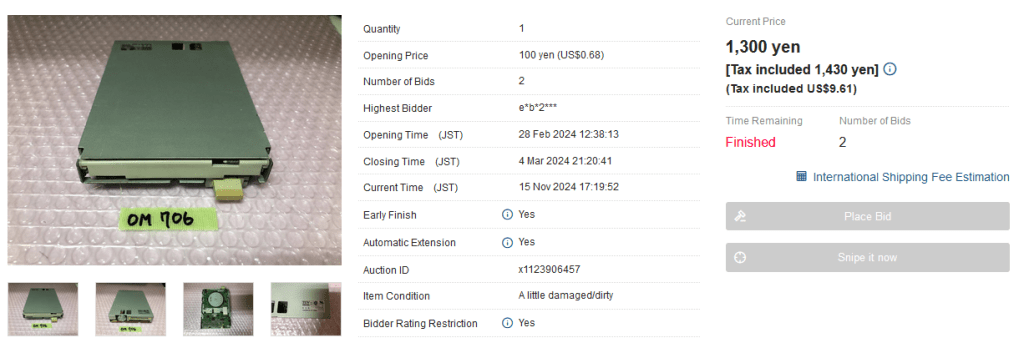
Did I overspend? You bet—but it was so worth it! The listing was for an “Unused NEC PC-9821Cx2/Cx3/Cx13 etc. 3.5-inch floppy disk drive cover for expansion.” In the description, the seller stated they weren’t sure what model it was for and even noted, “The condition of the product appears to be unused. However, it appears a little warped, which may be the original shape.” I was hoping that would discourage other bidders and improve my chances of avoiding a bidding war. Unfortunately, that didn’t happen.
With a total of 28 bids (which doesn’t sound like much but is significant for a PC-98 Cx3 part), I bet every Cx3 owner on the planet was competing for it. Of course, I’m joking, but I was thrilled to win and content with the price—not the best deal, but I was happy.
Interestingly, as I was writing this, I noticed a working Cx13 with dual floppies had sold for only $40. That would have been a better alternative, especially since it came with two drives already installed.
Speaking of drives, I needed to figure out how to get a compatible floppy for the Cx3. I had no idea what drive type I needed or what kind of IDE cable would work. Thankfully, the amazing people on the PC-98 Discord pointed me to the Japanese-speaking side of the internet, a treasure trove of PC-98 information. I’m so grateful translation software exists!

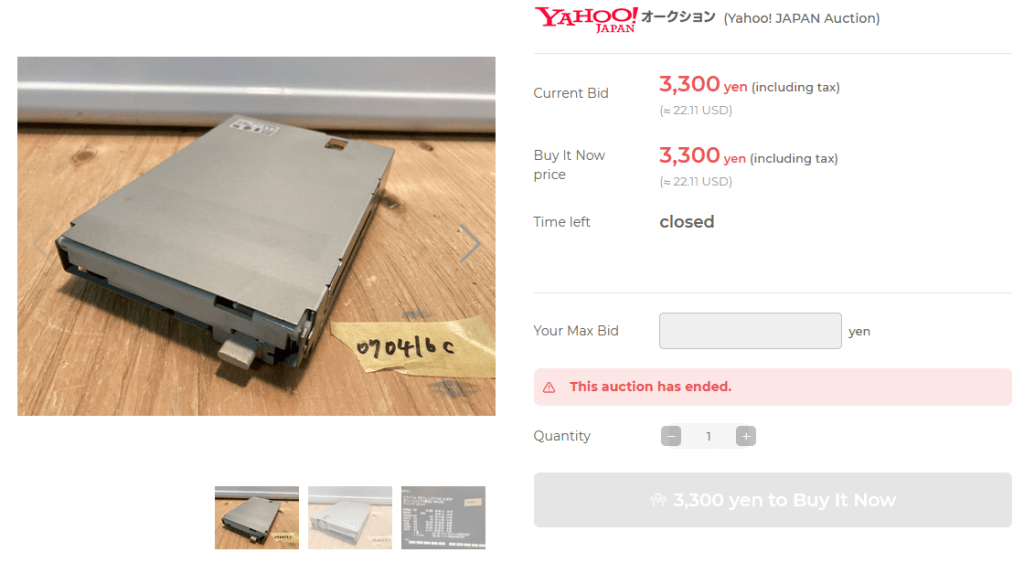
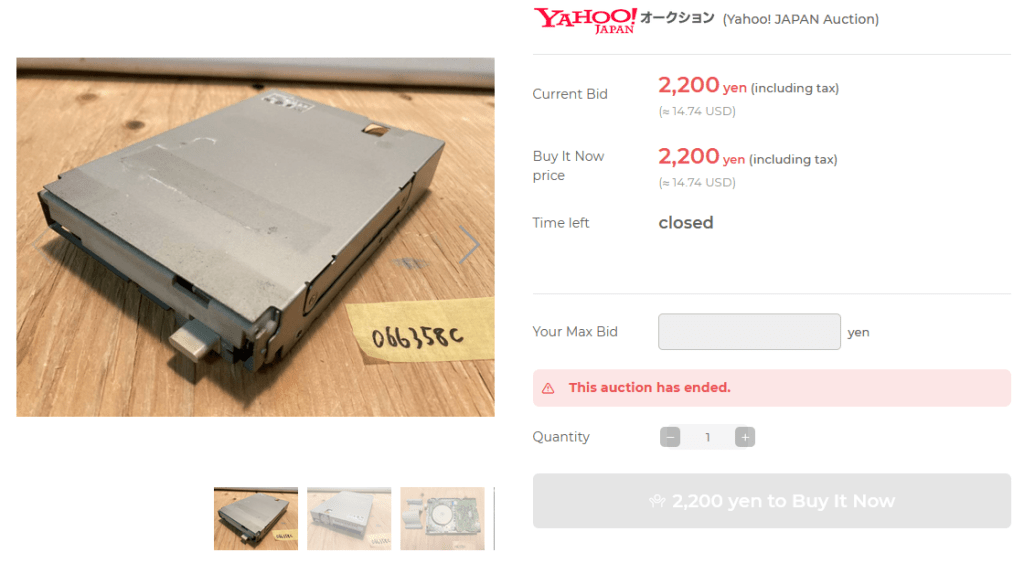

After spending a few hours on 98epjunk, I settled on the parts pictured above. Why four drives of two different types? Because I didn’t entirely know what I was doing. I was fairly confident everything would be compatible, but if I ran into an issue, I didn’t want to wait two months for replacement parts. The two OSDE-15G-U (E15G) drives were sold as working, while the other two, OSD-U (E26J) drives, were listed as untested. I knew the E26J was the model that came with the Cx3 from the factory, but thanks to the information I found online, I also knew the E15G drives were compatible with my setup.
I was even confident I could swap the E15G’s oval eject buttons with the square buttons from my E26Js, which is essential to match the Cx3 aesthetic!
As for the cable, I was pretty sure it would work since the listing stated it was for E15G drives, but I couldn’t confirm the exact details from the pictures. Fortunately, I had a good idea of what it should look like thanks to the amazing resource that is 98epjunk. There’s no way I could have figured this out without it!
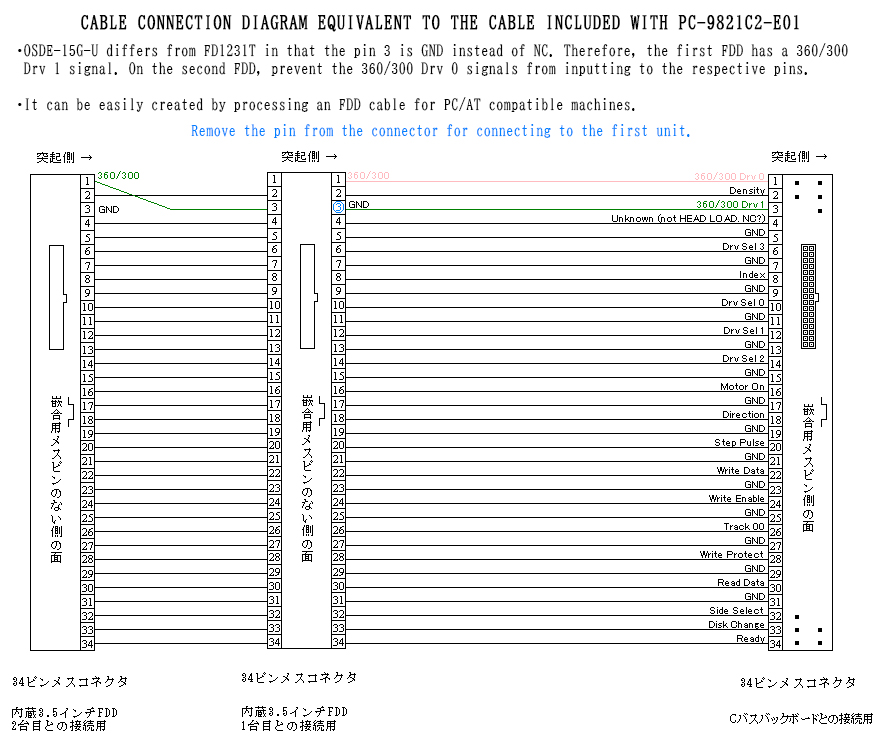
Here is a diagram from the 98epjunk site. I added some English text before uploading it here. But what it basically illustrates is that the E15G and E26J drives are a little different from the FD1231T. The site goes into great detail about physical size and bolt hole locations, as well as LED and eject button differences. But what’s important here is that pin 3 on the first drive (the leftmost one in the image) needs to be unplugged. On a FD1231T drive, pin 3 is NC (not connected), and it is wired to pin 1 of the second drive (the middle one in the image). So with the E15G/E26J drives, I need a different cable. One that has pin 3 disconnected between drives 1 and 2, and pin 1 from drive one needs to go to pin 3 on drive two. Confusing, I know. That’s why I thought the diagram was necessary.
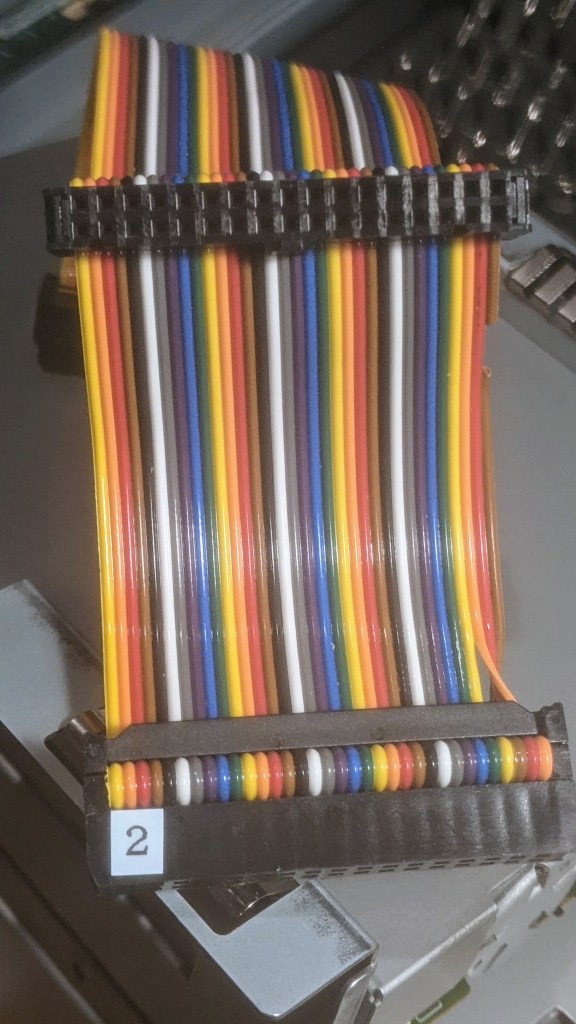
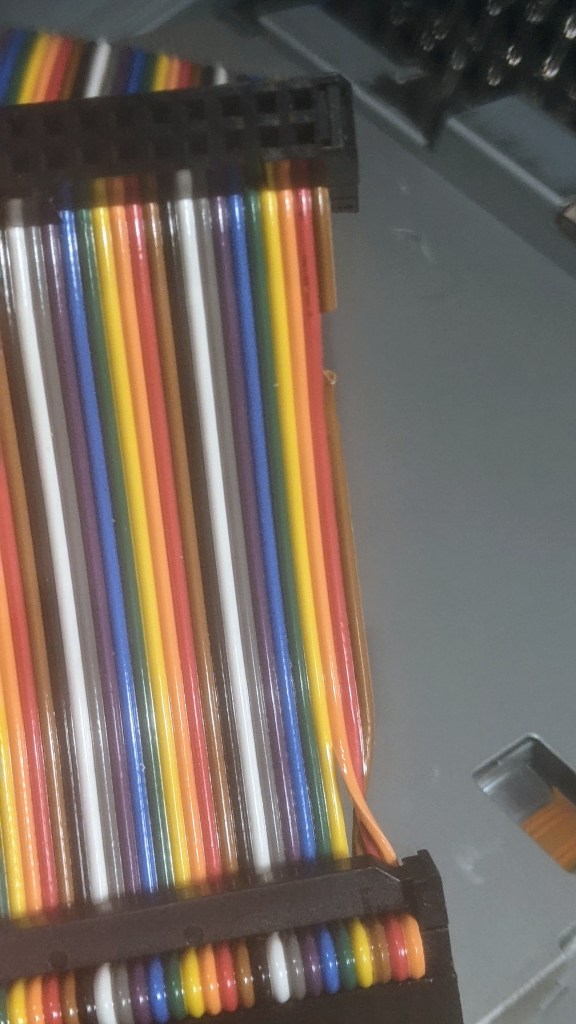
So, I waited for the parts to arrive, and I was thrilled to see that the cable was exactly what I needed. In the image above, you can see how Line 1 connects to Pin 3, while Line 3 is cut.
Now it was just a matter of bolting everything up.

Before installing the drives in the PC-98, I need to ensure the jumpers are correctly configured to properly set DX0 and DX1. DX0 is the setting for the first built-in floppy disk drive, while DX1 is for the second.
To configure the E26J, you’ll need to adjust a set of five jumpers. These are accessible through a small window located near the rear on the top of the drive.
The picture isn’t great, so you’ll have to take my word for it—there are five jumpers, though the top one is hidden in shadow. Once I replace my phone, I’ll take a better photo and update the blog.
In the image above, the jumper configuration (starting from the top) is: EMPTY, JUMPER, JUMPER, EMPTY, JUMPER. This sets the drive as DX0. Changing the configuration to JUMPER, EMPTY, JUMPER, EMPTY, JUMPER would set it to DX1.
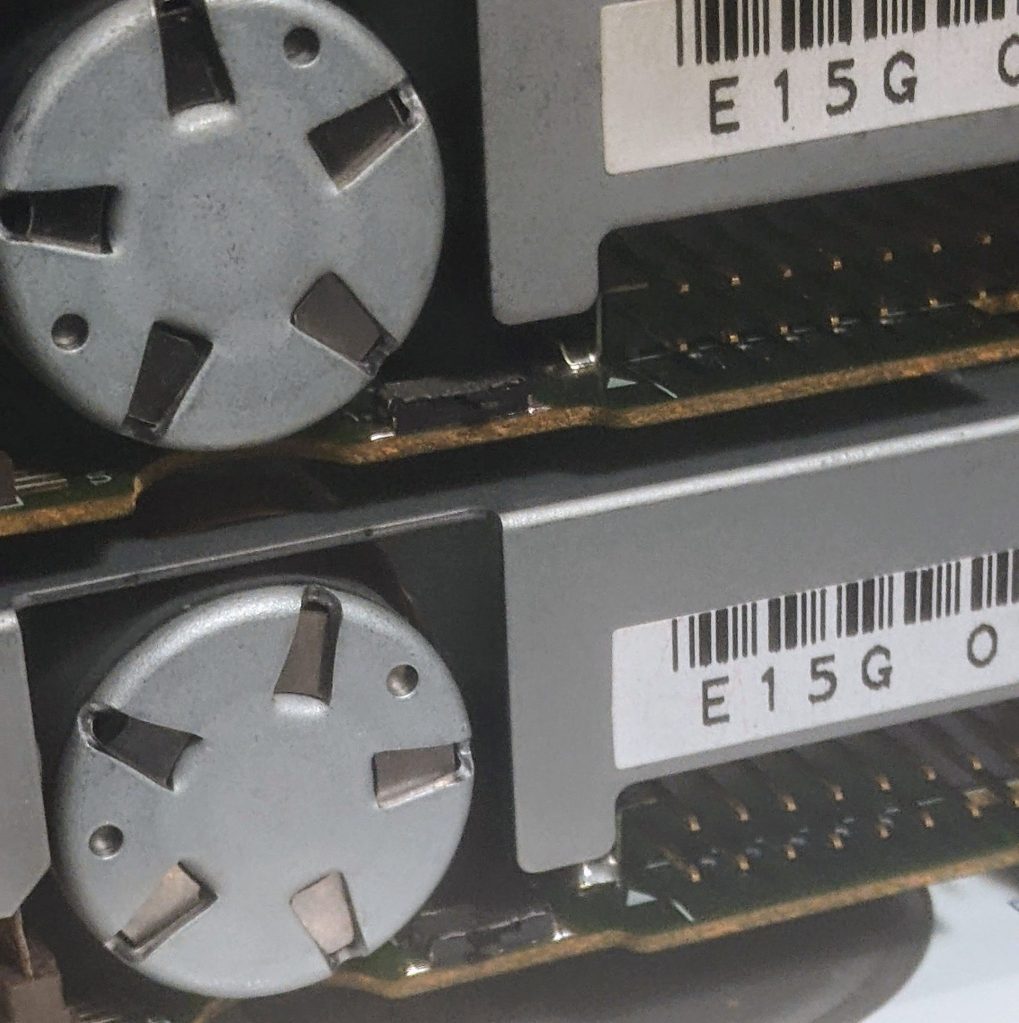
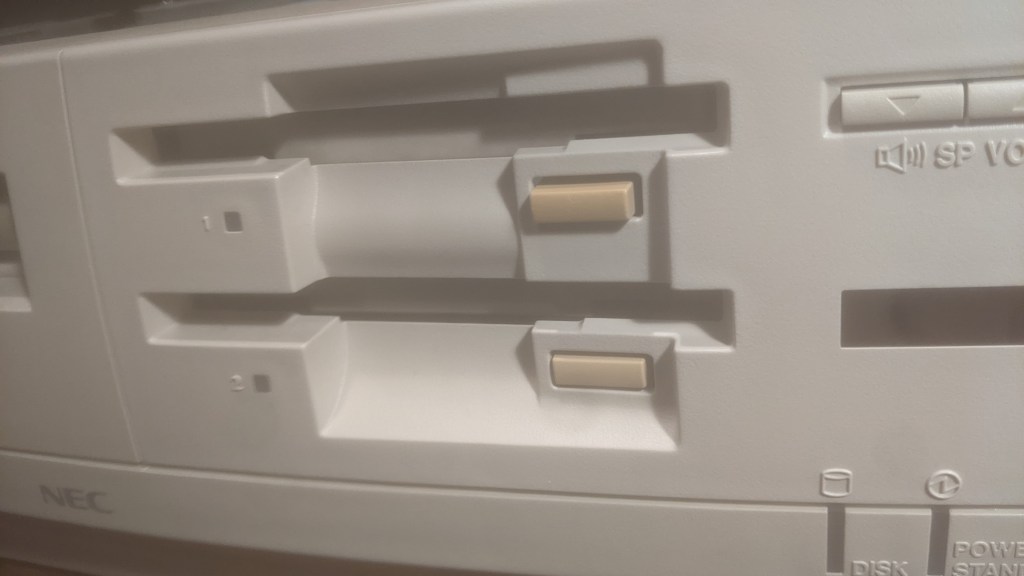
The E15G drives are much simpler to configure. There’s a small switch on the rear, located between the stepper motor (the circular thing) and the connector. To set the drive to DX0, simply click the switch to the right, away from the stepper motor. To set it to DX1, click the switch to the left.
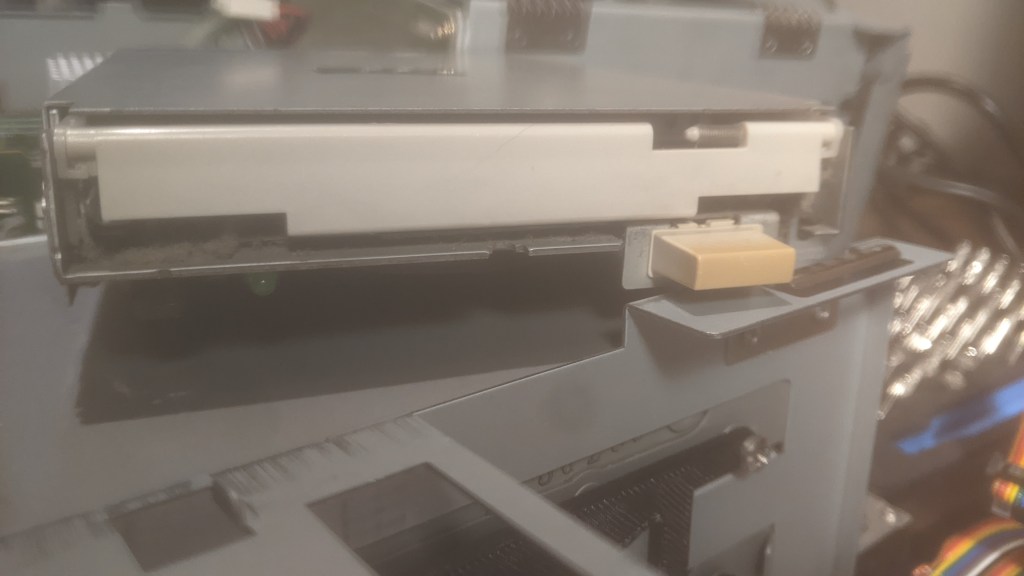
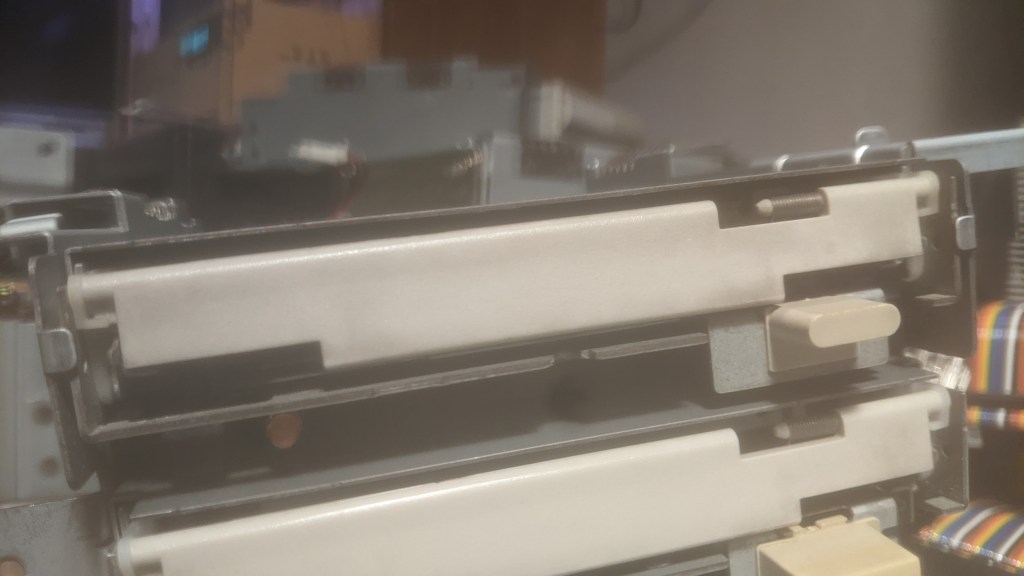

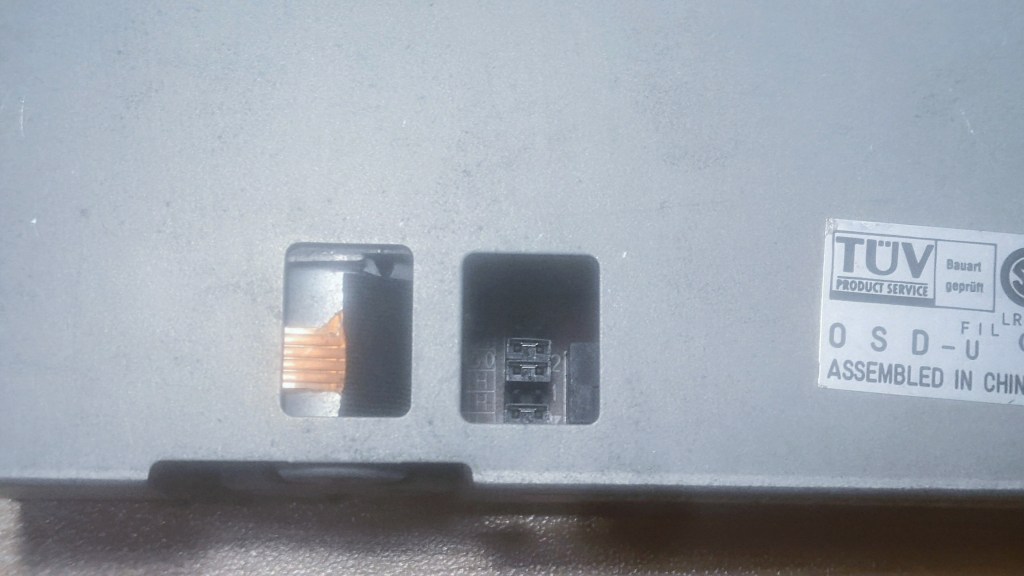
I decided to install the E15G drives, but before proceeding, I swapped out the eject buttons. I also noticed that the E15G drives have an orange LED, while the E26J drives use green. It’s not a big deal, but before installing anything, I realized I needed a bracket. It’s no surprise that the single-drive Cx3 doesn’t come with the stamped steel mounting bracket for two floppy drives. So, I figured this would be a good opportunity to 3D print a custom bracket.
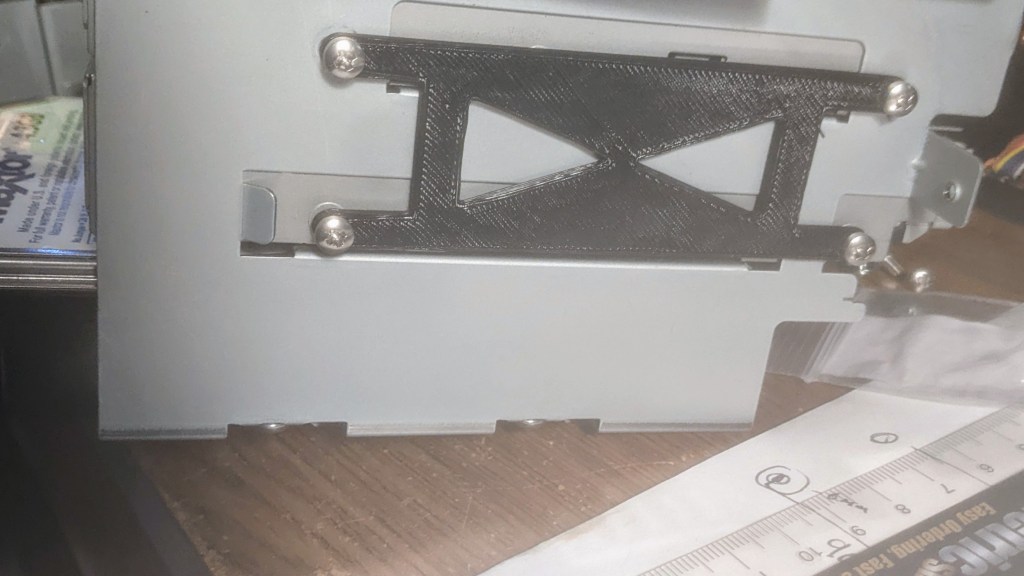
I designed a simple bracket that allows the second drive to be mounted using the first drive’s existing mounting locations. Ideally, I would have used ABS plastic for better durability, but since I didn’t have any, I used PLA instead. To accommodate the bracket, I also needed longer hardware, so I purchased some screws that were 3mm longer.

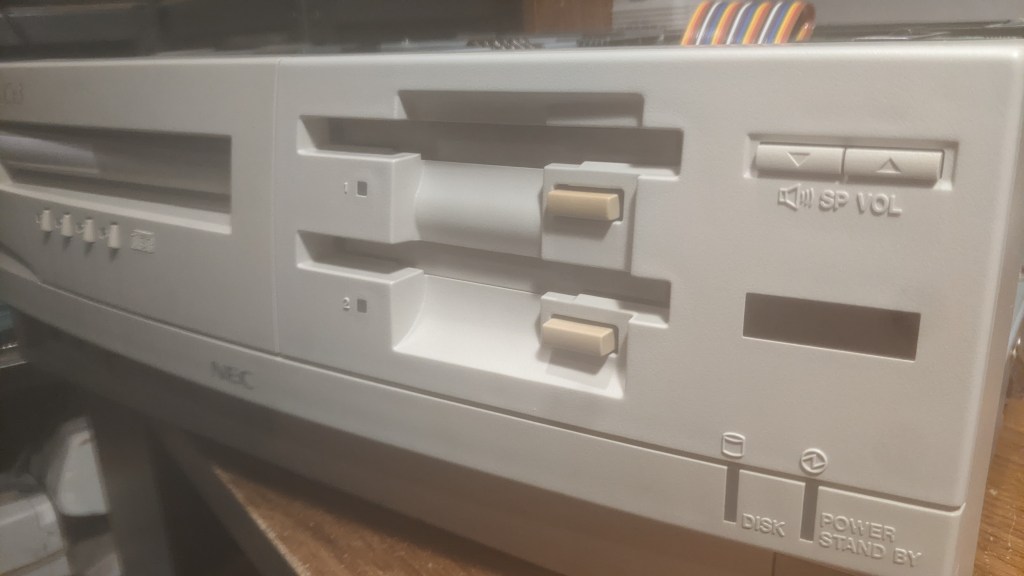
At this point, I was really excited – everything was finally coming together. The IDE cable fit perfectly, and I could see the setup starting to take shape.

Once I installed the dual floppy bezel and attached the front faceplate, I noticed that the bottom drive’s eject button was too far in. It seems the faceplate curves enough that if the floppy drives are perfectly square with each other it causes this issue. So, I decided to redesign the 3D-printed bracket to fix the alignment.

I adjusted the bracket so that the bottom drive was a few millimeters forward.

Here you can see the orange LED on the E15G. Since writing this post, I’ve switched back to the E26J drives due to better reliability. One of the E15G drives has a faulty detection switch, causing a delay during boot-up. The activity light on the first floppy drive flashes for about 30 seconds to a minute before the system boots normally. The switch probably just needs cleaning, but I had two working E26Js on hand, plus I get the green LED back.
I’ve graduated to the dual floppy life—now what? Games, of course! That was the whole reason I did this. Some PC-98 games, especially older ones, require two drives to play. Even certain pirated copies need dual floppy drives to run on real hardware.
Some games can be converted into HDI files, which are hard drive installations, allowing them to be played directly from the hard drive. However, games in FDI file format often need to be installed on a floppy —and in most cases, multiple floppy drives are required. So even if you have the game files, you still can’t play without two floppy drives.
One such game is Madou Monogatari 123.
(Editor’s Note: PC-98 laptops often come with a lot of RAM or large RAM expansions. These systems are designed to use a “second floppy” in the form of a RAM disk. Some games support having Disk B copied to a dedicated RAM drive, allowing them to run with just one drive. Apparently Monogatari supports this setup—by copying the contents of Disk A to the hard drive and leaving Disk B in the floppy drive, the game will play. The issue with my setup is the DOS partition is assigned to drive letter B: since A: is used for my Windows 95 installation. So, I don’t think this trick will work for me. But anyway, back to the blog post!)

This is Madou Monogatar 1-2-3 and If you didn’t know, Carbuncle and Arle Nadja, the characters you see in Puyo Puyo, actually originated from the Madou Monogatari series. Madou Monogatari is a first-person dungeon crawler RPG developed by Compile. The first game in the series was released in 1990 for the MSX2. These characters would later be featured in Puyo Puyo.
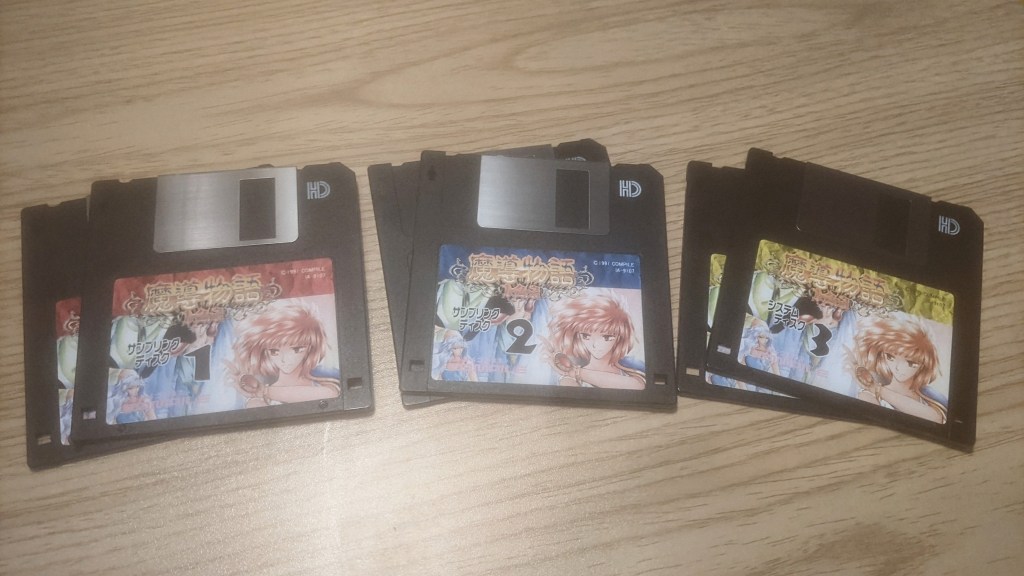
You can see that it has a few floppies—three sets of two, actually. It’s a game made up of three parts. In the first part, six-year-old Arle Nadja must complete a test by scaling a large tower, collecting three magic spheres, and defeating Fudoushi. The events of Madou Monogatari 2 take place eleven years after the first game, and Madou Monogatari 3 takes place not long after 2. Like I said, it’s a game of three parts.
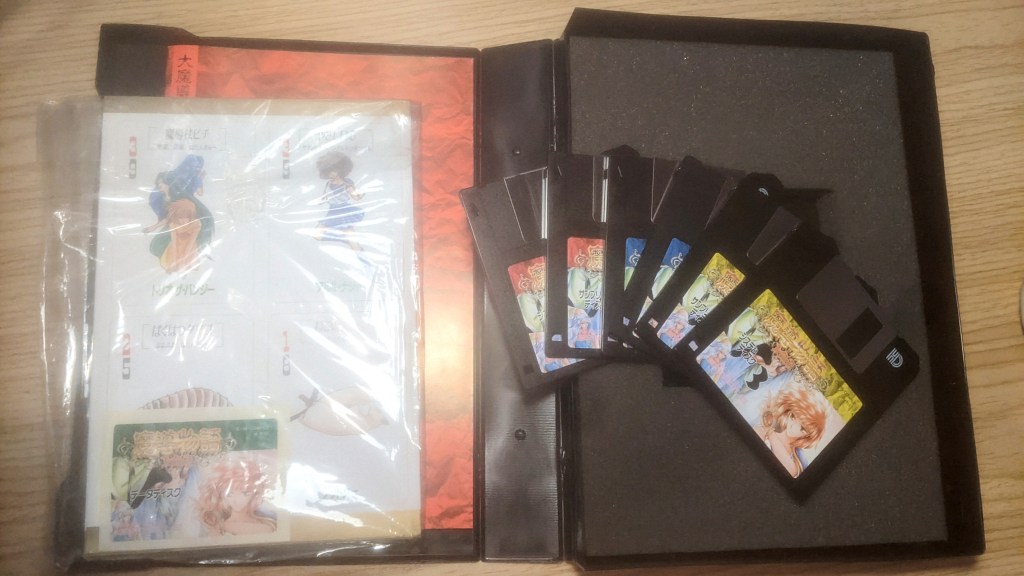
I love everything the game comes with. It’s a bit sad to realize that this would be considered a “collector’s edition” nowadays. It has a big box, a big ol’ manual, and some bonus items—but this was the retail release. I really miss physical media.
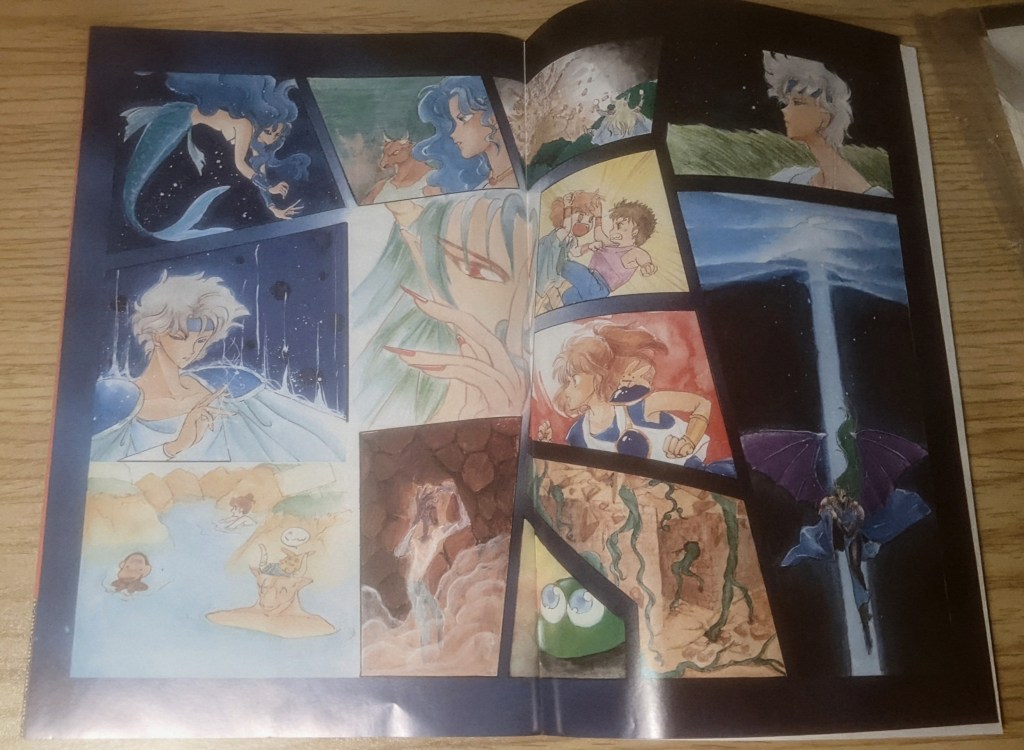
I mean check out this manual!
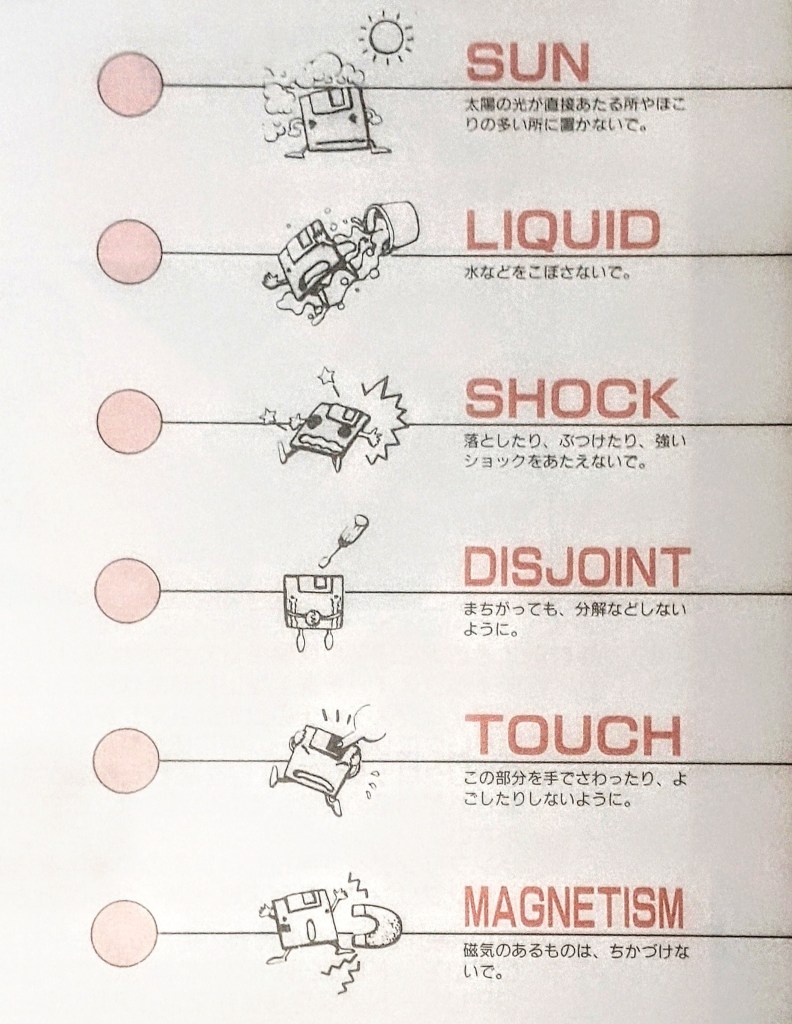
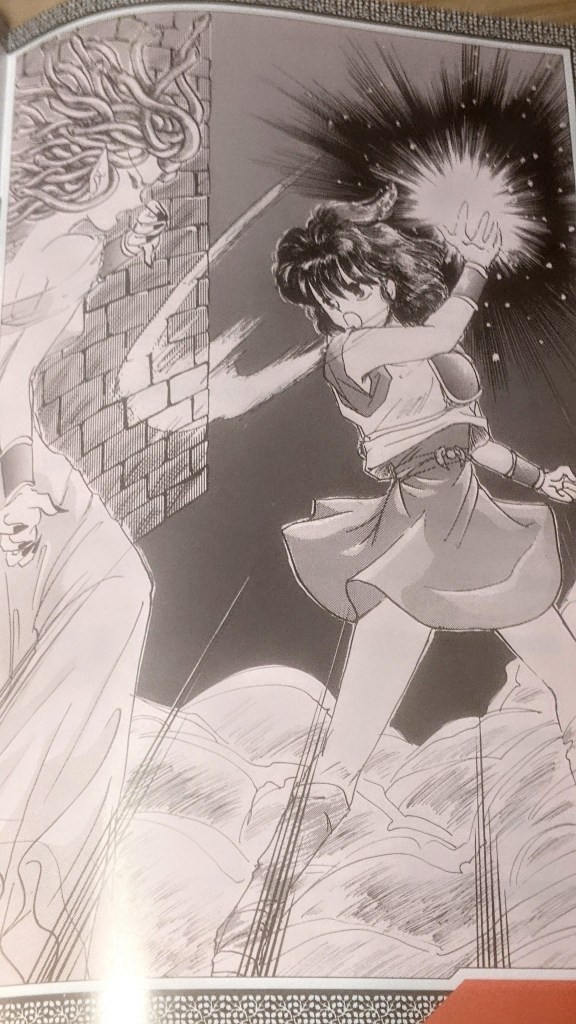
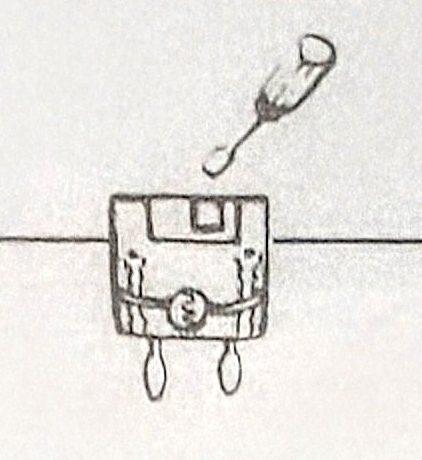
While skimming through, I found this page. I love the chibi anthropomorphic tech characters in different situations—classic! Also, under “Disjoint,” it says, “Be careful not to disassemble it by mistake.”
The poor guy is begging for mercy.

It also came with these cards, and I need to look into what they are. I’m not sure if they’re references for the in-game characters or if they’re part of a card game on their own.


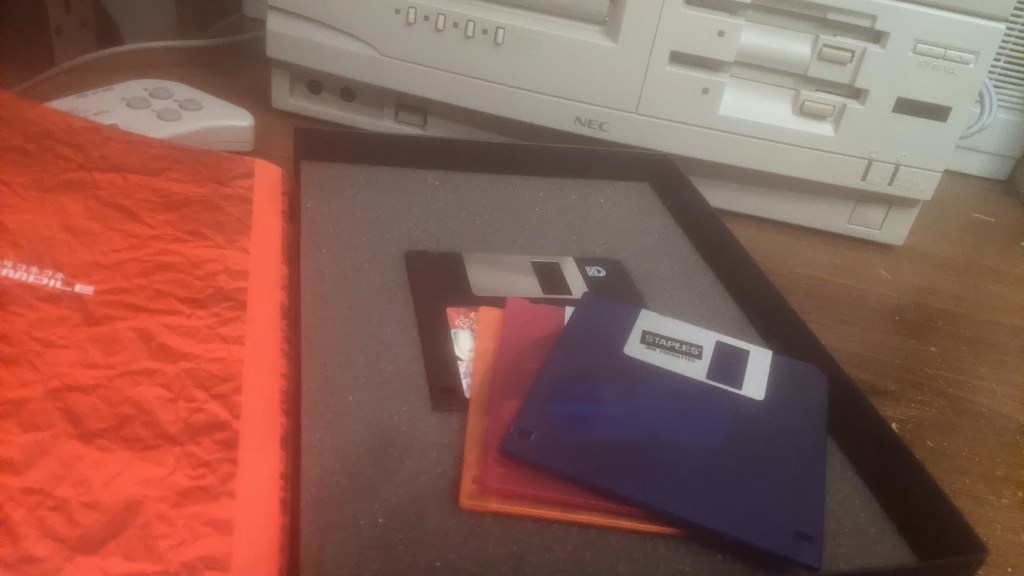
I’ll be running the game on a back up copy with a English translation patch of on these ‘Staples’ brand floppies. gotta love transparent color plastic.
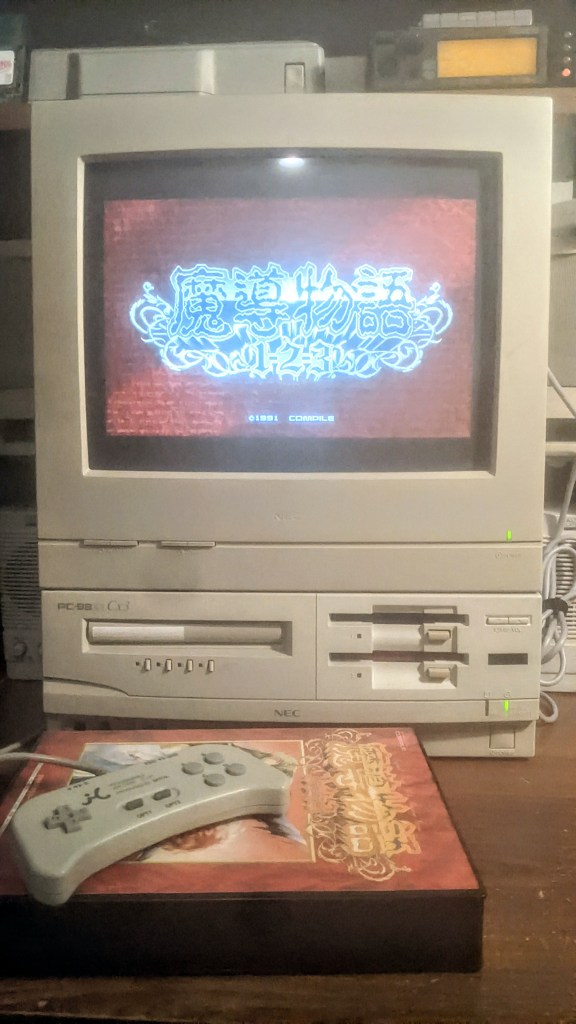
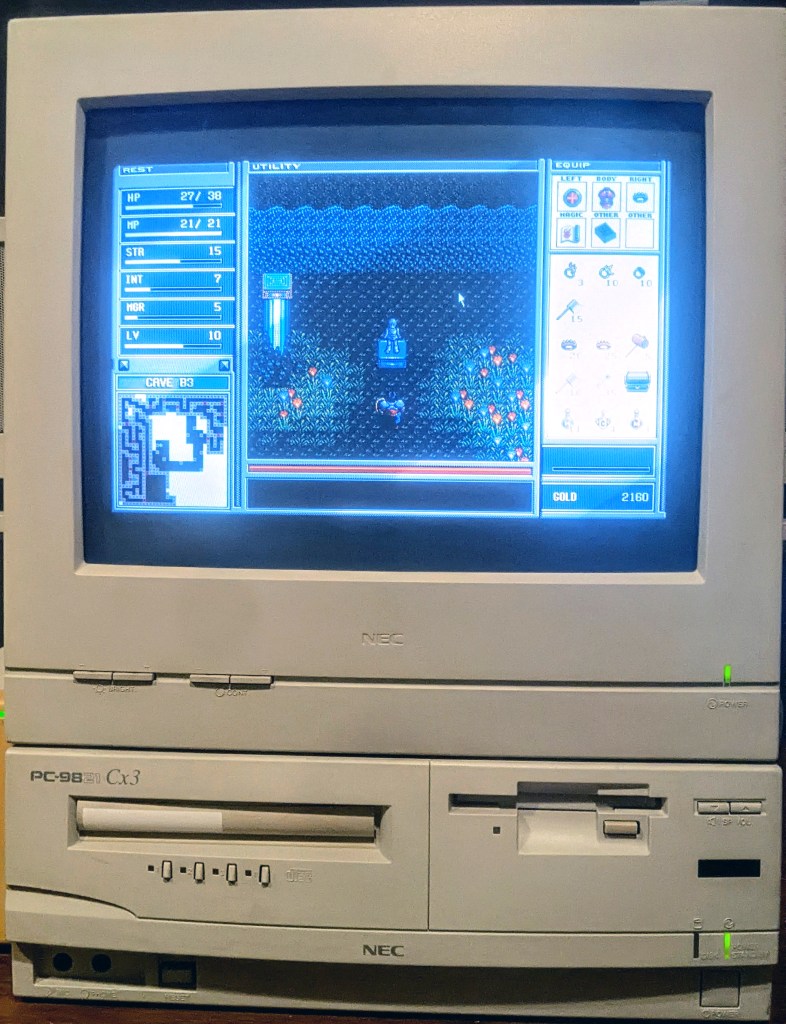
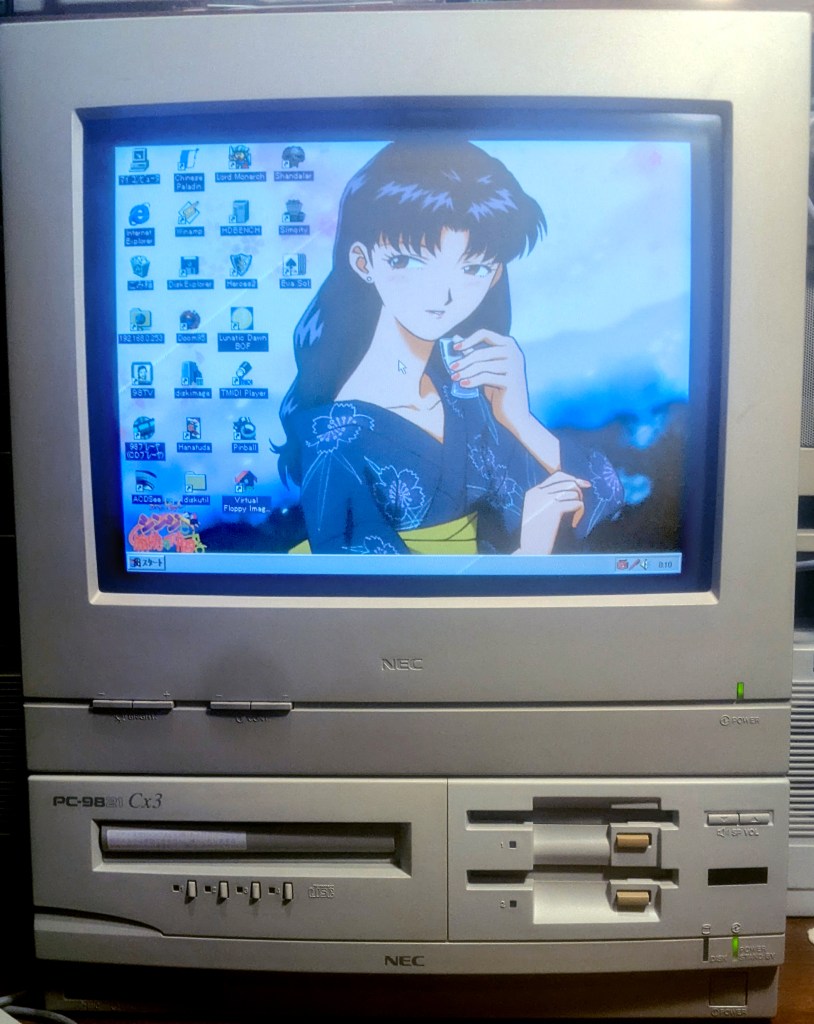
It’s so nice to see this up and running on the Cx3.
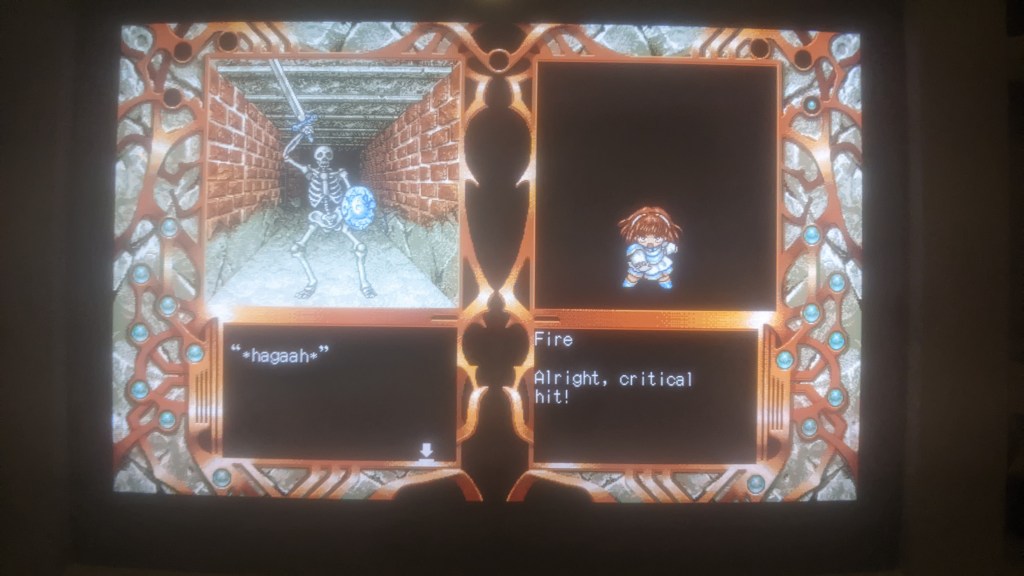
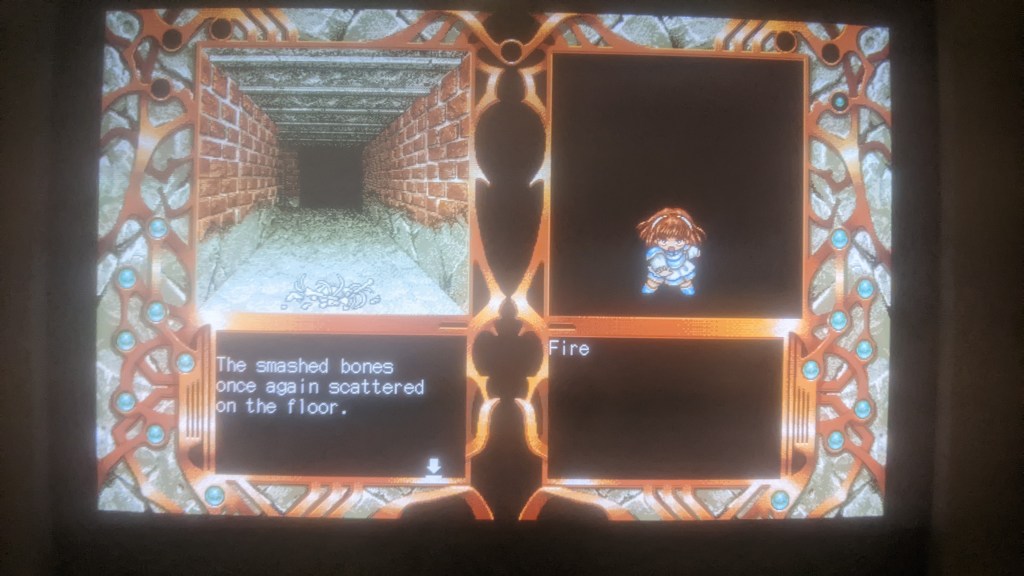
The gameplay is quite interesting—there isn’t really a hub. Outside of combat, your health is implied through Arle’s facial expressions, while during combat, it’s conveyed by specific phrases she says. The game only features magical attacks, and I haven’t quite figured out how to keep track of magic points yet. In the images above, you can see I defeated a Skeleton-T with a fire spell.

After encountering this eggplant-looking guy in a locked room, he promptly one-shots me. Thankfully, you can save the game at any time—you just need a third floppy disk. The game prompts you to insert the user disk to save your progress, and once that’s done, you swap back to the sample disk and continue.
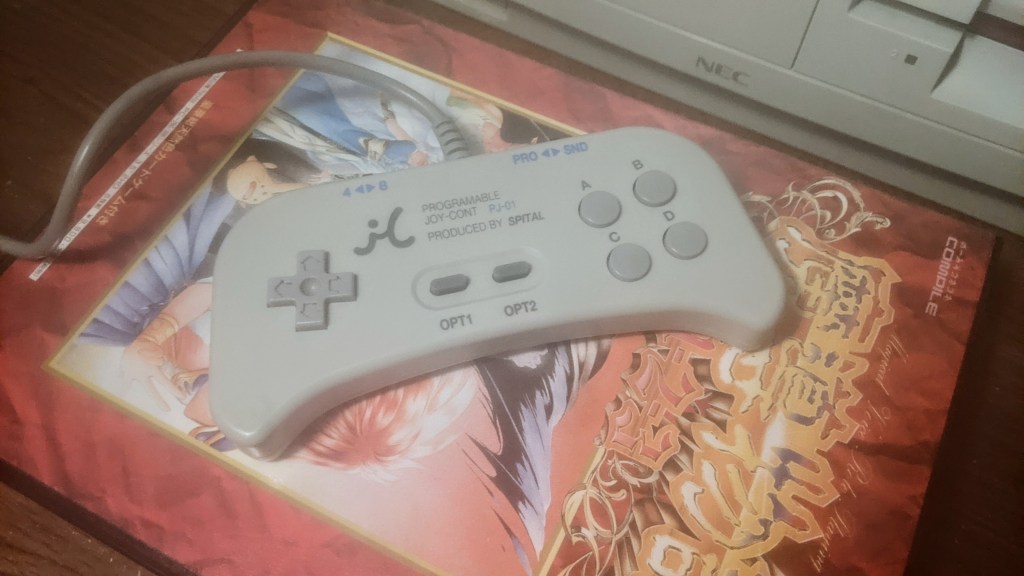
The keyboard controls for the game work perfectly fine, but I love using this Joy-Cont controller. It’s basically how I play all my PC-98 games. You can map any keyboard key to any button on the controller, making it super versatile. I might do a small blog post about it in the future, but until then—later, nerds!

Leave a comment