
I’ve recently been working on a project to replace the mask ROM in a WonderSwan cartridge with a programmable EEPROM. While there isn’t much practical purpose for this, it’s been a fun challenge to see if I can make it work.
I have a flashcart, so I could technically play on that instead. However, there’s something special about having a dedicated cartridge for a game, especially if it’s a personal favorite.
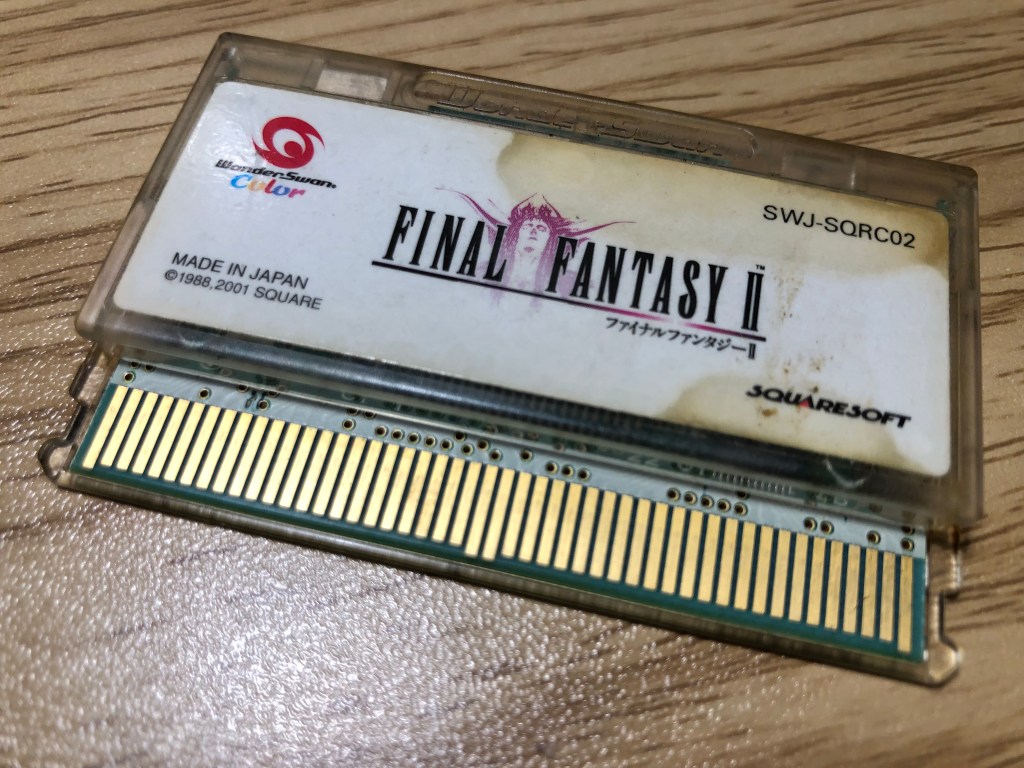
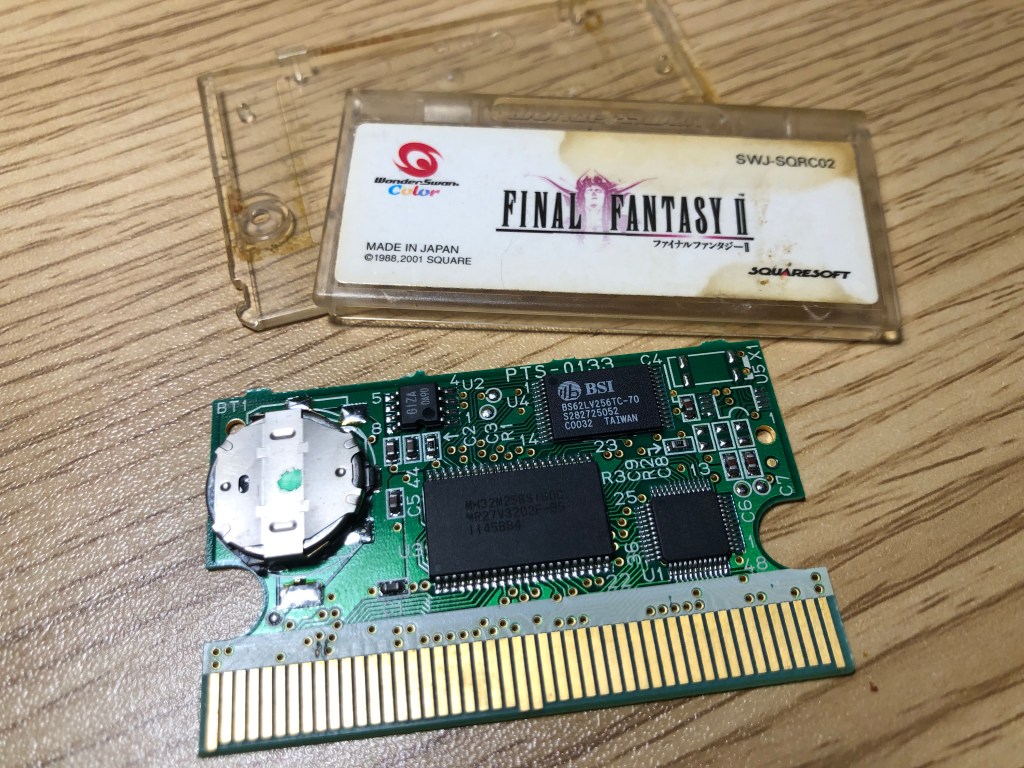
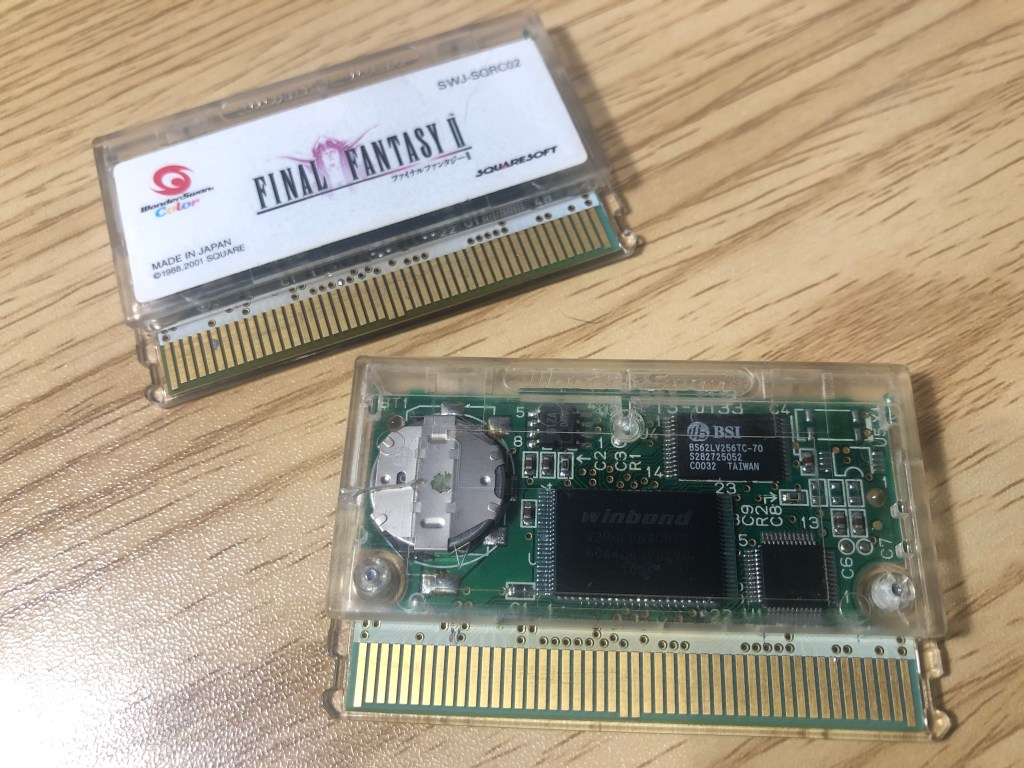
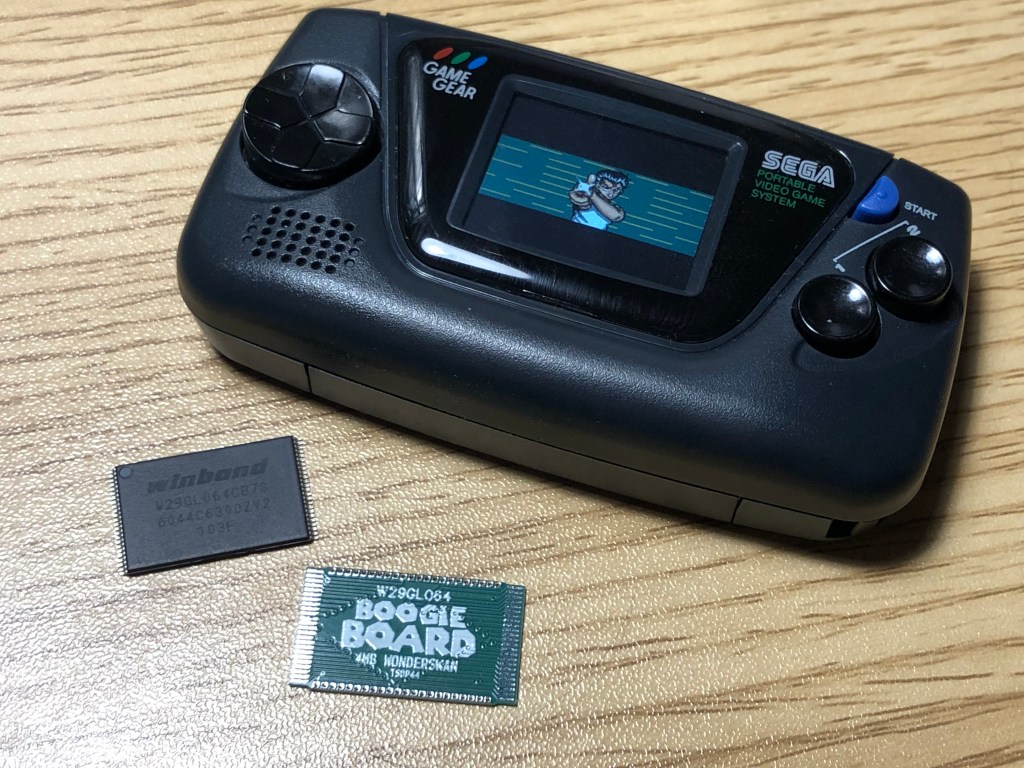
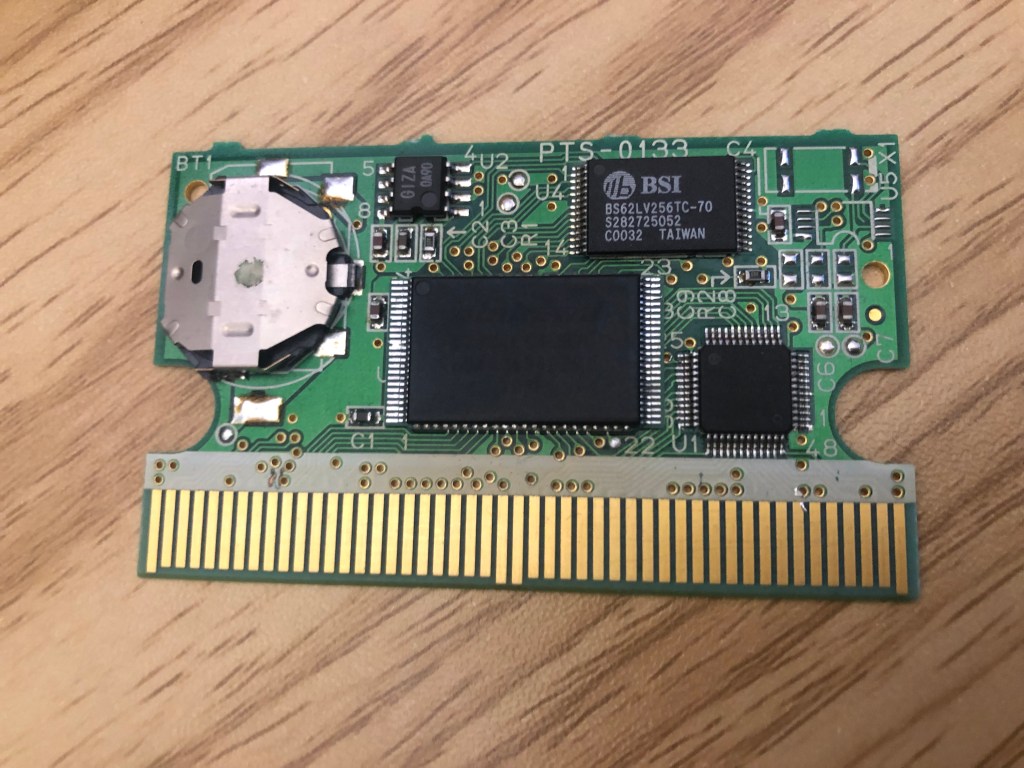
I chose to use a grody Final Fantasy II cartridge as the donor for this project. This cartridge features the 2003 Bandai mapper, 256K RAM, and, most importantly, a 44-pin TSOP mask ROM.
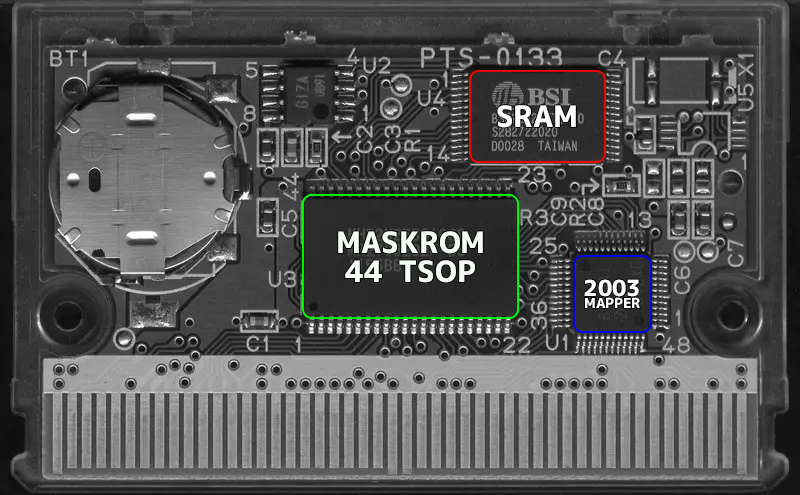
The donor cartridge needs to have a 44-pin TSOP to fit the adapter, and for the specific game I want to program it well also need 256K SRAM.
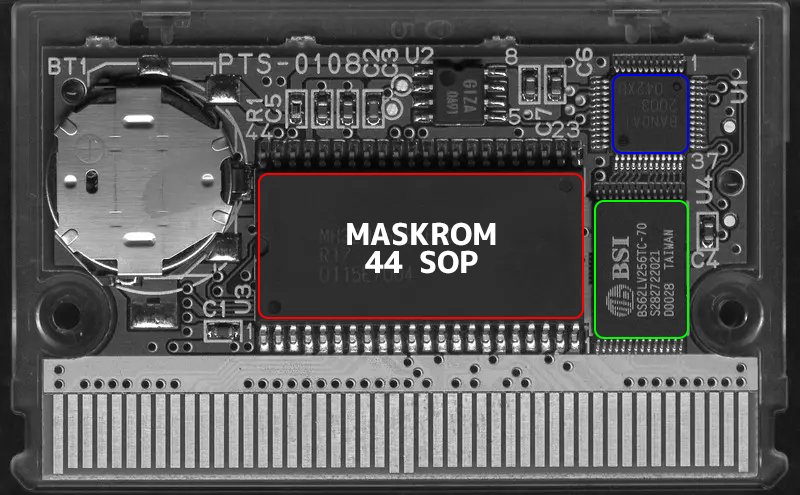
You can see that the footprint of the 44-SOP is much larger. I found a direct solder-on replacement EEPROM in this footprint, the 26L6420. Its pin configuration matches the factory mask ROM exactly. I even managed to program a working cartridge using this EEPROM. However, the downside is that this particular EEPROM is rated for a minimum of only 100 erase/program cycles. While this isn’t much of an issue for a dedicated cartridge, finding reliable used chips could be challenging. Since the history of used chips is often unknown, they might already have been reprogrammed beyond their 100-cycle limit.
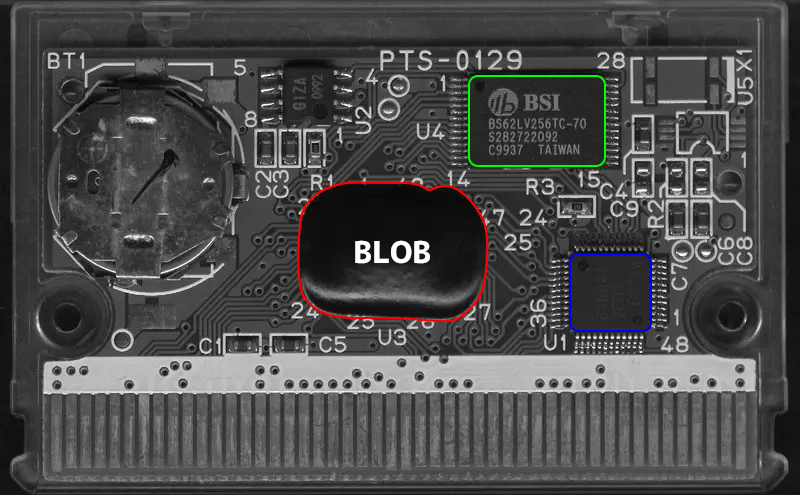
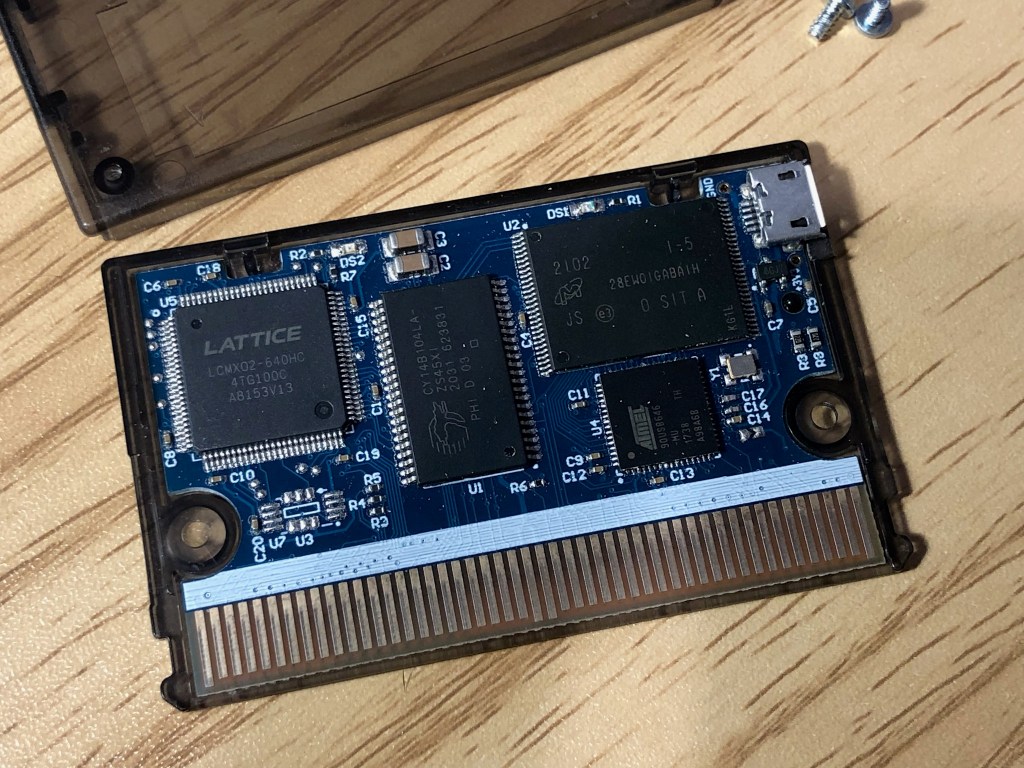
Some WonderSwan games even use blob chips—gross! Unfortunately, there’s nothing you can do if that’s the case. All these factors make buying cartridges for this project a bit challenging. Thankfully, a lot of work has been done documenting WonderSwan cartridges. Remy has a Github page with tons of examples and great photos.
All PCB images are from the ws-pcb-db
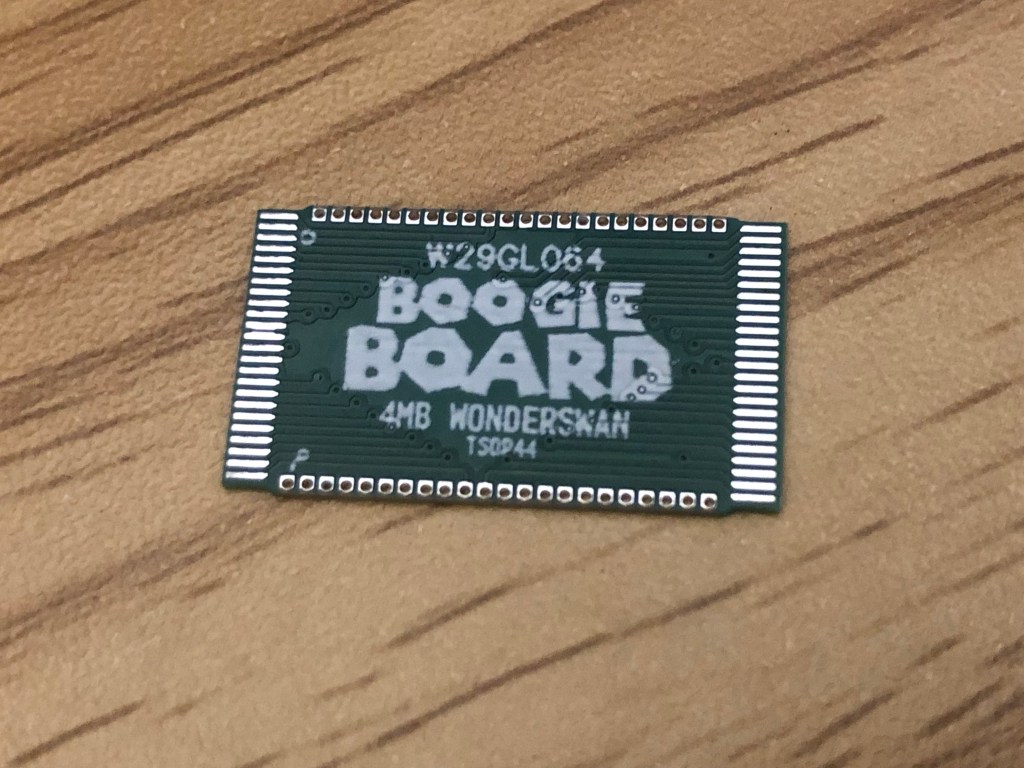
The hardest part was finding an EEPROM that would adapt easily. Two key factors were pinout and price. I needed to ensure the pin layout wasn’t drastically different, so the adapter wouldn’t require complex trace routing. I also didn’t want to make an adapter for an expensive chip. Even a $10 chip can add up quickly if you only order a few. Once I settled on the 29GL064 EEPROM, creating the adapter was straightforward.
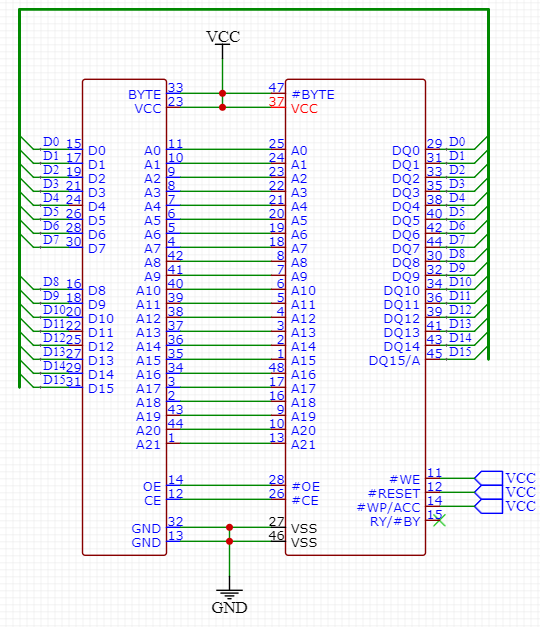
I first created a schematic that electrically connected the mask ROM to the 29GL064. Interestingly, This is the first time I’ve encountered a mask ROM with a byte pin. The WonderSwan can read games in both word and byte modes. In word mode, data is read in 16-bit chunks (2 bytes at a time), while in byte mode, data is read one byte at a time. Word mode is what all games use, but I’ve been told the information in the header of a game file can request data to be read in byte mode. However, I don’t think any games actually do this.
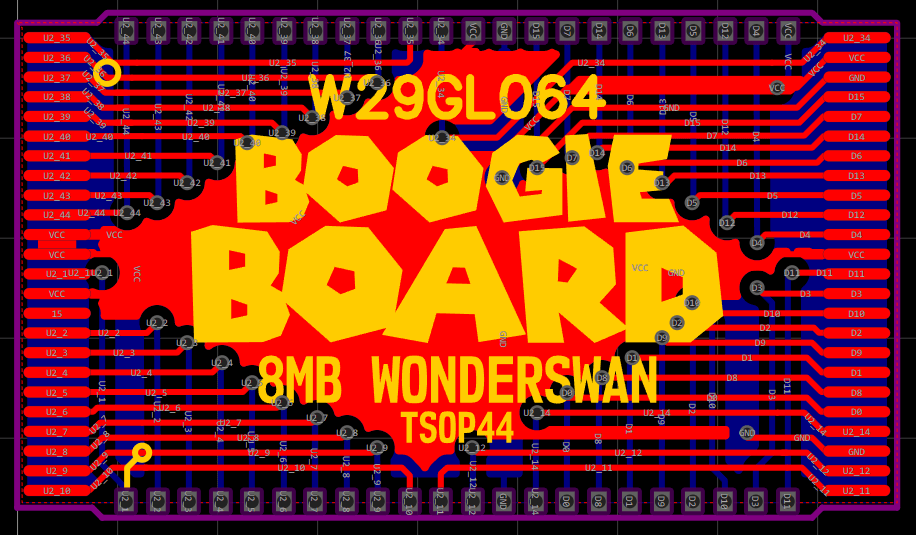
The next step was to lay out the traces. I always try to keep vertical traces on one side and horizontal traces on the other. I find this approach helps when running the last traces, which are always the most difficult. The image above shows the final version, though there were three earlier iterations. The first PCBs I had made were flex PCBs, but they had a defect. I was quite surprised when the first batch arrived with broken traces. The issue was entirely my fault, not the manufacturer’s. After fixing that mistake, I decided to switch to a traditional fiberglass PCB with a thickness of 0.6 mm.
This was the smallest PCB I have designed. It was the first time I had to worry about malfunctioning tolerances. Ideally I wanted castellated holes but I wasn’t even sure if that was possible. I decided to save money and go with plated holes along the top and bottom of the adapter.
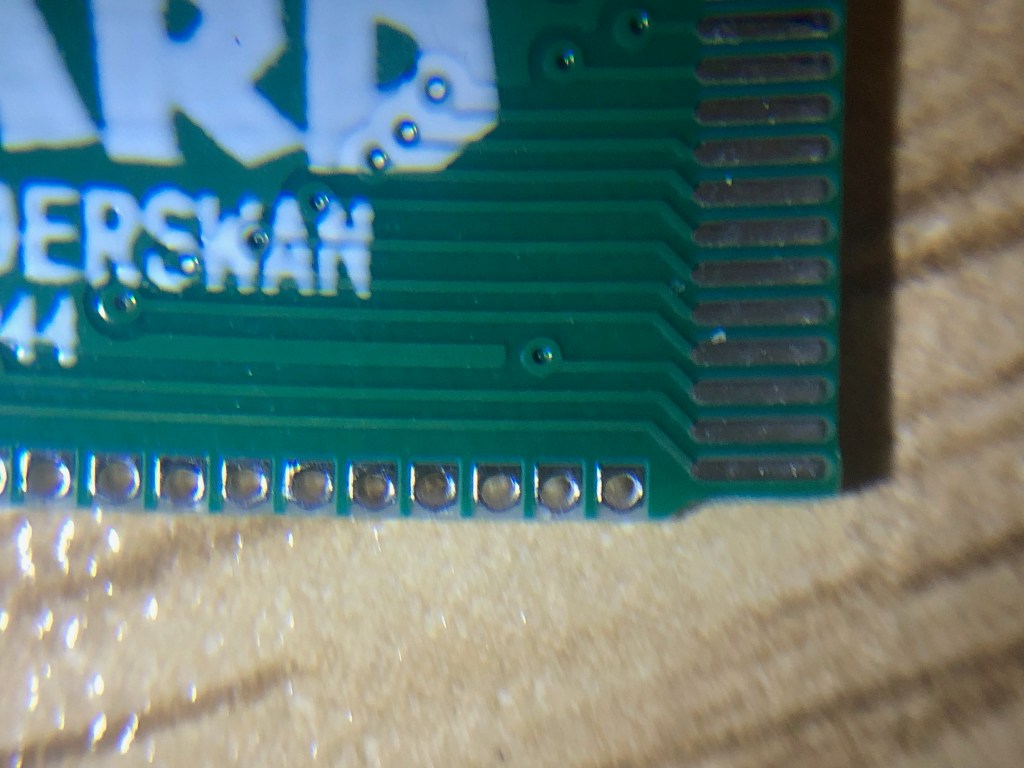
These holes are tiny—only 0.35mm in diameter! No through-hole component is going in there, but they will allow the solder to flow through, making it possible to attach the adapter to the WonderSwan game cartridge PCB.

Once the adapter was attached to the PCB, I used a multimeter to ensure all the connections were electrically sound. After everything checked out, it was time to program the EEPROM.

What game will I flash to the EEPROM, you might ask? Will it be Dicing Knight or Judgement Silversword? No, it’s Wizardry. If you know me personally, this probably won’t come as a surprise. I’m going to flash the ROM hack version with the ‘English patch’—emphasis on the quotation marks. Wizardry for the WonderSwan already has English text; you just need to enable it in the options. This patch simply makes the start menu English. So, here’s my pro gamer tip: Wizardry for the WonderSwan is in English.
Before I flash the file to the EEPROM, I need to do a few things to the ROM. The game itself is only 2MB, but the 8MB EEPROM needs to be filled with no empty space. To do this, I need to inflate the size of the game. I call this ‘mirroring the ROM,’ but I’m not sure if that’s technically correct. I’ve also heard it referred to as ‘padding,’ though I always assumed padding meant filling the file with empty data, like zeros. What I do is repeat the data three times without changing the order of the bytes, so the data just keeps repeating.
Boogie’s Tech corner.
To clarify, I’ll illustrate with some made up data.
Original Data (Example)
Let’s say we have a really small game and its entire data is the following 8 bytes (in hex):
00 01 02 03 04 05 06 07Repeating Data (Padding or Mirroring)
If you simply repeat the data, the result would look like this:
00 01 02 03 04 05 06 07 00 01 02 03 04 05 06 07 00 01 02 03 04 05 06 07Now the game is 3x its original size.
Padding with Zeros
To fill the remaining space with zeros (let’s say we want to pad it to 16 bytes for simplicity), the result would look like this:
00 01 02 03 04 05 06 07 00 00 00 00 00 00 00 00Even though its a bunch of zeros the game is still 2x larger then it was originally. This kind of padding won’t work in this setting. The WonderSwan expects valid data in a specific range of addresses, but if it encounters zeros, it can lead to issues.
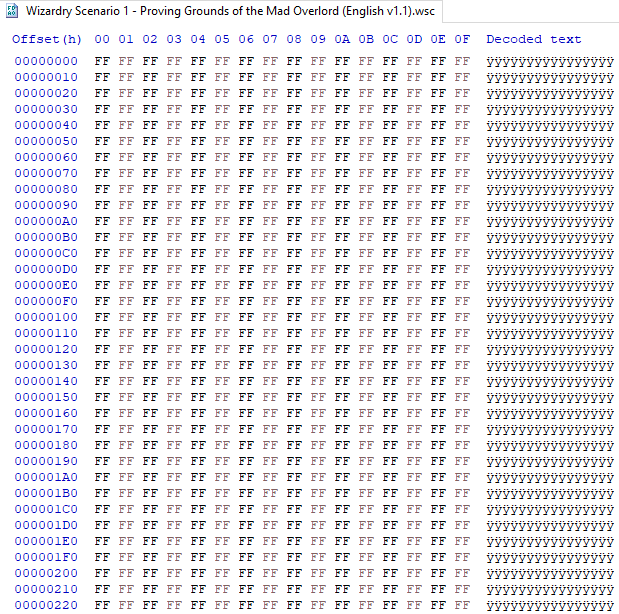
Don’t be alarmed by all those FF values. It’s normal for some games to have a bunch at the beginning; it simply means the game doesn’t use all the space. I’m used to seeing header information at the beginning. But on a WonderSwan game, the header is at the end of the data. Anyway, I simply copy all the data three more times, making the ROM file 8MB.
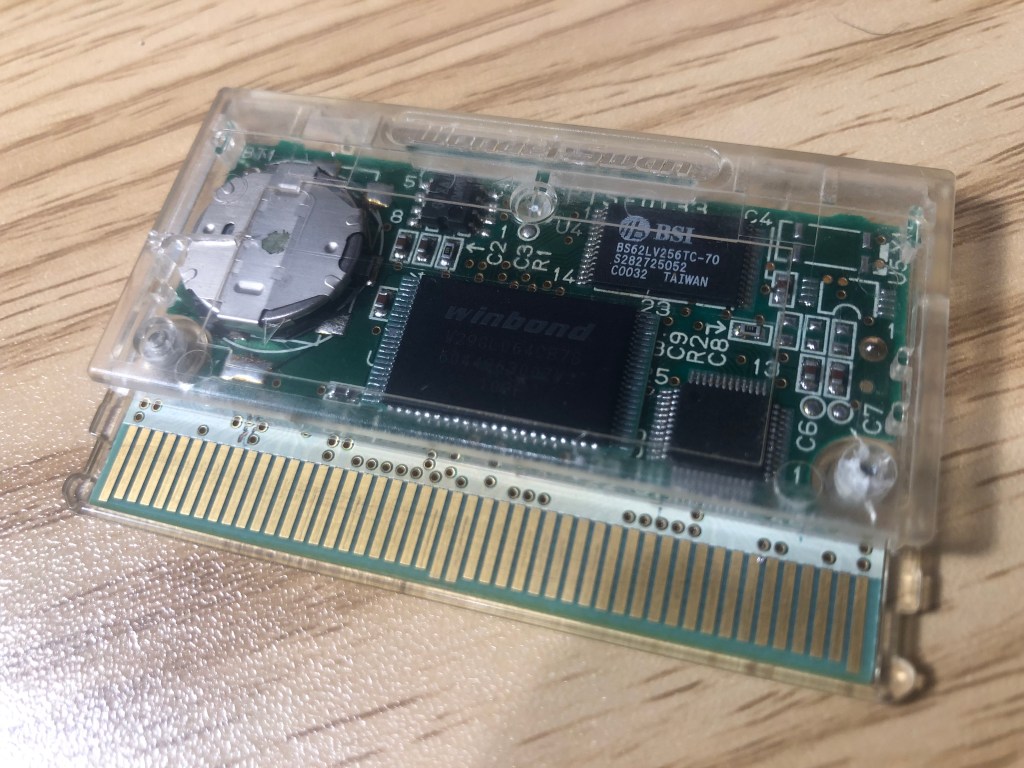
With the file prepared and the EEPROM programmed, I soldered the EEPROM to the adapter.
I was very relieved when the game booted. When working on some consoles, you can get feedback even if something goes wrong. For example, Game Boy games will display a corrupted-looking Nintendo logo if there’s an issue, most likely an unsoldered address pin or something similar. But on a WonderSwan, it just won’t do anything. It’s normal for the system to simply not turn on at all, which makes it hard to troubleshoot. Sometimes the WonderSwan will turn on and show the wrong orientation, like a horizontal game booting up as if it were a vertical game. This could be caused by bad header information, but sometimes it’s just dirty contacts. I’ve even had it boot normally but only show a white screen. I’m not sure why, but that was with the faulty early adapters, so maybe a broken trace on an address line?
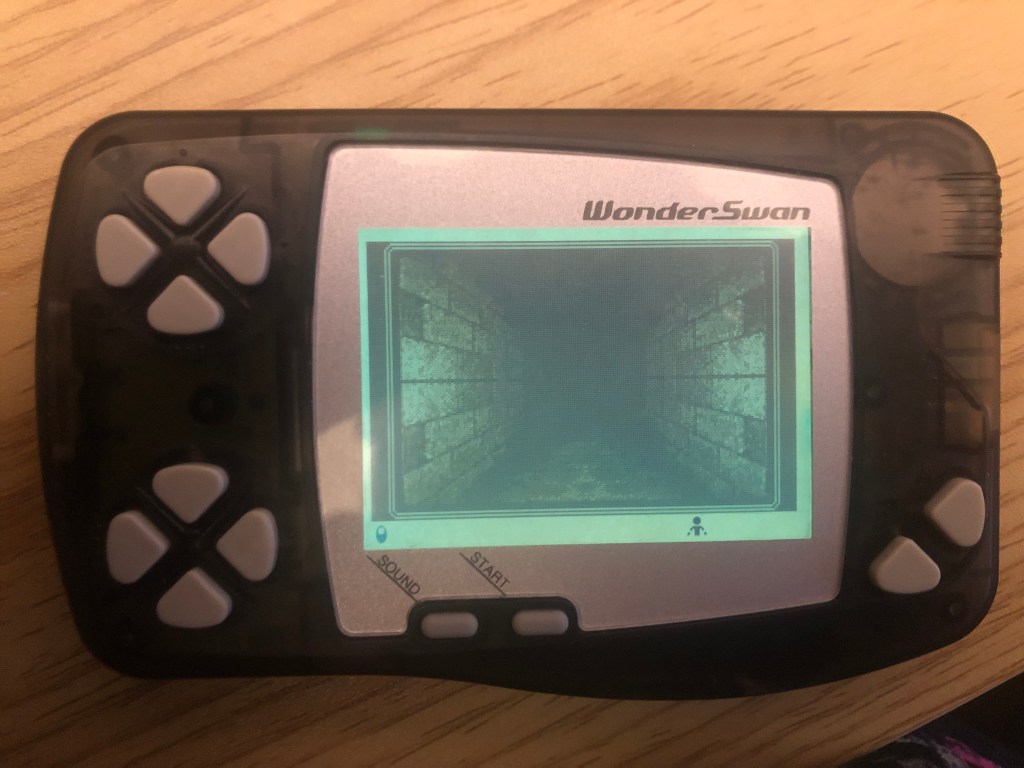
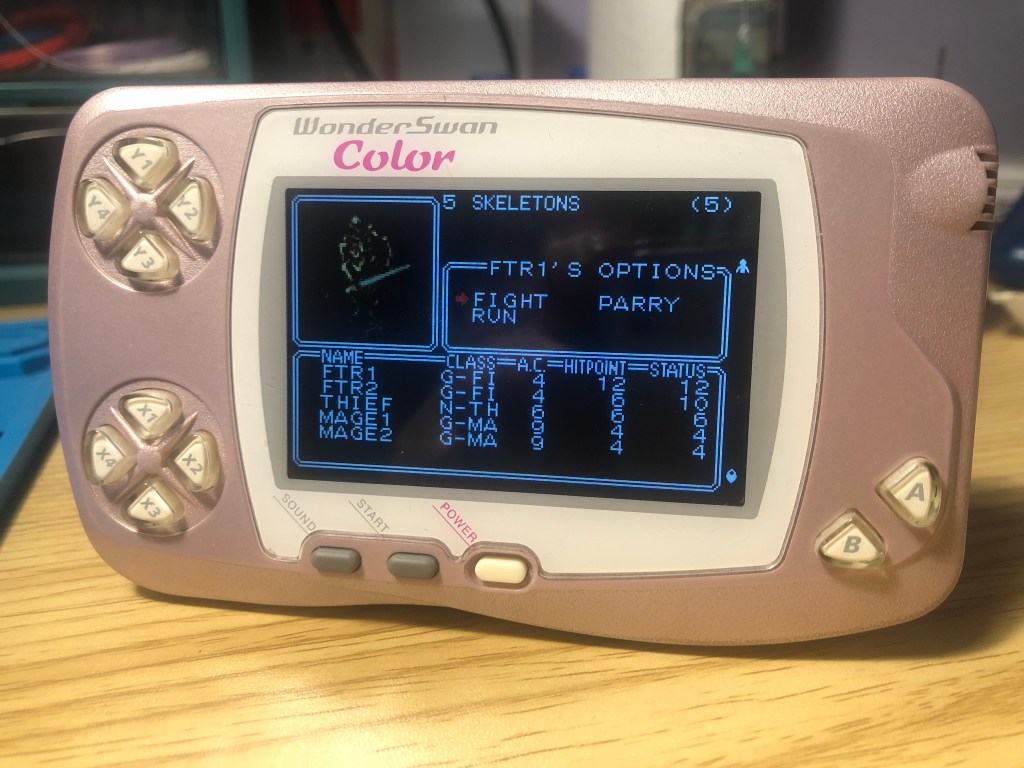
What’s cool about Wizardry is that it’s one of the few games that can be played on both the monochrome WonderSwan and the WonderSwan Color. It’s fascinating to think that, within all that data, there are two separate sets of assets the game can call on, and it can detect whether it’s running on a WS or WSC. I guess it’s similar to those black cartridge Game Boy games, but I’ve heard that some of those had two separate games in one ROM, like in Conker’s Pocket Tales. I don’t think that’s the case here on the WonderSwan.
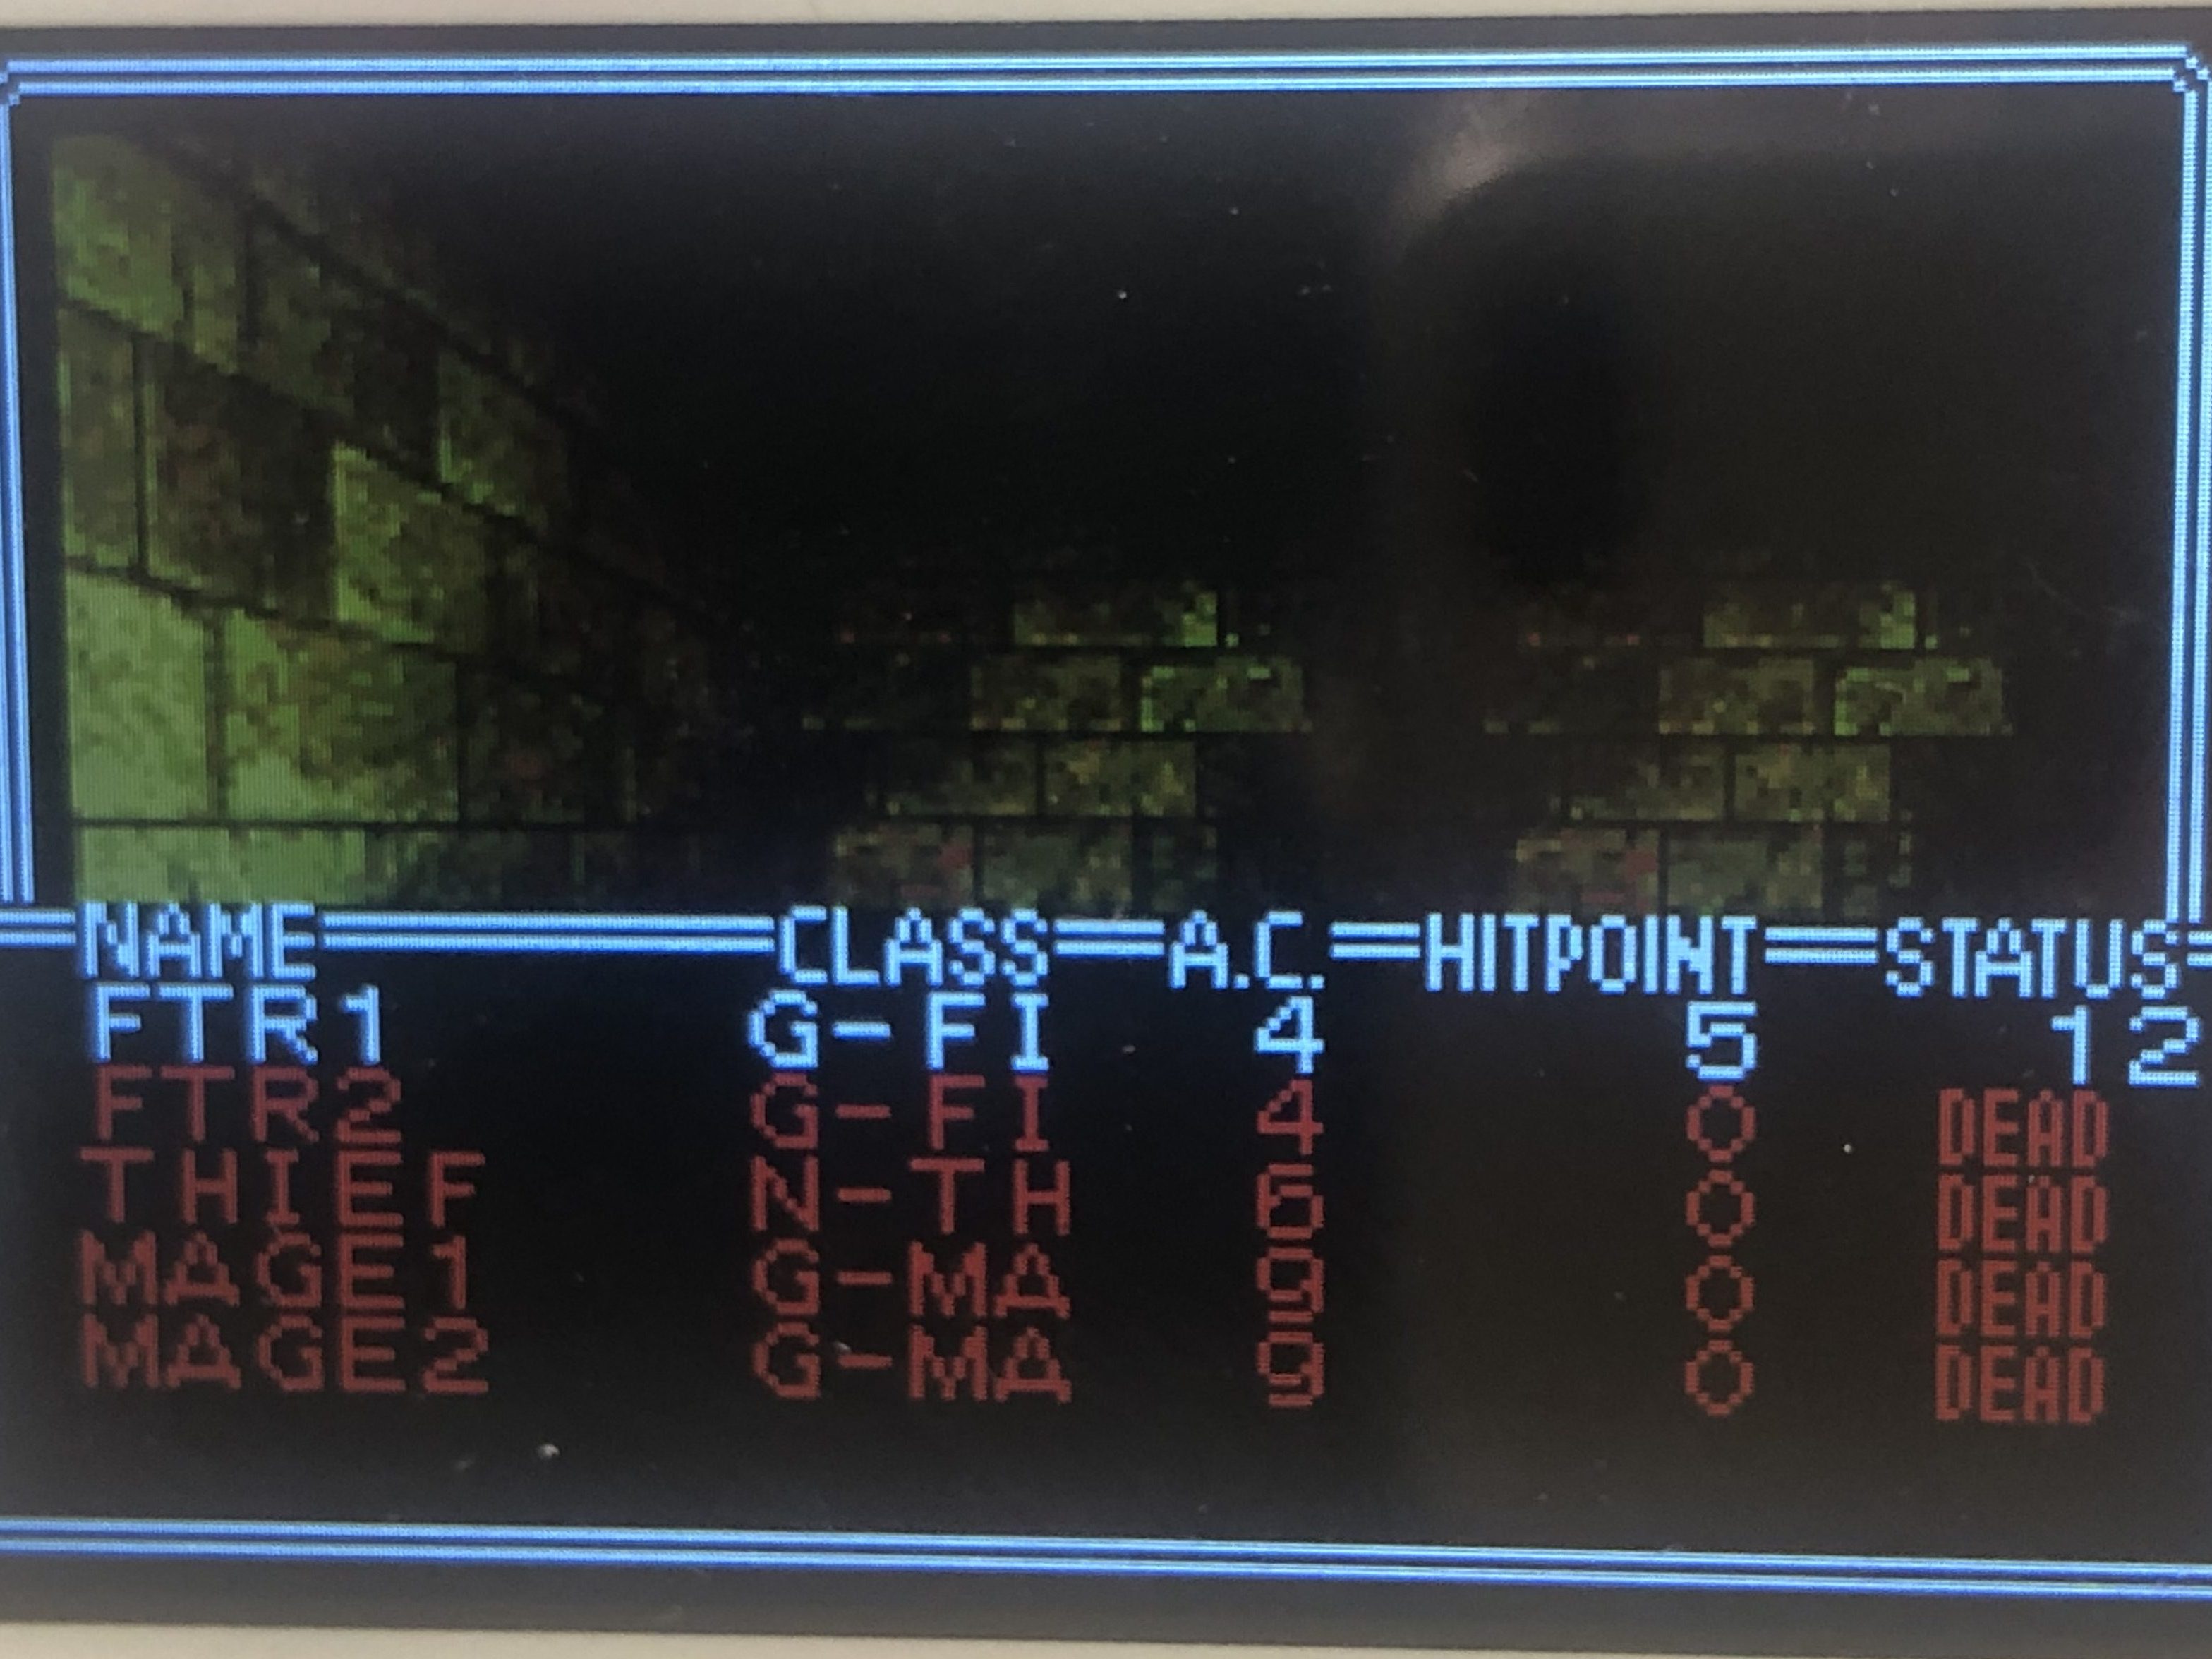
After about five minutes of playing, my Thief failed to disarm a trap, resulting in an explosion that wiped out most of my party. Death is a real pain in this game, yet it’s a wonder why I like it so much.
So, the project was a success! I’d like to be able to reprogram the EEPROM without removing it from the board. If I knew more about Arduino, I could write something for the OSCR, but I can barely make a clock using Arduino, let alone write code to program an EEPROM. That’s a future me project, but for now I got to learn a little about the inner workings of the WonderSwan, while also giving me the chance to experience Wizardry in a new, unique way. Now, back to more dungeon crawling, hoping my Thief doesn’t blow up the party again!
Until next time—later, nerds!

Leave a comment