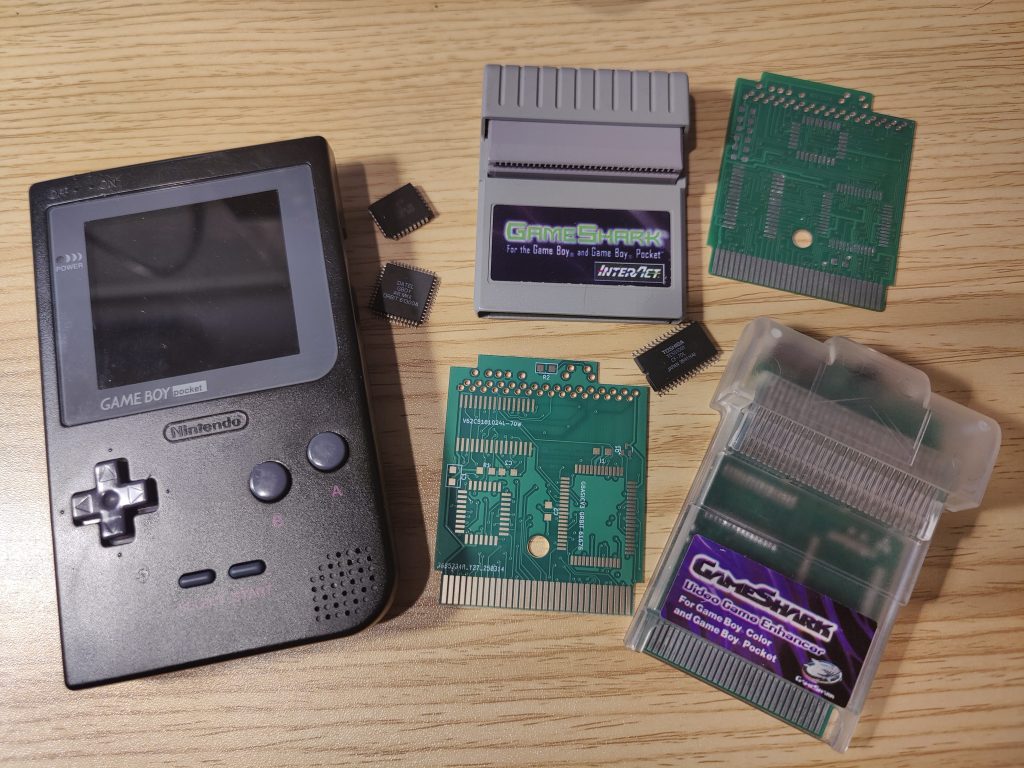
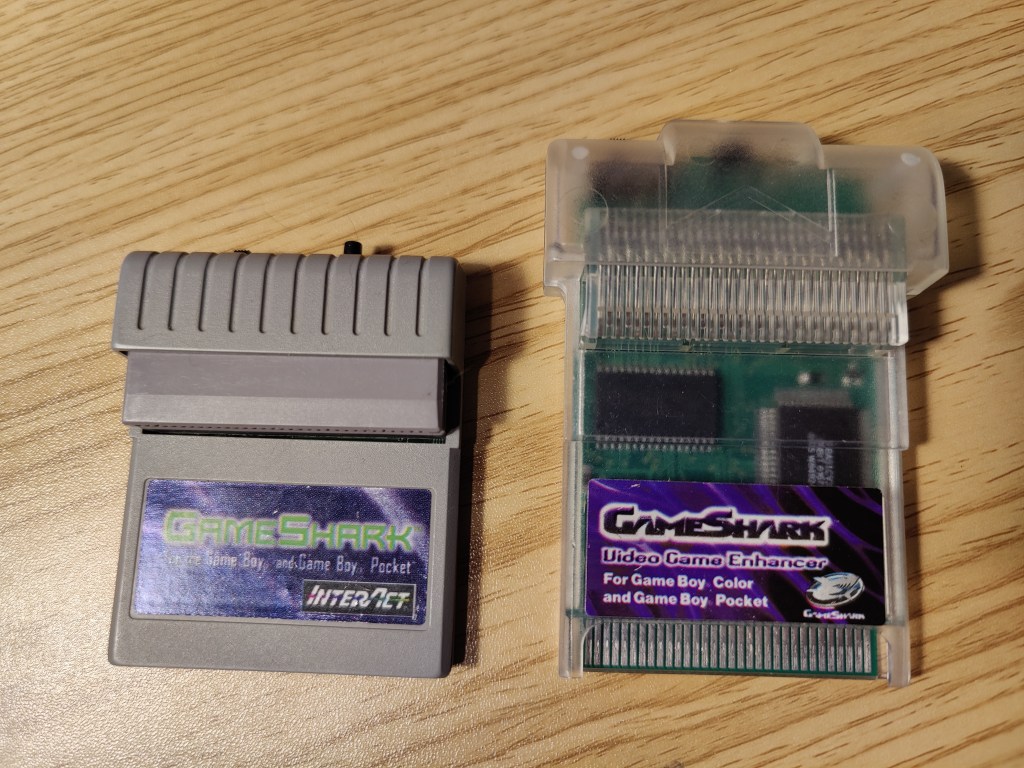
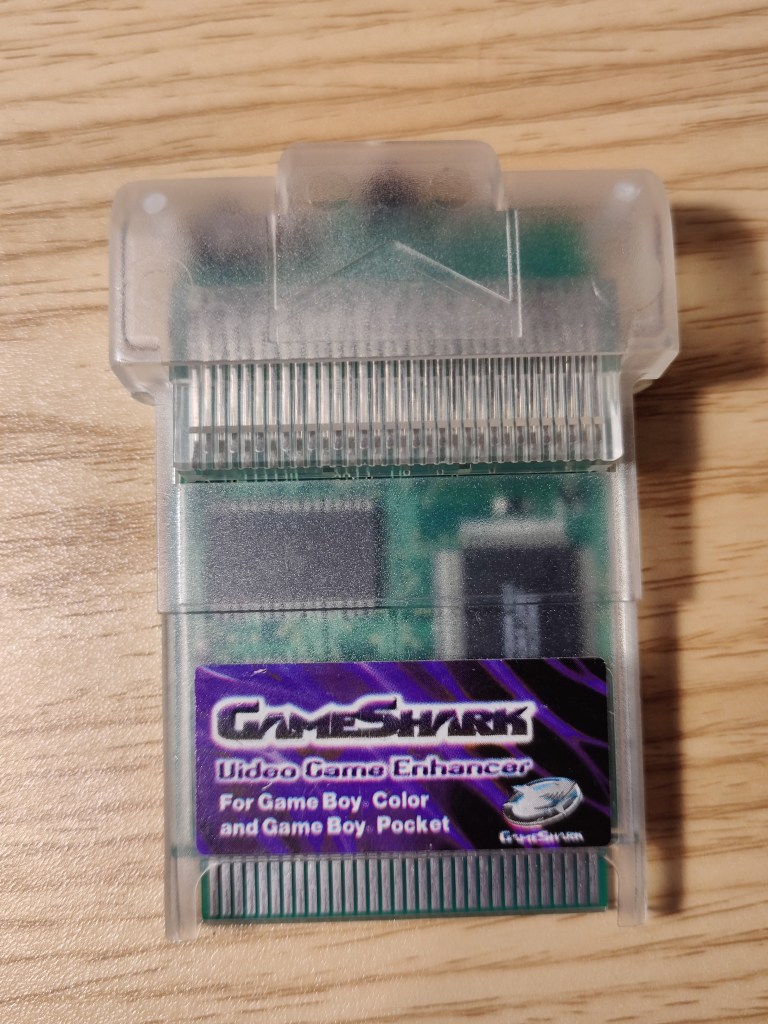
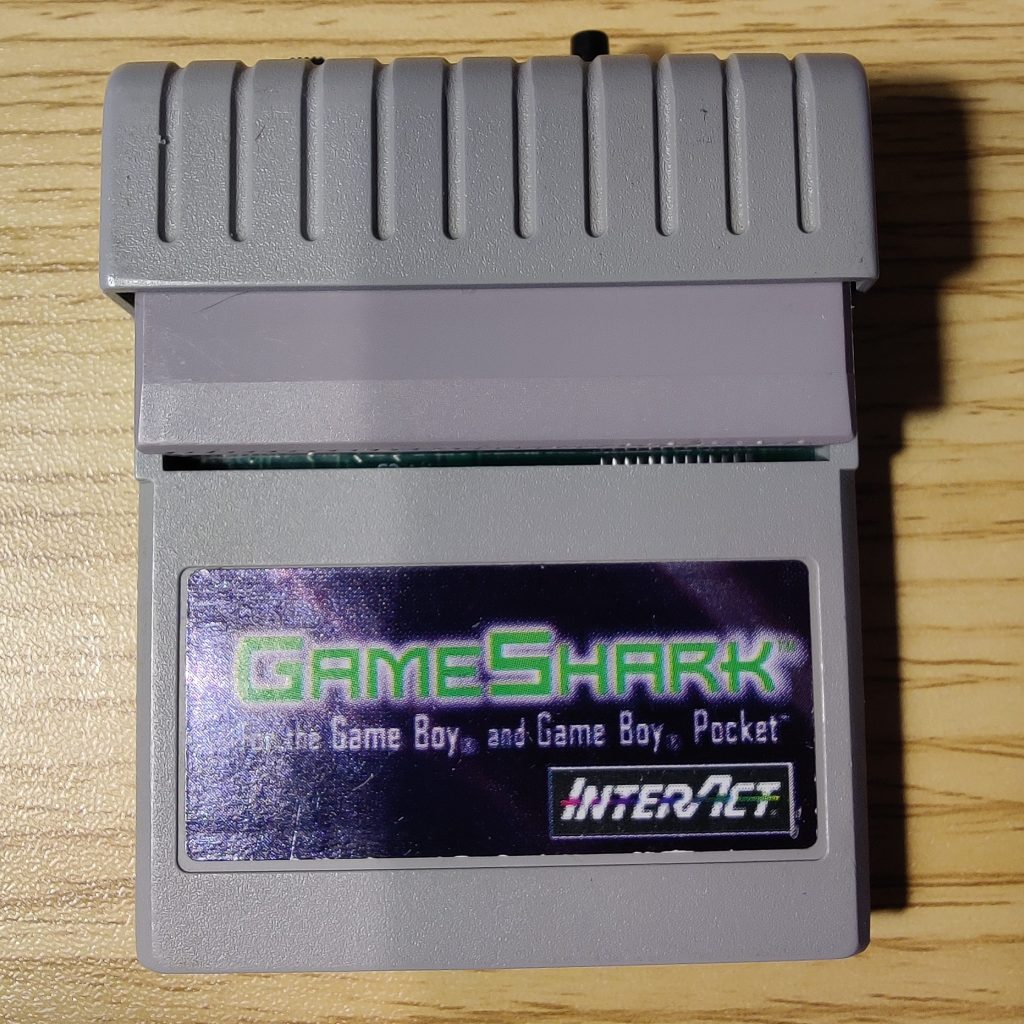
I’m sure you’re aware of a GameShark, but what you might not know is how important the software is on each revision. The GameShark on the left is an earlier version, 2.1, made for the DMG and Pocket. The one on the right is version 3.1, designed for the GBC. There were other versions, including the “Crystal” edition, which was advertised exclusively for Pokémon. And it probably won’t surprise you to hear that those versions sell for a whopping $170 USD.
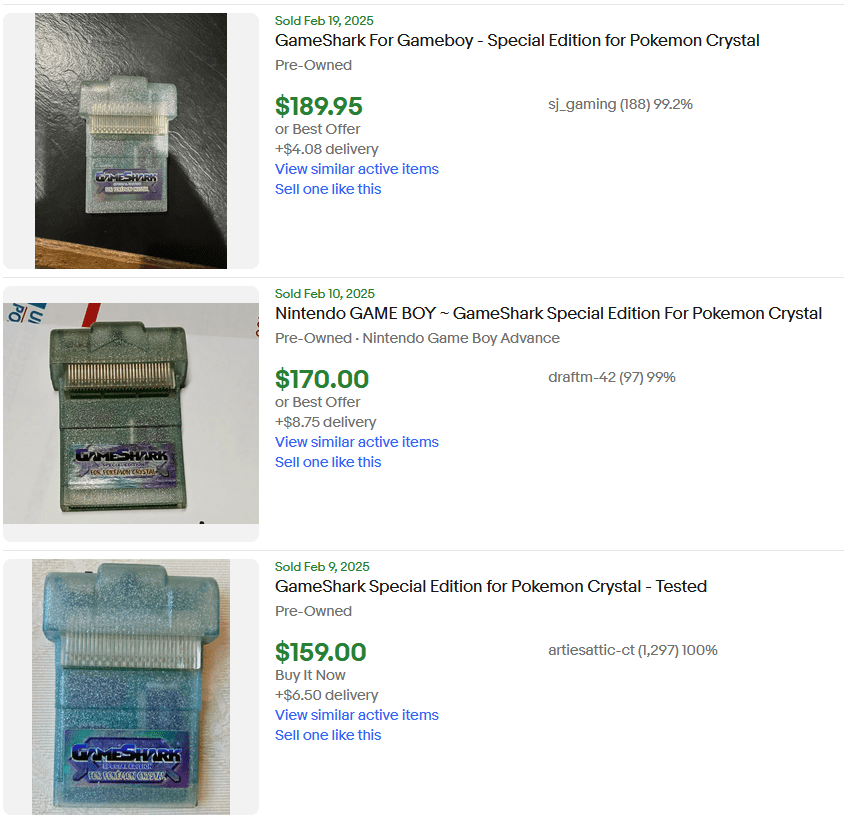
Yikes! But what if I told you that V3, V3.1, and Crystal are identical—at least hardware-wise? The software is different, but we live in the future, and have ways to update the software on any GBC-era GameShark. On RWeick’s GitHub, you can find any ROM file to update your GameShark. The easiest way to program the eeprom on the GameShark is with a GBxCart.
With this method, you can turn a V3 into a V4.2 and save over 100 bucks in the process. But what if you wanted to update a little gray V2.1 with the latest and greatest software? That’s a bit trickier since the hardware is different—but I set out to fix that.
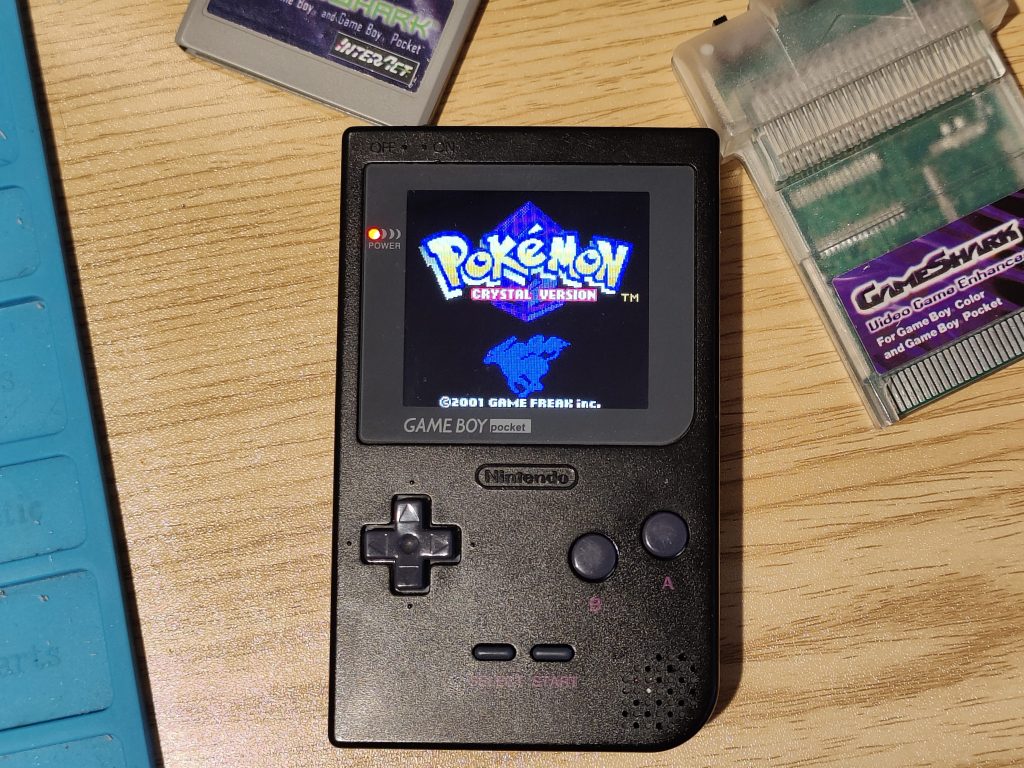
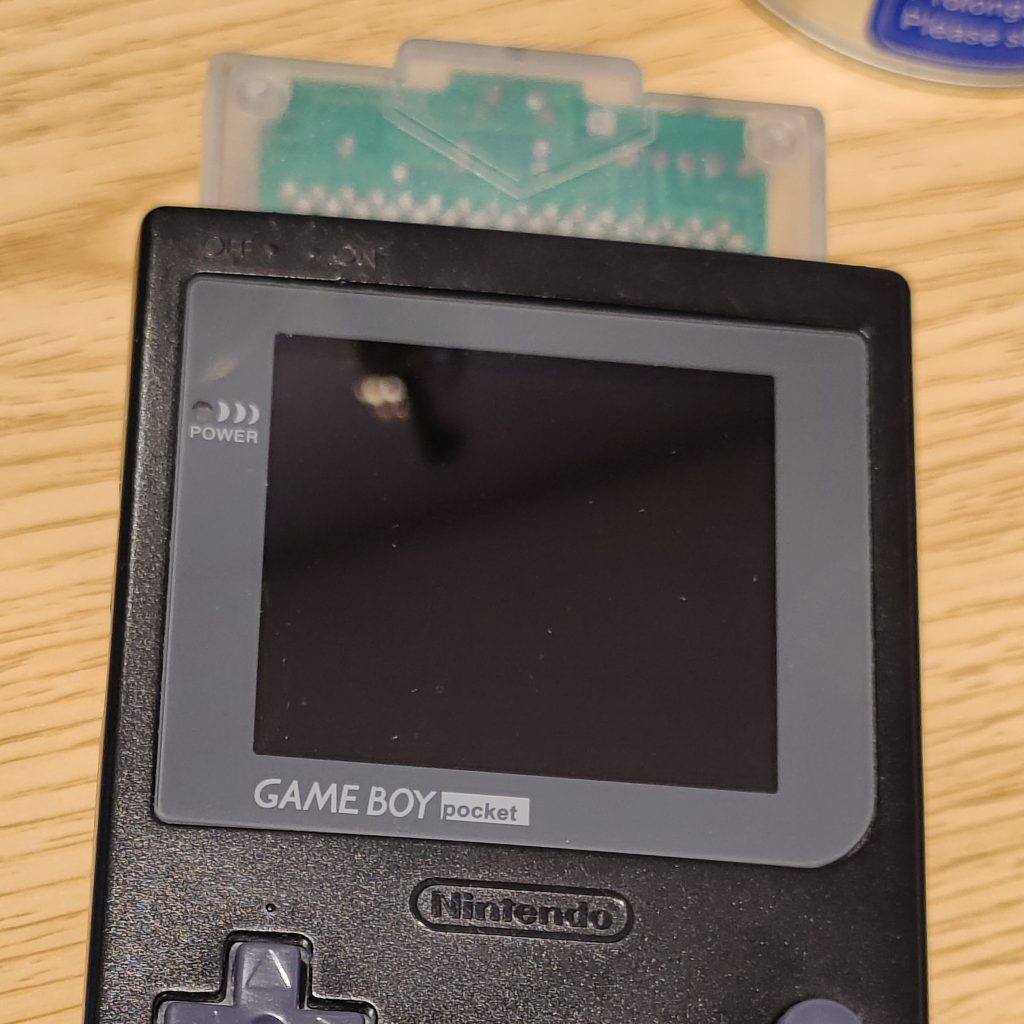
If you’re wondering why bother updating the short-lame GameShark when the GBC ones work just fine. I’ll show you why, but first you need to see my custom GBC. Yes, I know it looks like a Game Boy Pocket, but trust me—it’s a Game Boy Color. It’s an older project of mine, It has all the components from a Game Boy Color on a custom PCB that fits in a Game Boy Pocket shell.
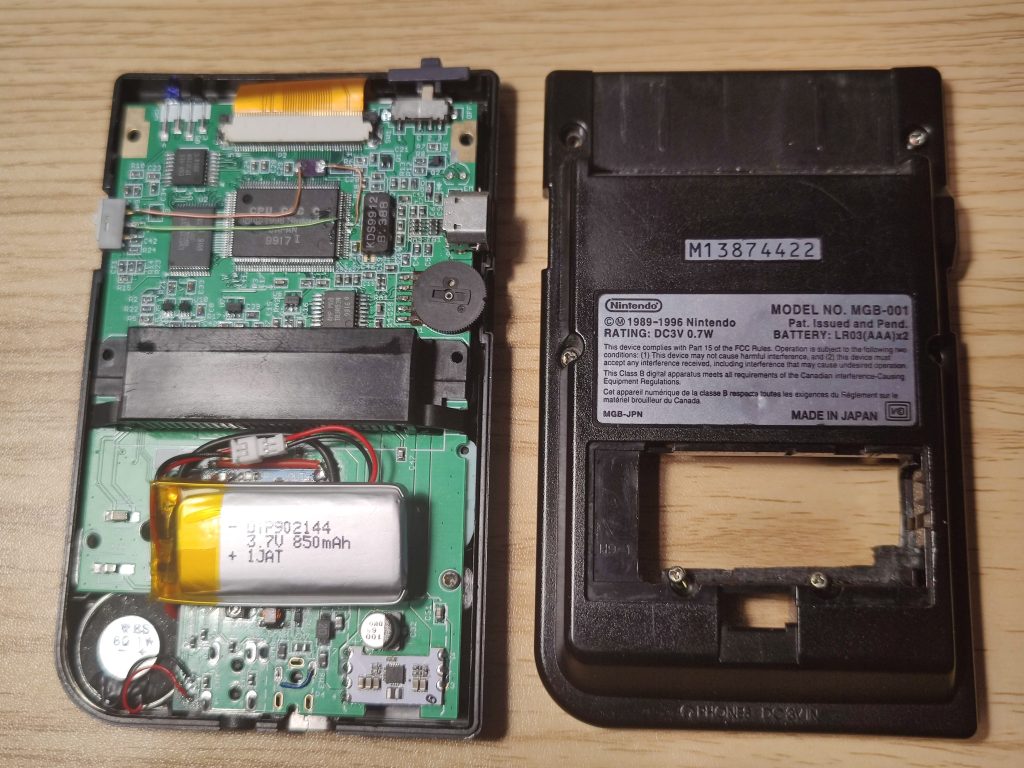
The motherboard came from N64-Freak—all I really did was populate the board. Though, I did add an overclock feature, a LiPo battery, a backlit screen, and a USB-C charging port. But let’s get back on topic.
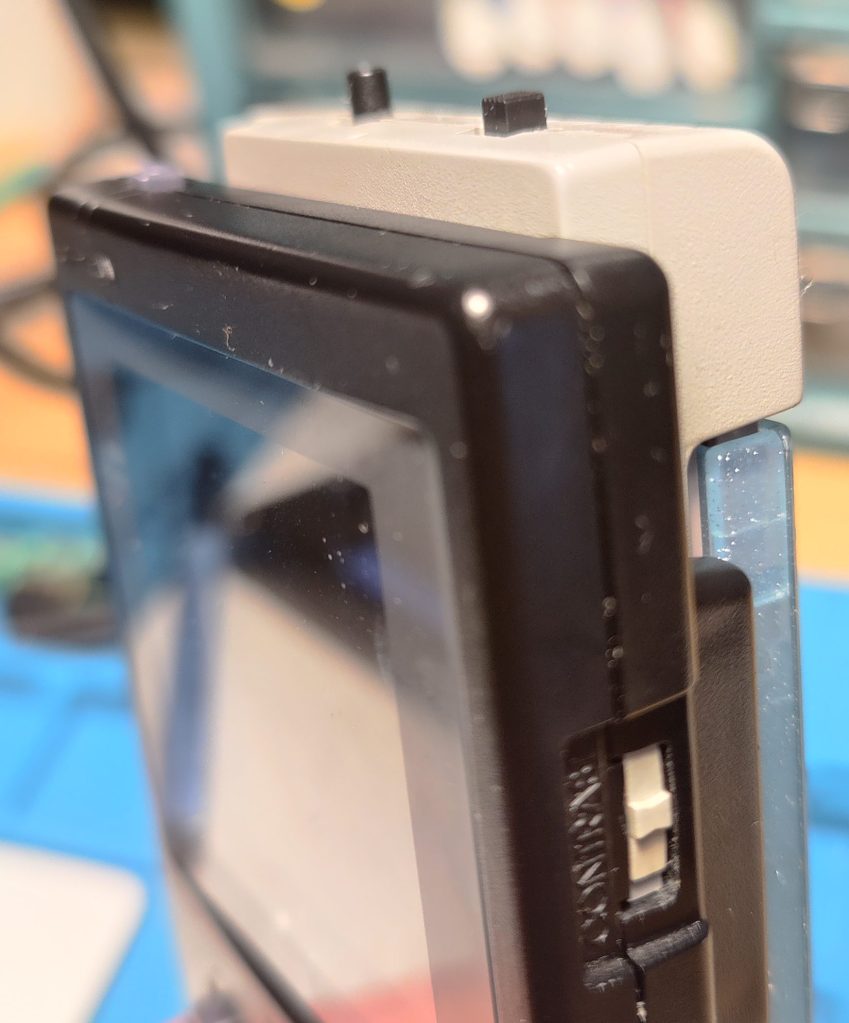
For some reason, the GBC-era GameSharks became tall and awkward. Maybe Datel thought it was necessary because of the new GBC form factor, or perhaps it was a marketing tactic—bigger is better, after all. Whatever the reason, it just doesn’t look right on my Pocket-Color.
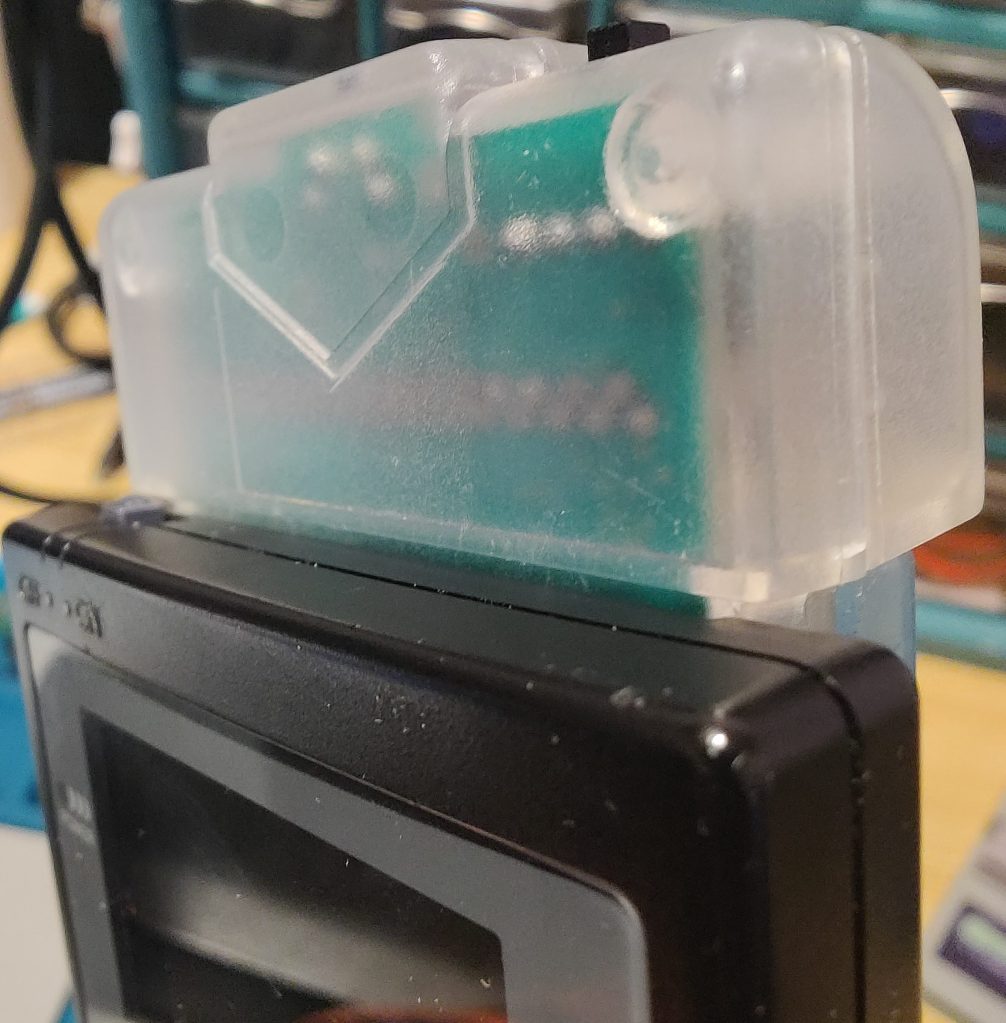
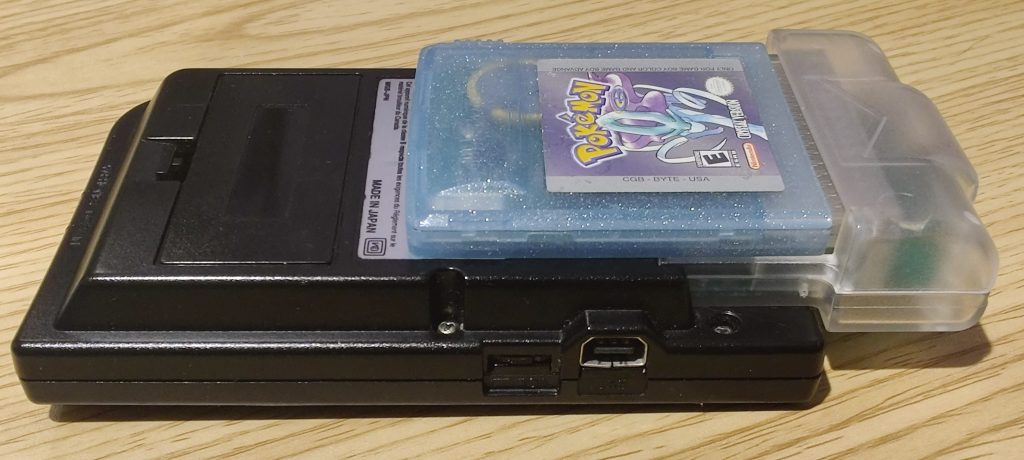
It just looks weird. How is anyone supposed to take me seriously with that thing?!

Version 2.1 just looks cool—like an Apollo spacesuit backpack or something. But unfortunately, it doesn’t function cool. The GBC-era GameSharks are superior when it comes to software. Not only do they have more space for codes, but they can also ‘snapshot’ the game’s state—like a save state—so you can come back to the exact spot later. This is great for games that use password saves. Plus, the later versions are compatible with pokemon games.
The little gray guy is outgunned on both fronts—hardware and software. And since its hardware is different, you can’t simply update it to a better version.
So, how do you get the better software into the smaller GameShark? Well, you would have to create an entirely new PCB. And that’s exactly what I did.
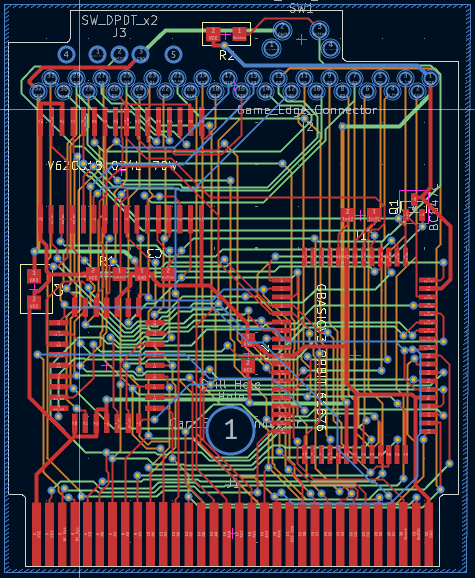
I wanted to learn more about KiCad and get away from easyEDA, and I thought this would be a good project to start. Thanks to RWeick’s help, I was able to use their KiCad files, which saved me time getting the correct PCB size and footprints. It also gave me a glimpse into how KiCad works without starting from scratch with a blank project file. I also used a free program called ‘freerouting.’ This essentially brute-forces trace routing, meaning it generates different board revisions until it connects all the connections. This way, I could make some tea and watch a YouTube video instead of spending hours running traces.
Unfortunately, this PCB layout was a bit cramped, and freerouting struggled. After a few hundred failed revisions, it was suggested to me that I make it a 4-layer board. Once I did that, freerouting had no problem at all. But there’s something strange about a 4-layer Game Boy cart. It also feels like a cop-out, but at least I had some free time to drink my tea and watch some Adrian’s Digital Basement.
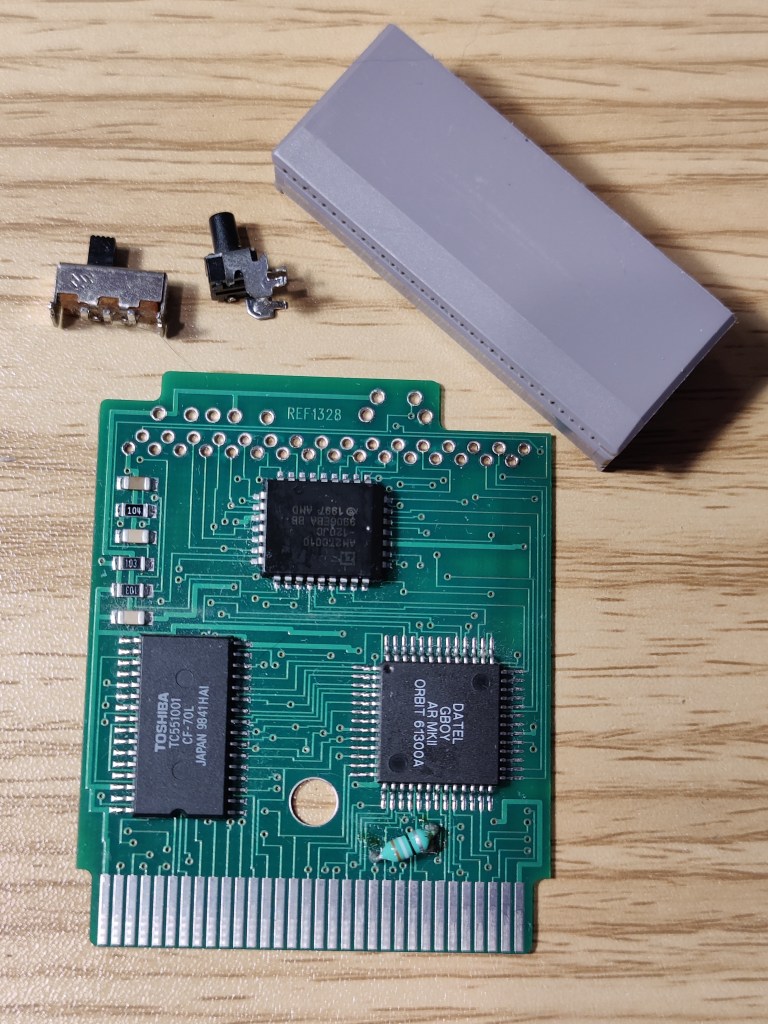
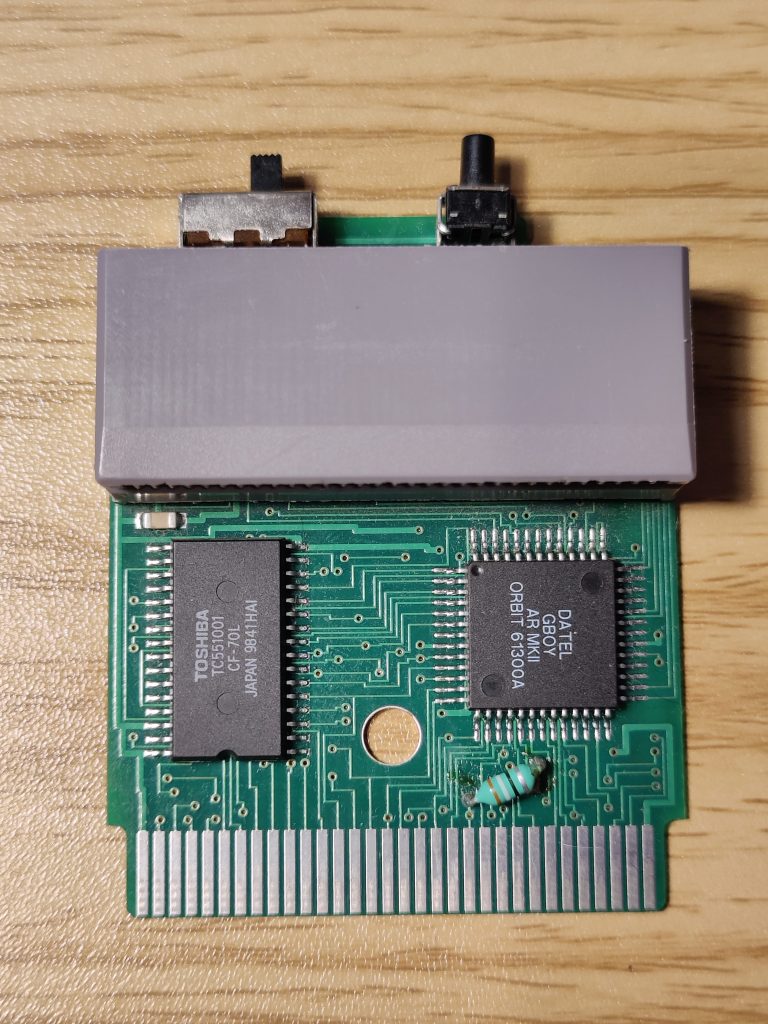
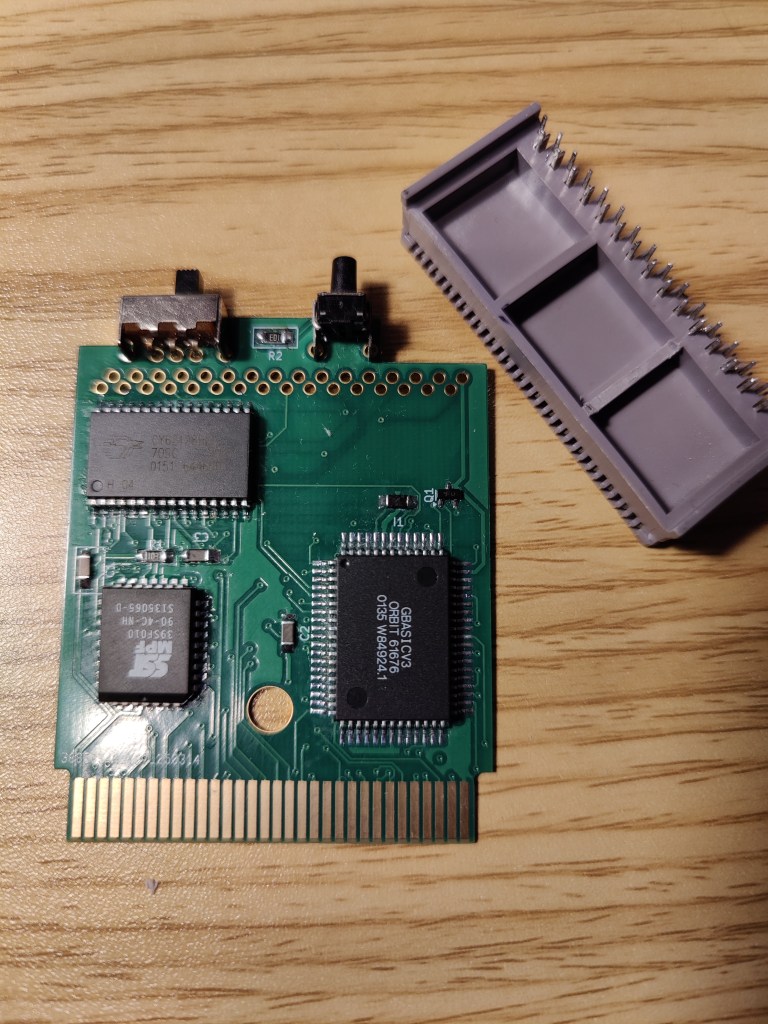
I wanted to reuse the switch, button, and cart reader from the v2.1. Removing the cart reader reveals the AM27C010 EEPROM, which is where the ROM lives. This is what gets programmed when you “update” the GameShark. The chip on the left is the 128K RAM, TC551001. The Orbit 61300A is a custom complex programmable logic device (CPLD) made by Datel. This chip is the reason newer ROMs don’t work on the v2.1. I’m not entirely sure what this IC does, but it sits between the Game Boy system and the game cartridge. Its primary role is to intercept and manage the communication between the two. This custom chip is programmed to detect specific addresses or data requests from the Game Boy when it accesses the game. When the Game Boy requests data from a specific address, the Datel chip is designed to recognize this and execute a predefined function based on the instruction set programmed into it.
For example, when the Game Boy accesses certain memory addresses, the Datel chip can modify the data being read, altering the way the Game Boy interacts with the game, or inject additional data, such as cheats. This chip essentially acts as a middleman that allows the GameShark to modify the game’s behavior in real-time.
Its design and function are tailored specifically for the GameShark. It was programmed by Datel making it proprietary and not an off-the-shelf item.

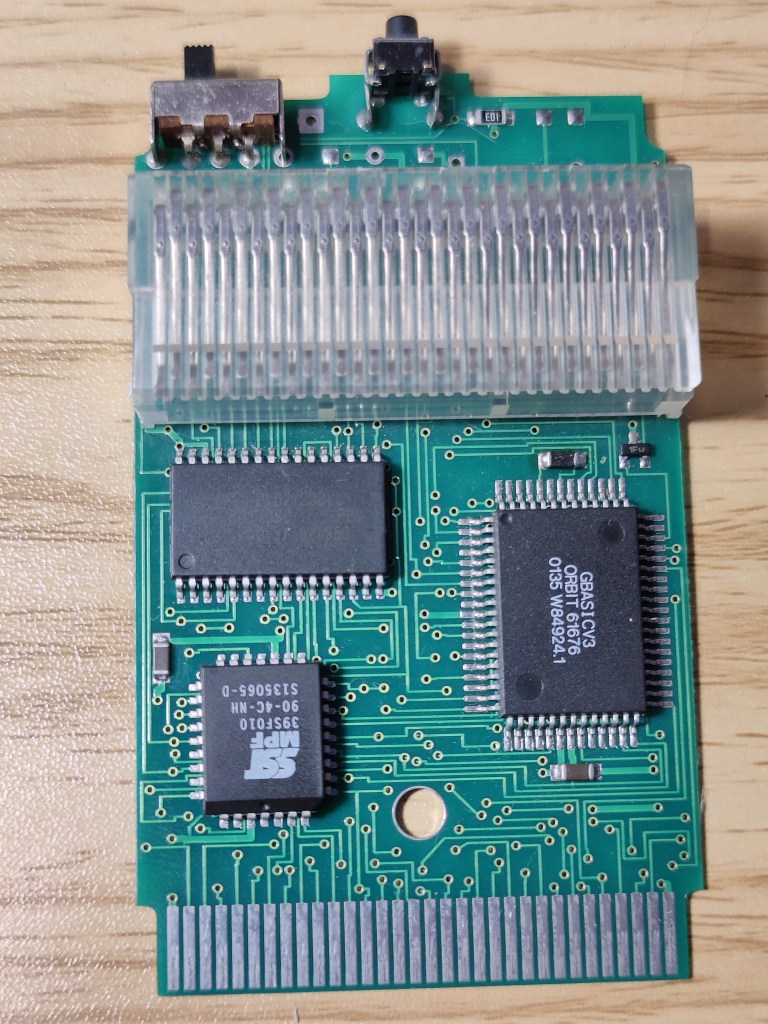
Here is the new PCB I created with all the components I need to reuse from the v3.1 and v2.1 GameSharks. From the GBC-era GameShark, we have the SST39SF010 MPF, which is like the EPROM used in the v2.1 version. I already programmed this MPF with version 4.2. Next chip is CY62128, a Cypress RAM chip. Other than the pinouts being different, I honestly think they’re the same as the V2.1 version. But the big daddy here is the GBASIC chip. Just like the CPLD I mentioned earlier, this is the meat and potatoes of the design.
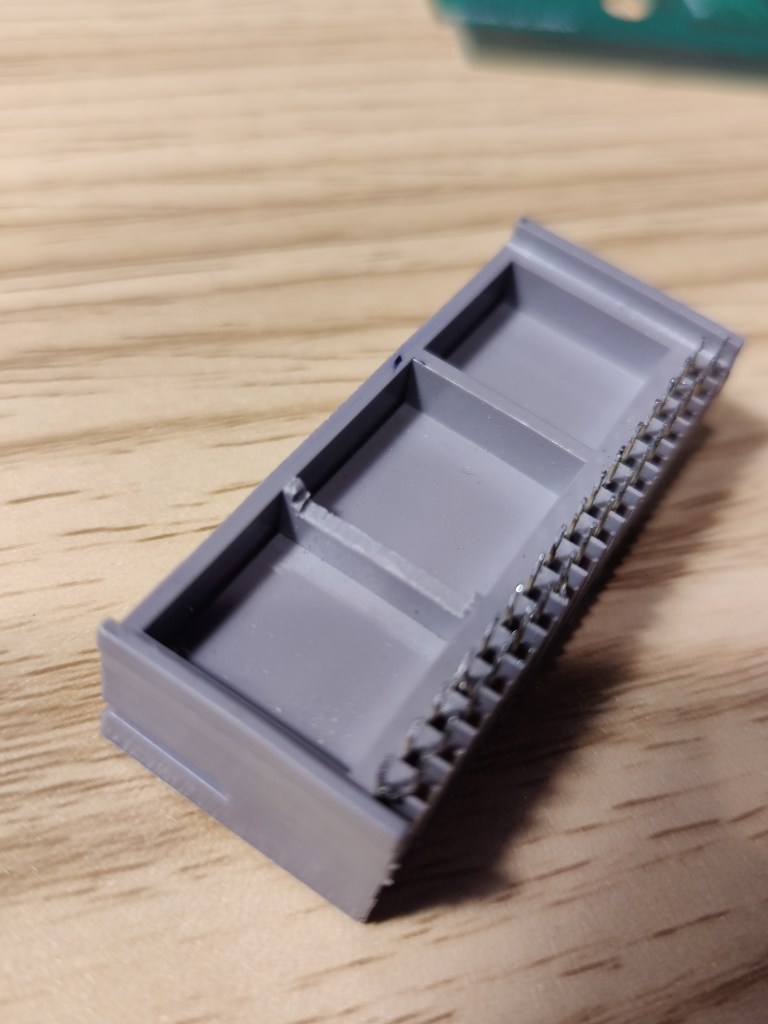
To make up for the lack of space, I placed the RAM chip under the cart reader. Of course, it doesn’t fit. I was aware of the edges of the connector, but I wasn’t aware of the segments beneath it. It wasn’t a big deal—I just used my trusty Dremel to file away some material, and everything was right as rain.
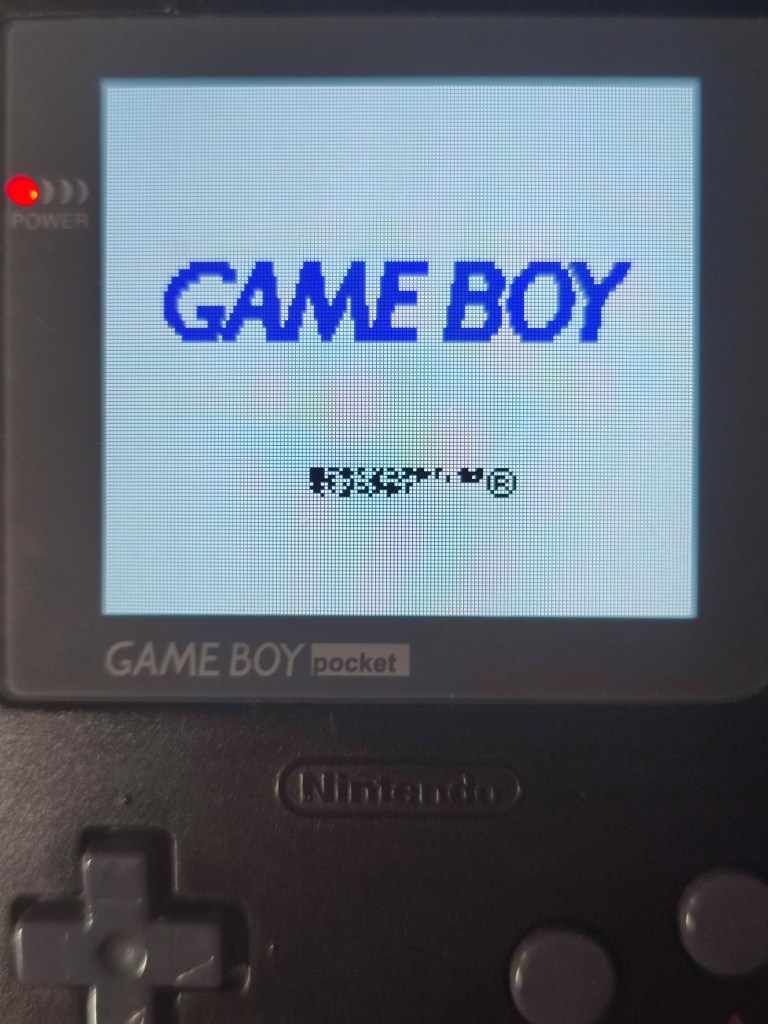
All back together and none the wiser, I was pretty confident I nailed this project on the first try. So, I slapped the GameShark into the Pocket-Color… and nothing. Well, something happened— a corrupted Nintendo logo.
Now, that’s strange, because the GameShark shouldn’t be seen by the Game Boy at all. Out of desperation, I put the GameShark into the GBxCart, and it eventually read it as “GameShark v4.2.” But it was inconsistent—it would successfully recognize the GameShark once every 10 reads. I know enough about broken stuff that this felt like a floating pin—like a leg of a chip is flapping in the breeze and causing unexpected behavior.
Since the Game Boy is recognizing the GameShark even though the CPLD is designed to be asleep on the bus and not be recognized, made me think there’s a bad solder joint somewhere on the CPLD. Or maybe the EEPROM is always on the bus because I got a bridge (a connection between two adjacent pins) somewhere… I don’t know. All I do know is the CPLD is supposed to cloak the GameShark until after a game is loaded, but it isn’t. It’s definitely not the PCB I made, right? It’s gotta be a bad solder joint or something.
So after removing the cart reader and reflowing all the chips, I was still getting the same results: a corrupted Nintendo logo and inconsistent reads from the GBxCart. After wasting too much time, I finally decided I needed to test the connections. Maybe there was a fault on the PCB I designed. I thought it had to be something on the cart bus—something wasn’t connected. And since I was getting the same corrupt logo every time, it meant it was always the same broken connection.
So, I decided to check the golden fingers on the PCB and trace out every connection related to the cart bus.
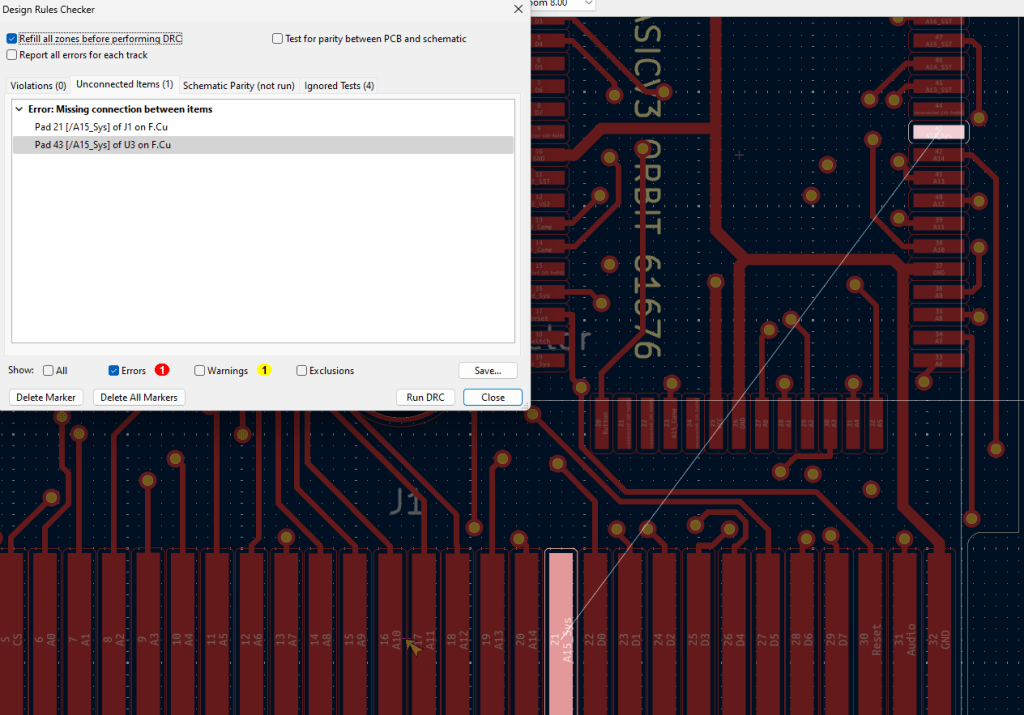
Bingo! Pin 21 on the Cartridge and pin 42 on the GBasic IC’s were floating. This is the system’s address line A15 and its supposed to be connected to the CPLD. But how did this happen?
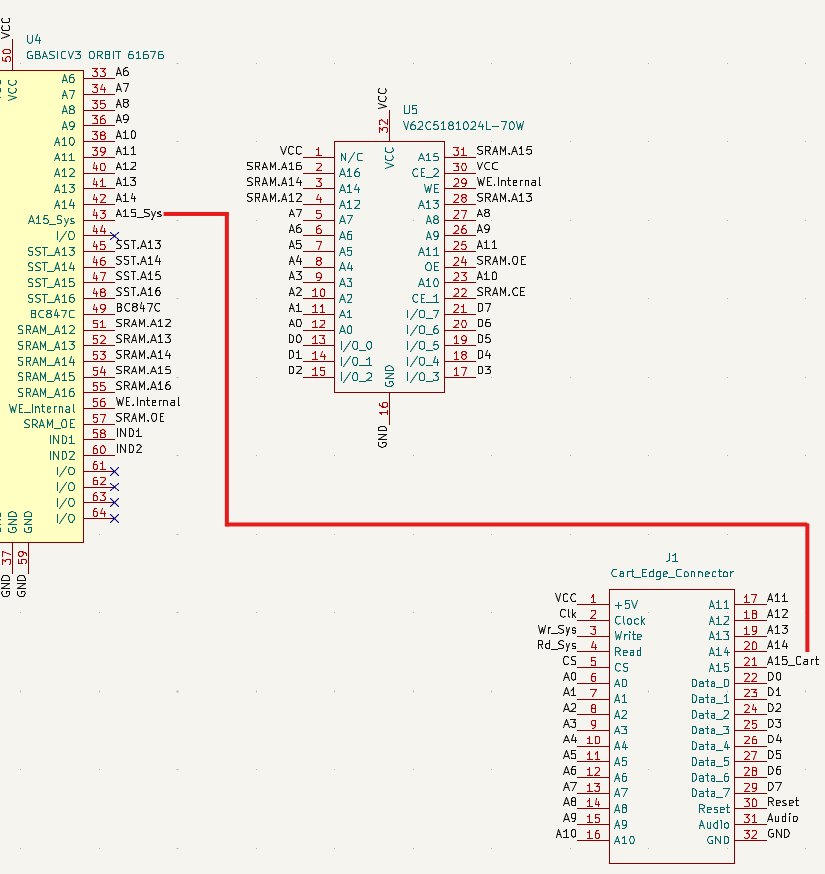
It’s because I named the net wrong! A15_Cart needed to be called A15_Sys. Ugh, I’m an idiot for not catching that.
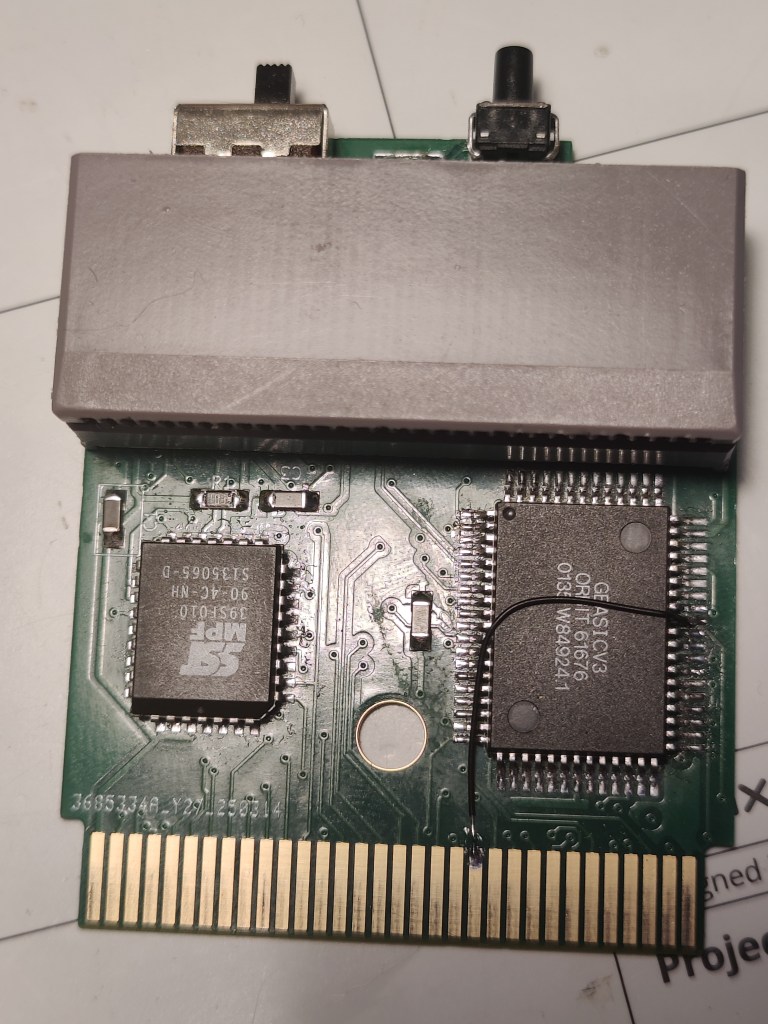
I then connected A15 to Pin 43 using a bodge wire.
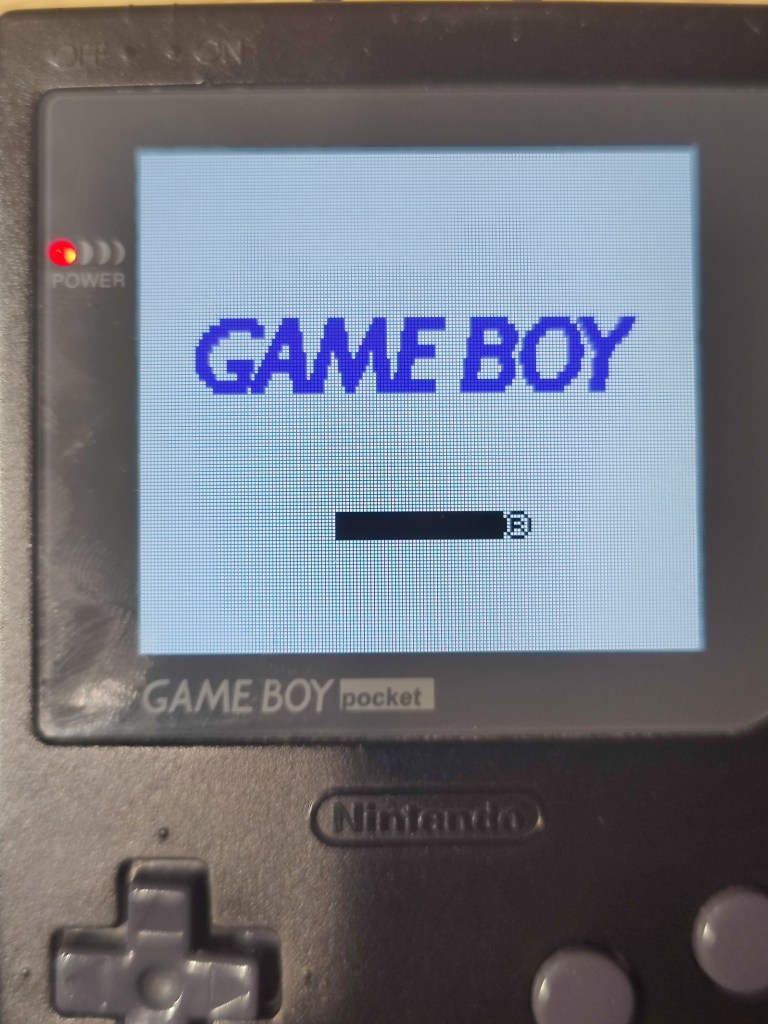
The GameShark is now invisible to the Game Boy.
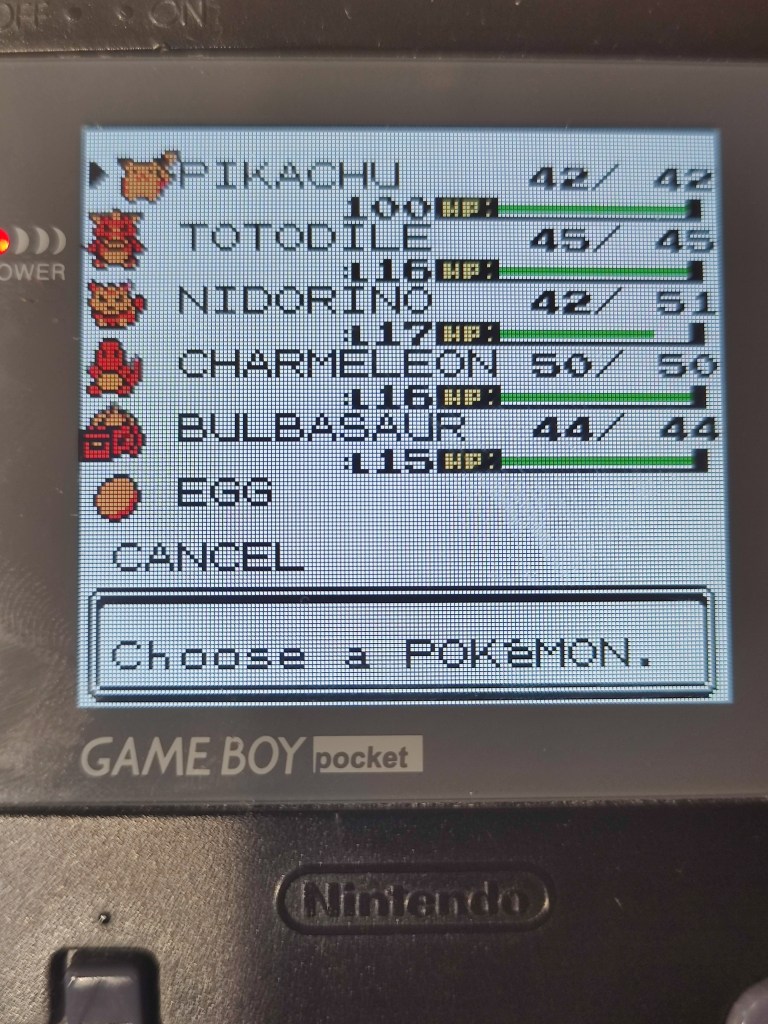
Hurray! I now have a level 100 Pikachu with only 42 health!
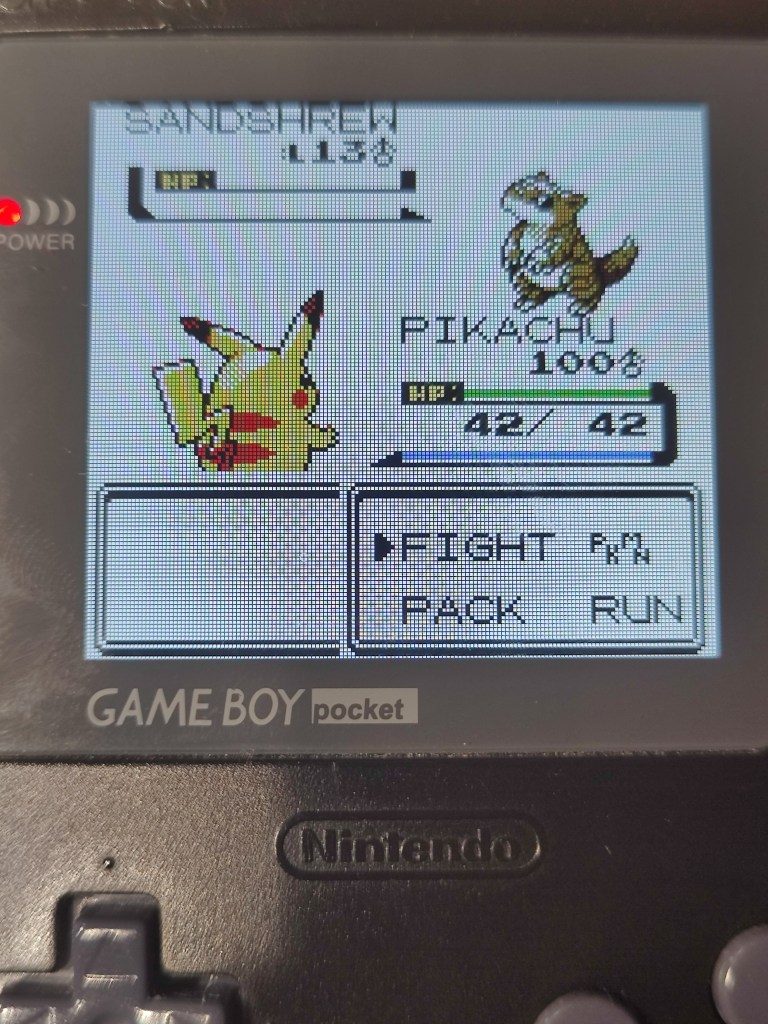
That’s okay, because who needs health when every enemy Pokémon starts the battle with 1 HP!

And there we have it—my custom PCB for the GameShark project is finally complete. Maybe in the future, I’ll order a revision with the fixed A15, but a bodge wire is good enough for now. Doing this project just highlighted what I already knew about myself: I need to focus more on the software side of computers and dive into assembly. It’s a curiosity that deserves attention, and I hope I give it the time it deserves. I also want to thank RWeick for their help. Hopefully, another project will allow me to work with them again; their insight was much appreciated, and it’s always enjoyable to make another internet friend.
If any of you want to edit or print your own version of this, I’ve made the revised files free to download on my ko-fi.
Until next time—later, nerds!

Leave a comment