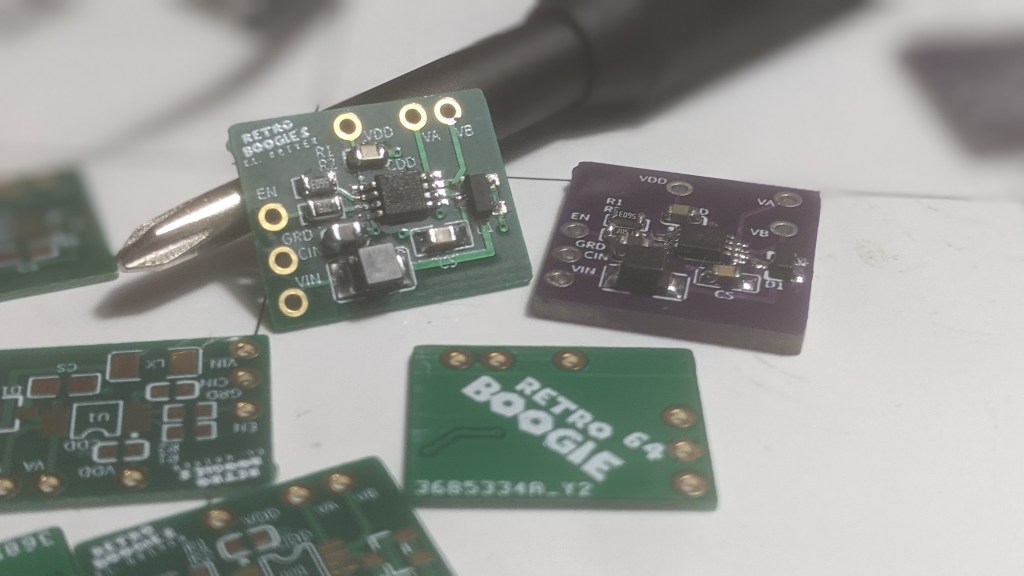

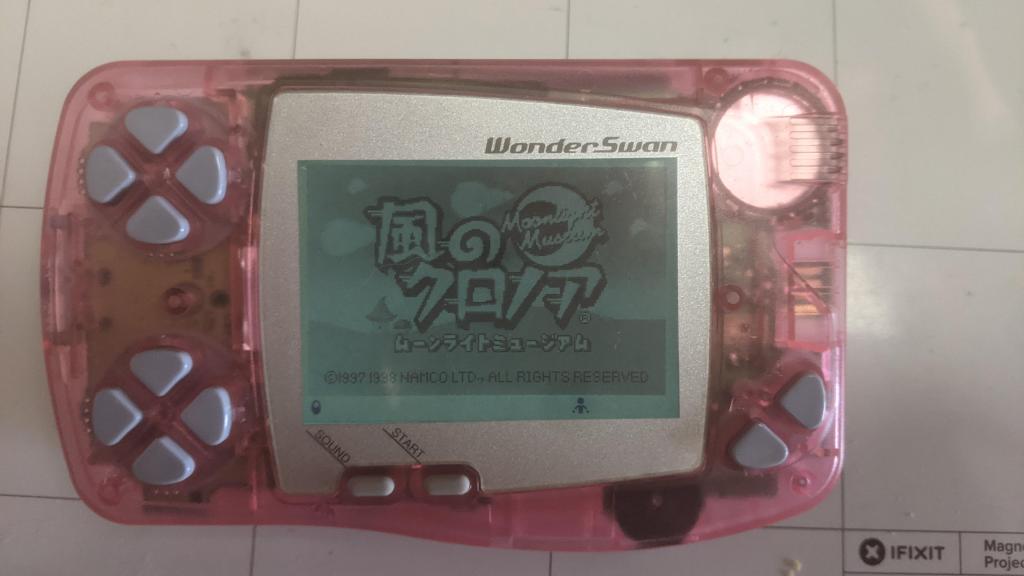
I made these EL panel drivers to power Electroluminescent panels, so I could use them as backlights. Why, you may ask? For no reason other than I think EL panels are cool. I aimed to design the board small enough to fit into a handheld device. You know how there’s the Game Boy Light—an official Game Boy model with an EL panel as its backlight? I wanted to do something similar for the WonderSwan.
My goal was to create an era-correct modification, imagining how Bandai might have responded with their own backlit handheld if they had pursued it. This project was also a great opportunity to design my first PCB. I basically followed the datasheet for the core design, which allowed me to focus on learning PCB editing software, selecting components, and navigating the process of manufacturing the physical boards.
Other than the PCB and the EL panel, I also had to customize the LCD itself. Usually, this involved removing the reflective rear polarizer and adding a non-reflective clear one. A transflective backing was too opaque for the light from the EL panel to shine through.
As a result, I was never truly satisfied with the contrast after installing the EL panel. This wasn’t necessarily because the backlight washed out the LCD but because of the rear polarizer. I always experienced a loss of contrast when working with polarizer replacements on WonderSwan screens, regardless of the polarizer type—FSTN or STN.
That was until, by accident, I discovered wave retardation film.
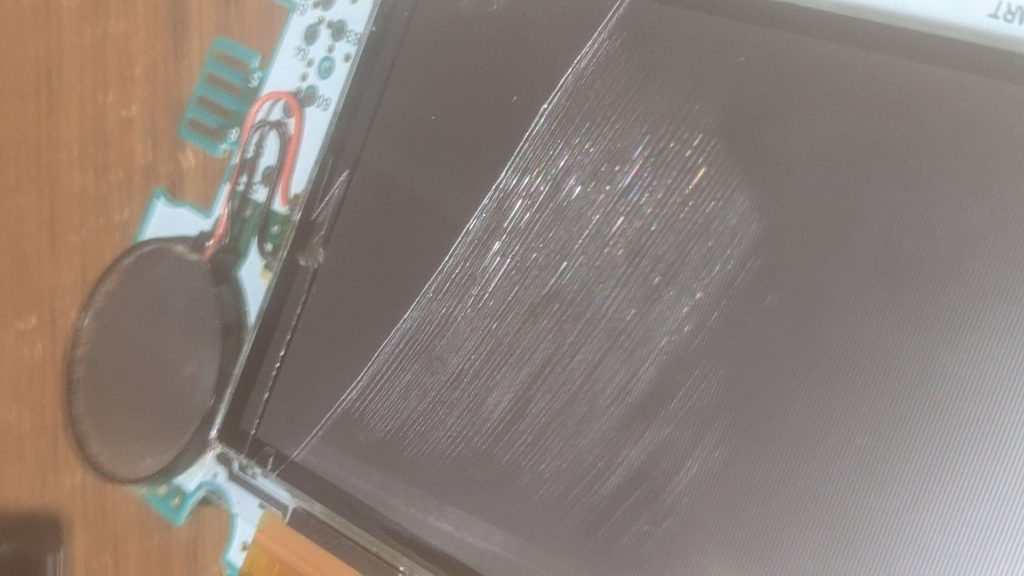
When fixing a SwanCrystal display, I noticed it had damage under the front polarizer. I removed it, thinking it was just a layer of glue, but it turned out to be a thin “mystery layer.”
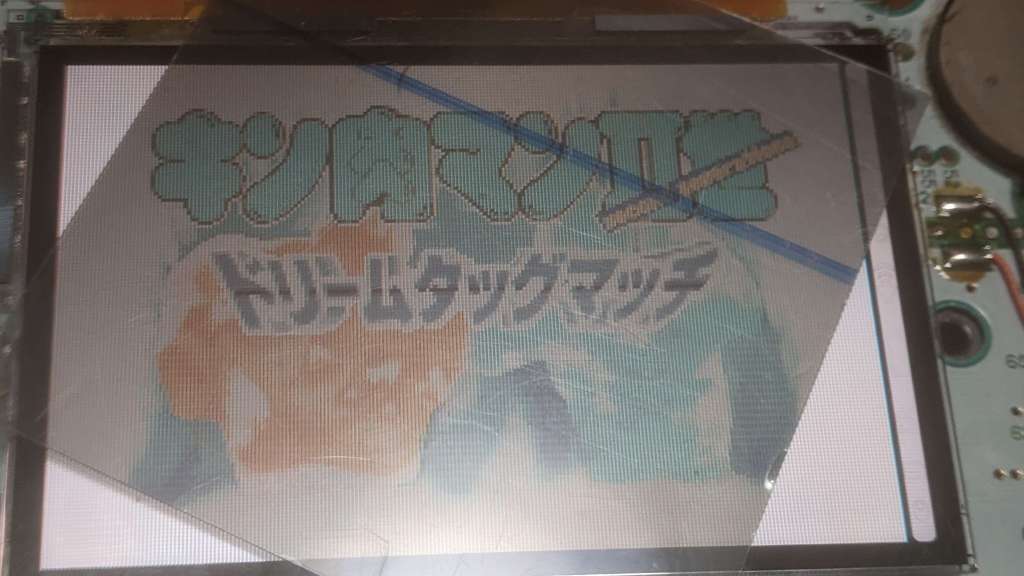
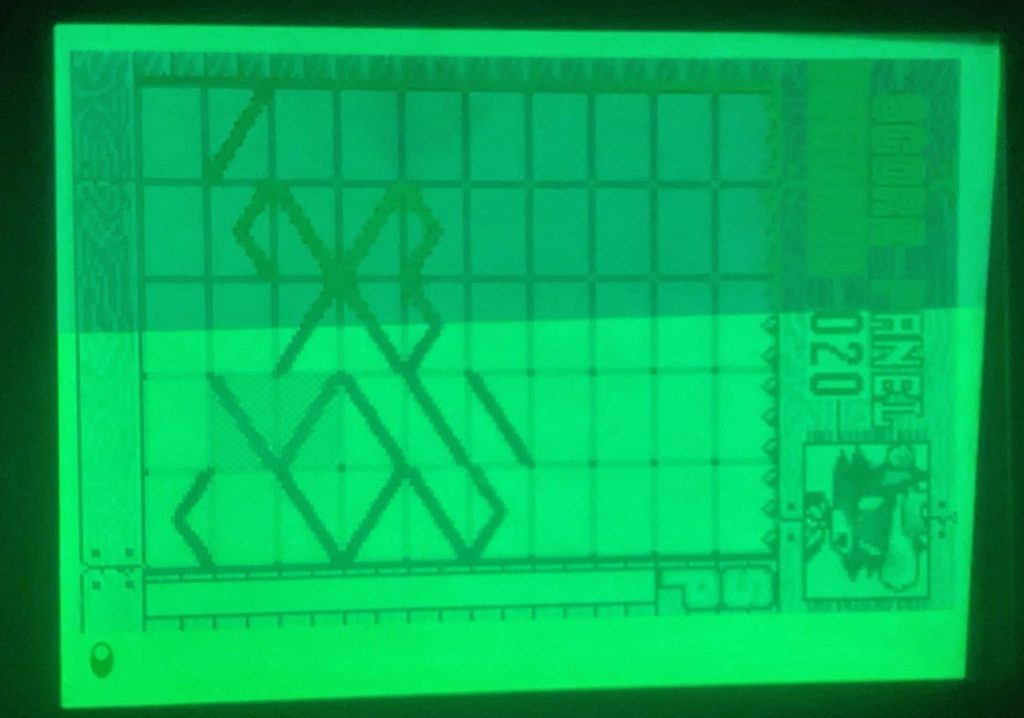
I didn’t think much of it until reassembly. When I applied a linear polarizer to the screen, the colors were inverted. In the image above, the left screen is missing the “mystery layer,” while the screen on the right is only missing the front polarizer. I had no idea what was going on.
I started doing some research and came across wave retardation films, also known as waveplates or retarders. These are used to improve contrast and viewing angles and, in the case of the SwanCrystal’s color LCD, color inversion. The biggest issue? They’re not cheap! There isn’t really a consumer-level store for waveplates—it’s mostly industrial. A 24-inch by 20-inch sheet costs $356 USD. Like, seriously? I only needed a 3-inch by 2-inch piece, but even a 4-inch by 4-inch sheet cost around $30 USD.
**An update about a waveplate alternative at the end of the post**
Determined to find a solution, I sent out cold emails to every optical manufacturer in my area. Fortunately, a kind man named Peter, just two hours away, responded. He generously sent me some leftover cut-offs from a previous job—two small sheets of varying sizes, no bigger than 5 inches each.
I finally had my insanely thin mystery layer, WP140HE Broadband 1/4 Wave Retarder @ 560nm.
I cut the waveplate to size, laid down some LOCA glue, and the screen was as good as new! This was one of the most exhausting LCD fixes, but now, back to the EL panels.
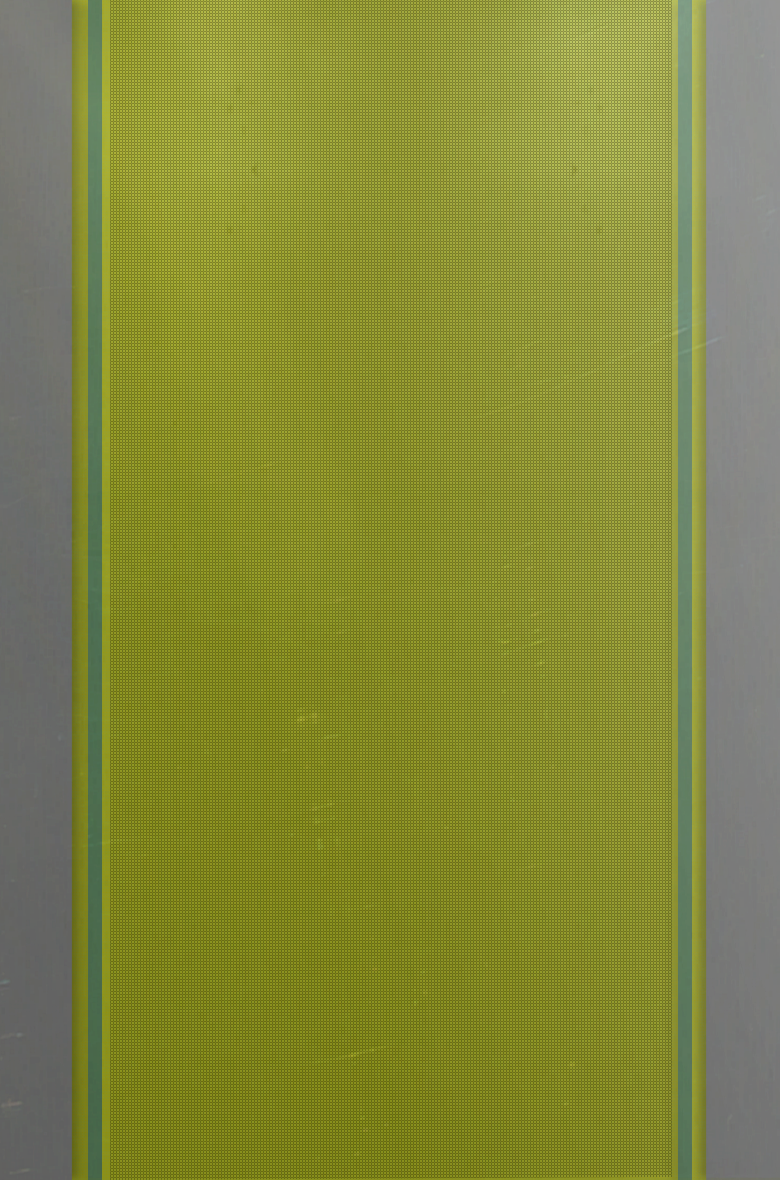
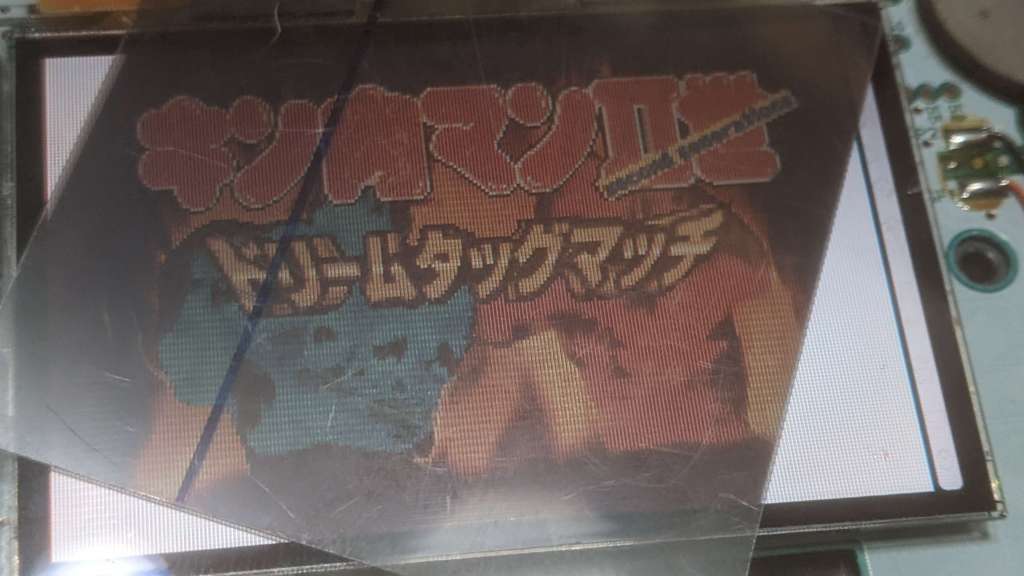
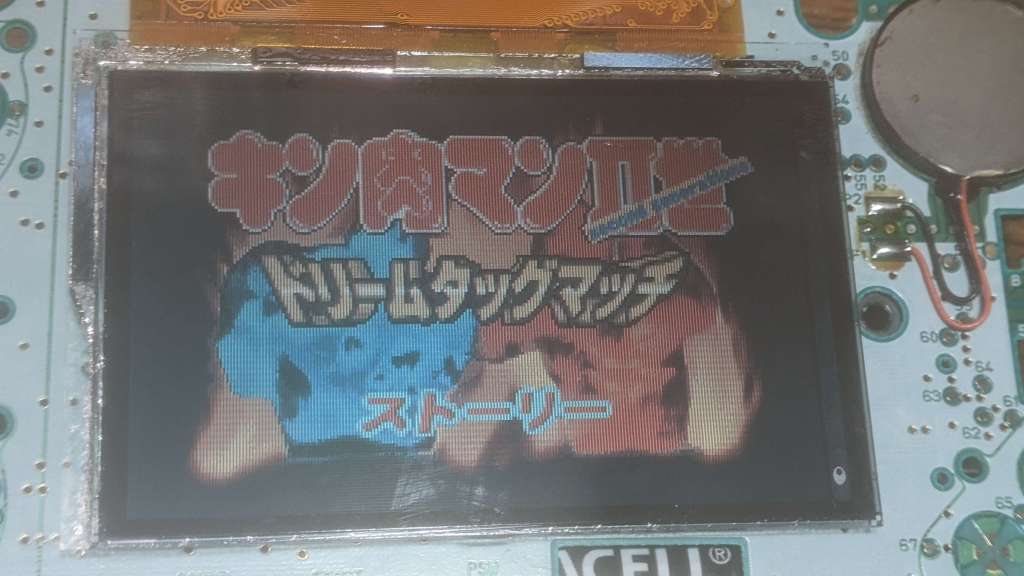
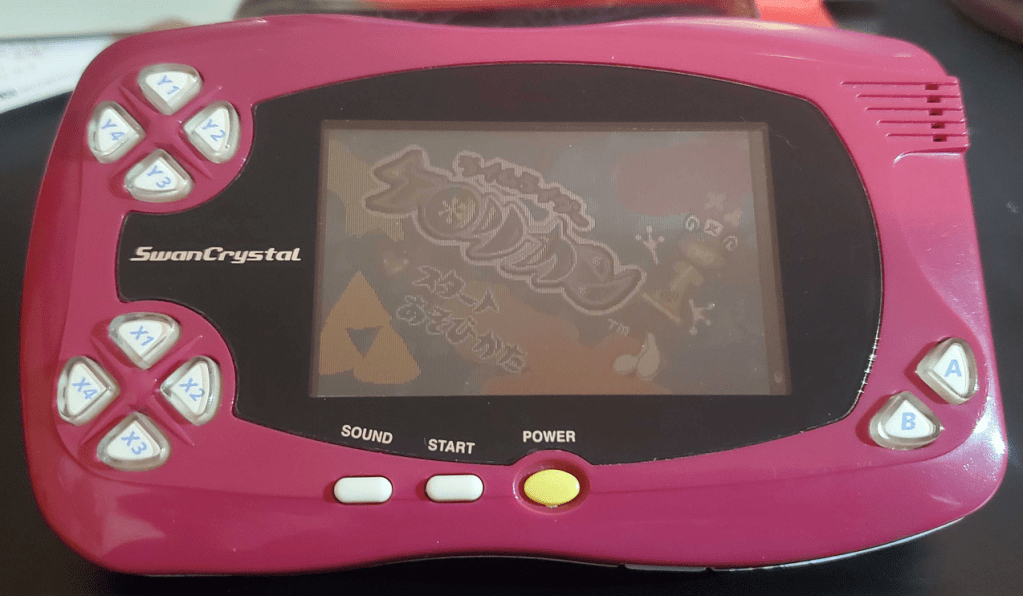
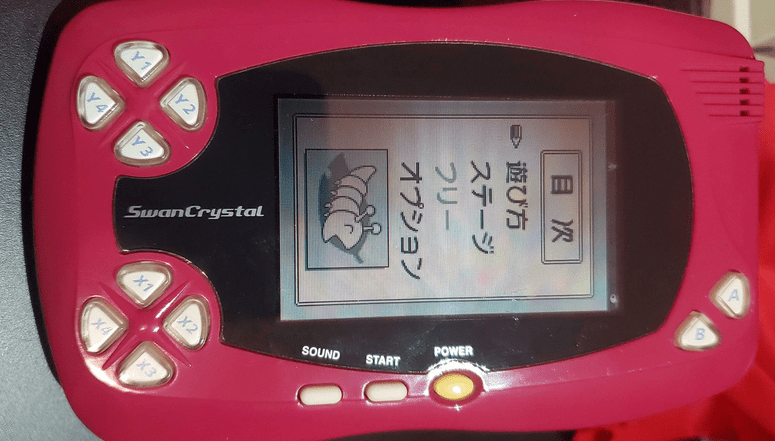
In the image above, the top portion doesn’t have a 1/4 waveplate, while the bottom section does. As I mentioned earlier, the waveplate improves contrast and viewing angles. The improved viewing angles are especially helpful.
Before adding the waveplate, the WonderSwan’s screen lost contrast at its natural viewing angles. (Keep in mind, the WonderSwan can be played both horizontally and vertically, so viewing angles are more important than on most other handhelds.) After adding the waveplate, this issue was also resolved.
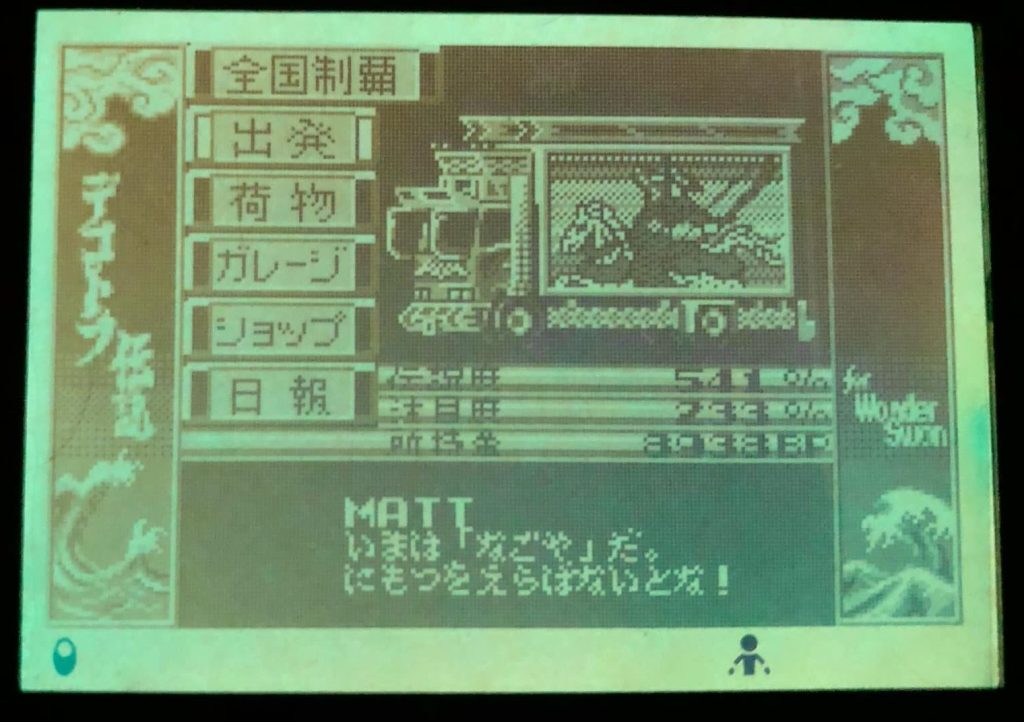
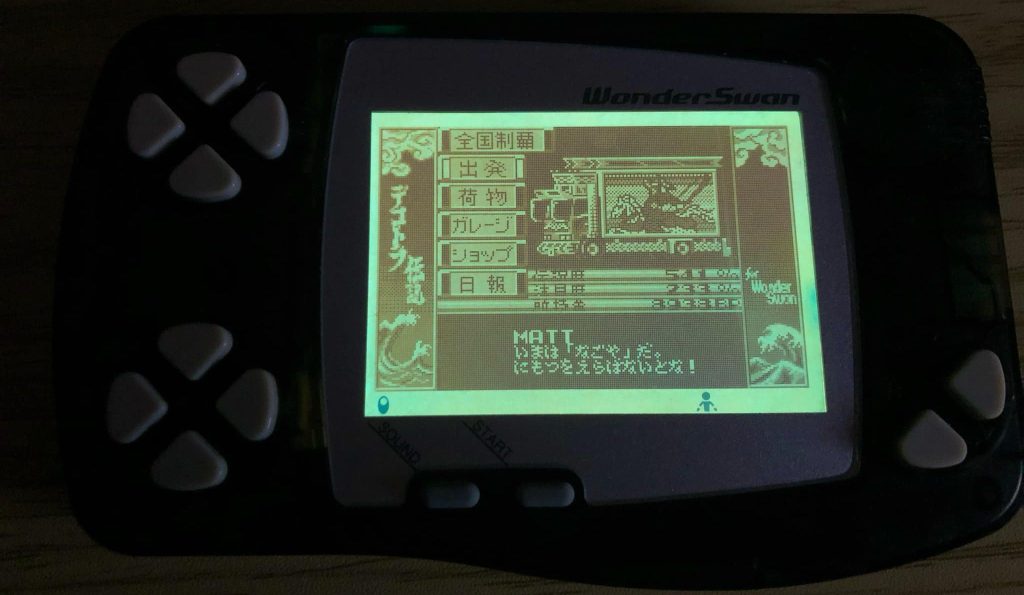
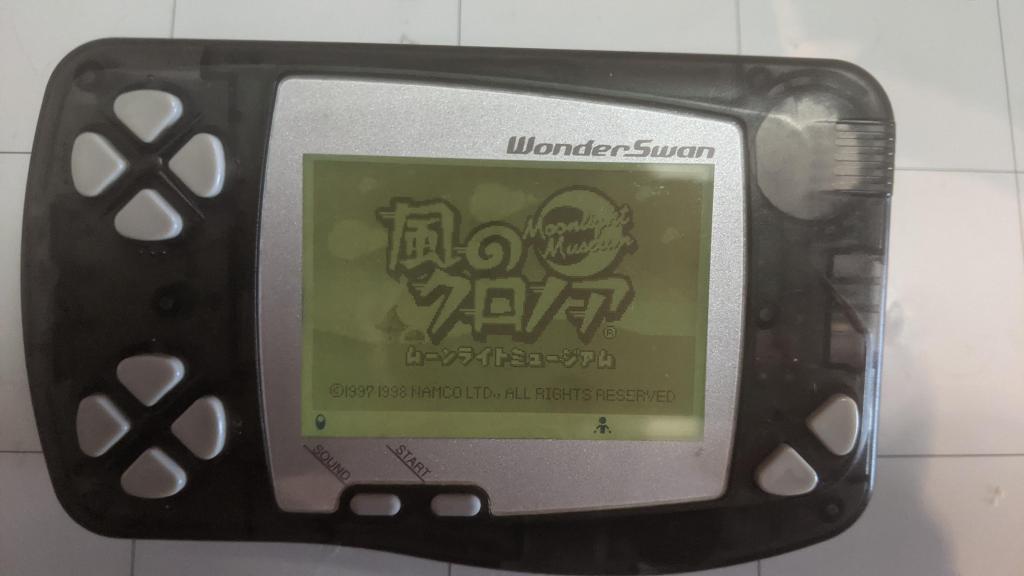
The WonderSwan in the image above was the last EL panel I made, and I still have it. I use it all the time—it’s one of my favorite mods. The game I’m playing is Bakusou Dekotora Densetsu, and if you don’t know about the series, you should definitely check it out.
Also, I really hate working with LCDs. Until next time—later, nerds!
update: A reader tried what was suggested in the comments and used Samsung OLED polarizer film. Which achieved good results. So if fate brought you here, just know, there is a cheaper solution.
Photos submitted by a reader after using Samsung OLED polarizer film.

Leave a comment