
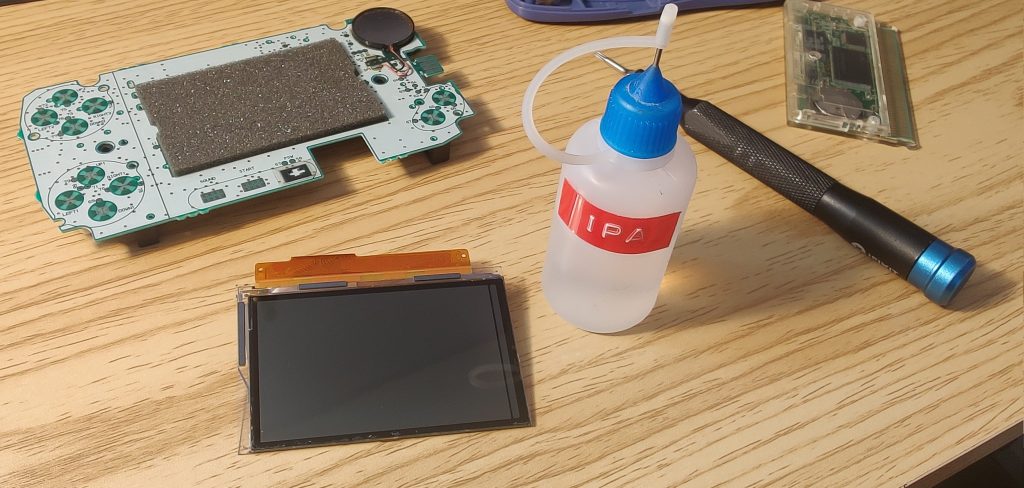
In my other post “Waveplates and Backlit WonderSwans” I complain about my SwanCrystal screen woes. In the comments, it was mentioned that Samsung’s OLED polarizer film is an “all-in-one” replacement film. So I wanted to test it out myself.
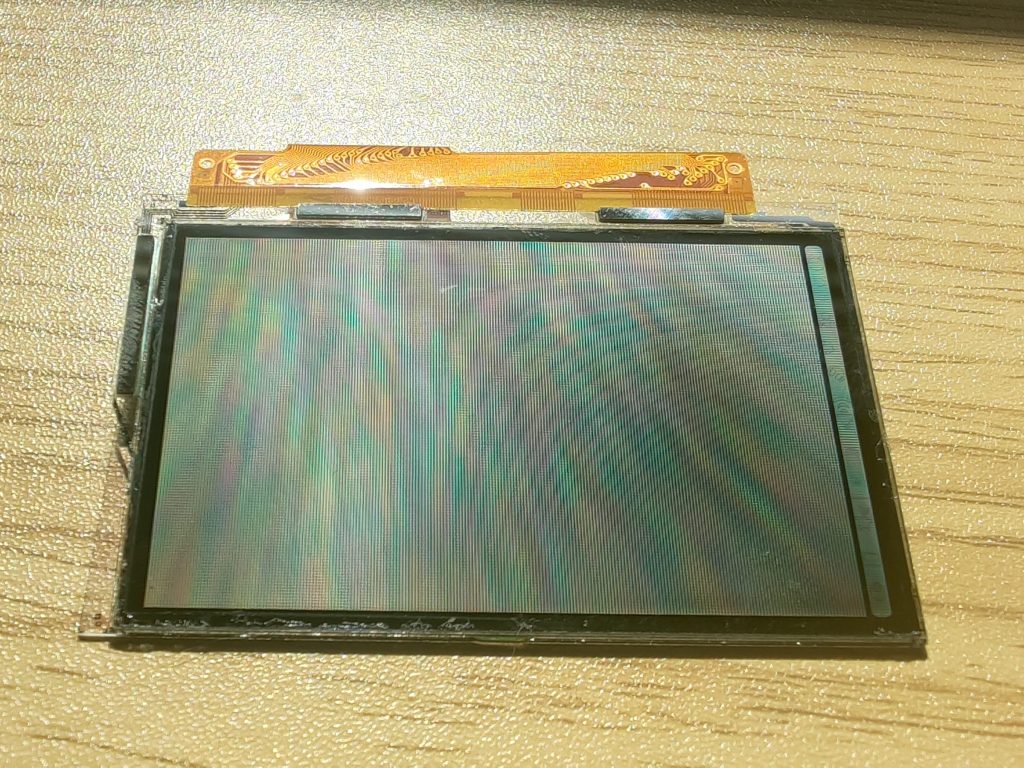
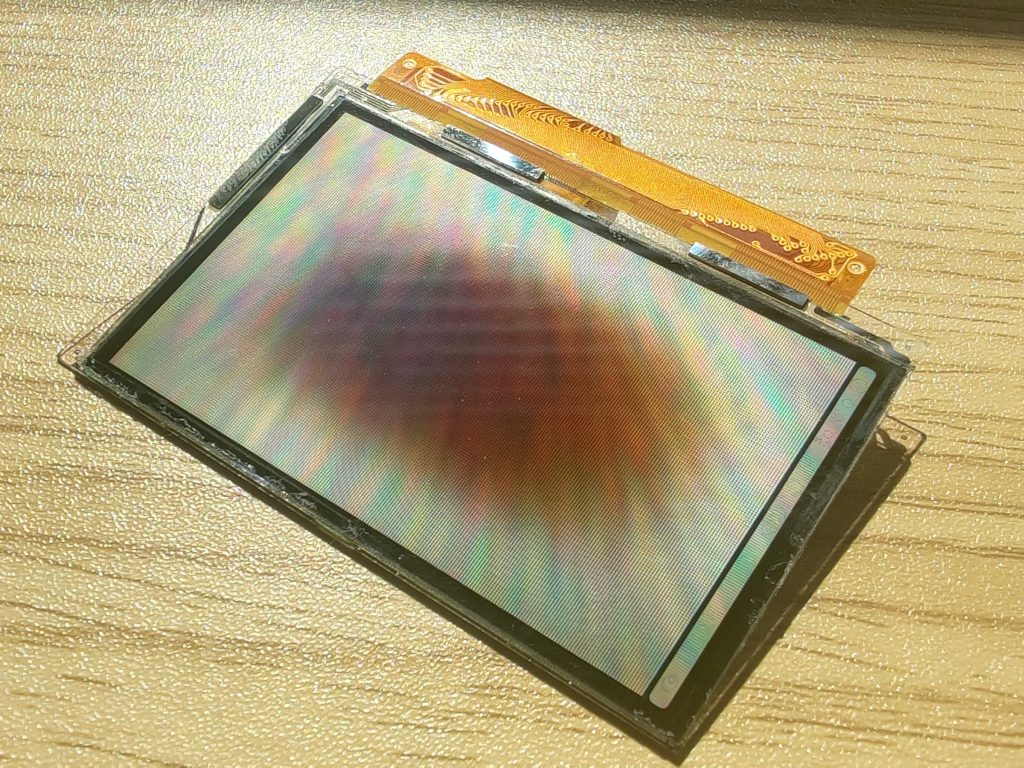
This is the specimen we are going to repair. At a glace it seems normal, but at certain angles you can see some polarizer nonsense in the center of the screen,
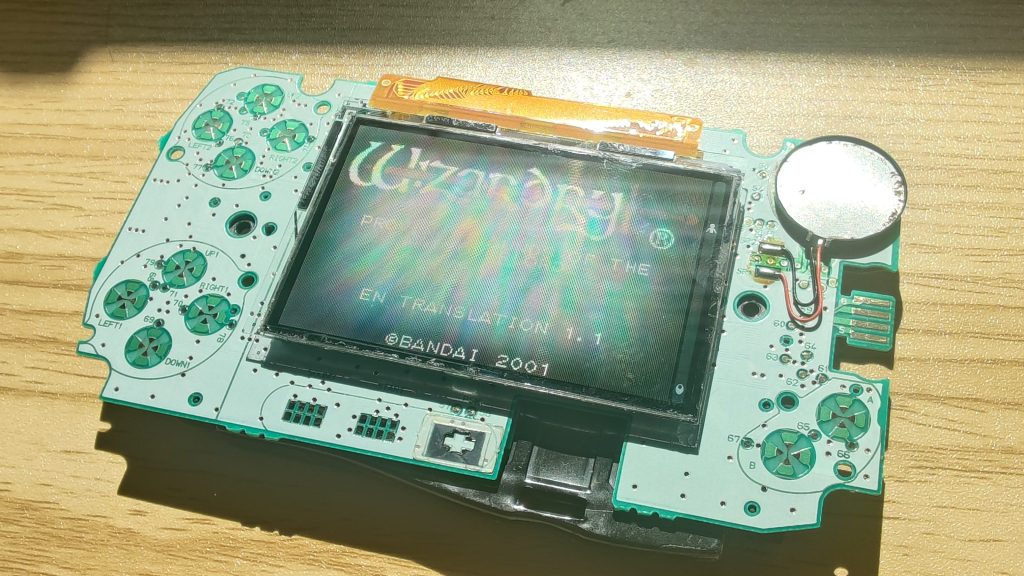
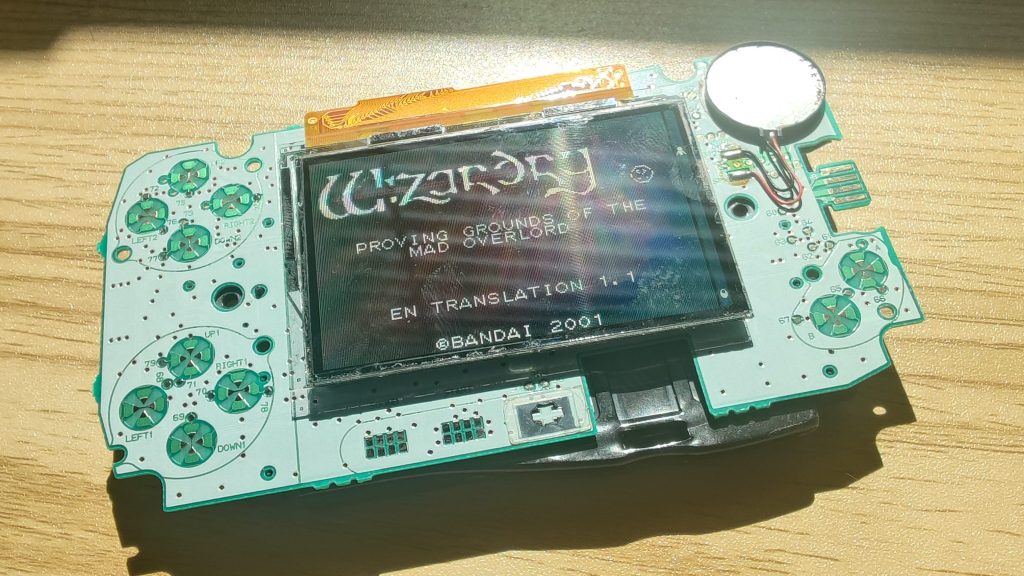
I’m not sure what causes this type of failure, but it always seems to originate in the center. I assume it’s the adhesive layer failing, but that’s just a hunch. At some angles, the center of the display has inverted colors. Although in the images here, it looks like a blind spot, almost like a cataract.
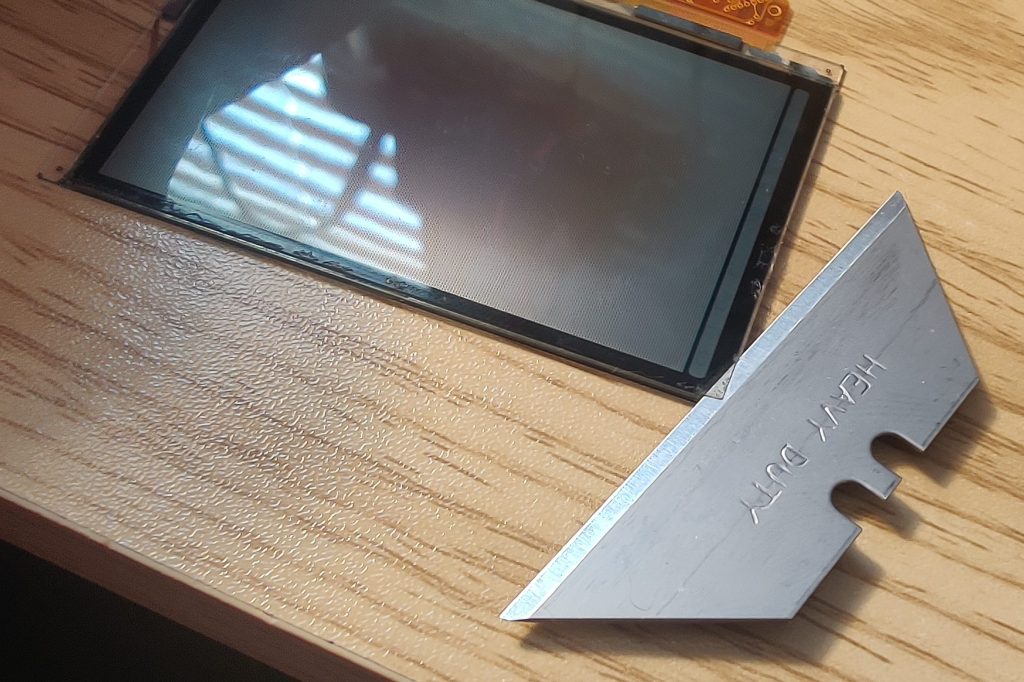
The first step is to remove the polarizer. Using a razor blade is the best solution I’ve come up with. It seems simple; wedge the blade between the film and the glass substrate, right? Well, the issue is there isn’t just a single polarizer layer. I think there are three layers on top of the glass. Not sure what the layers do exactly, but I know one layer is the waveplate, but that doesn’t matter. What matters is I want to only remove the first layer and do so without compromising the other layers. Fortunately, for you, Reader, it doesn’t matter how hamfisted you are, because removing all layers is beneficial. I’ll discuss this later in the post
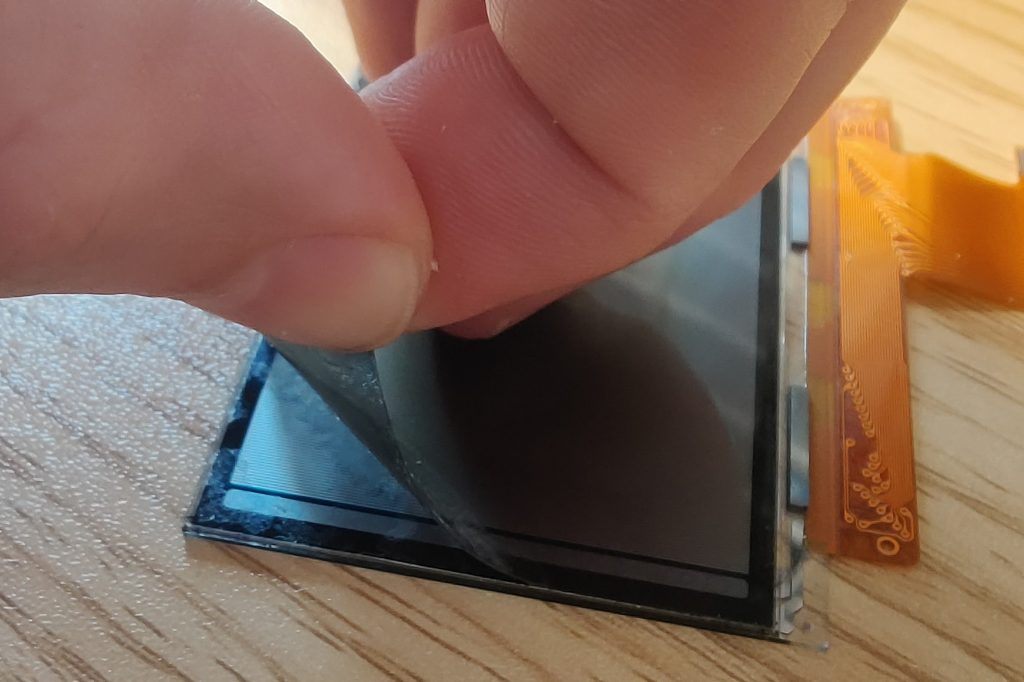
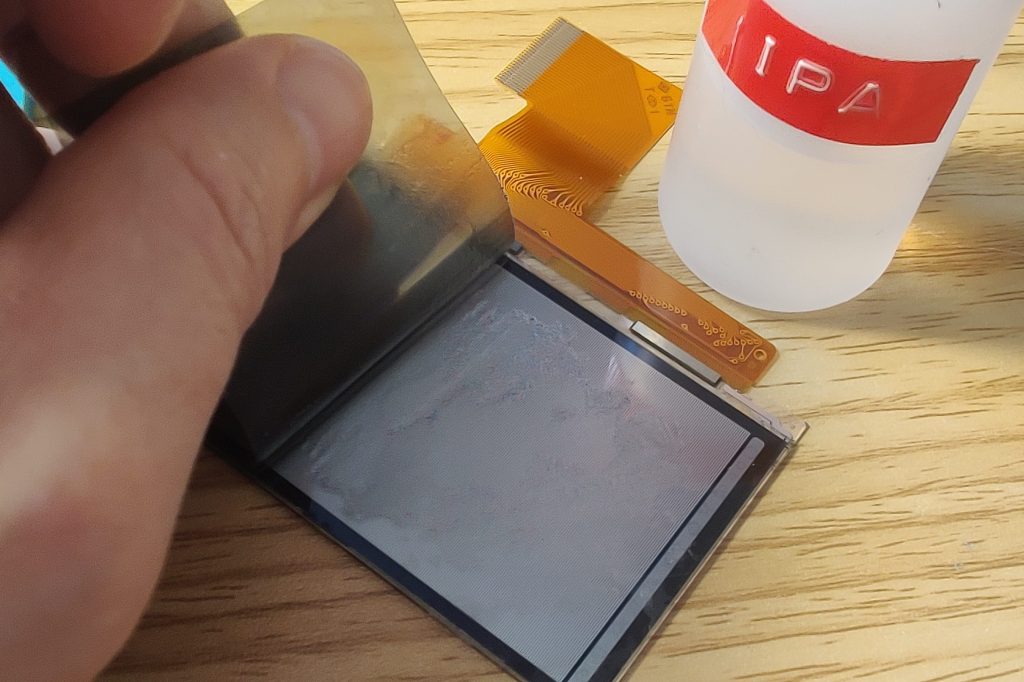
To minimize damage to the LCD, I try to use the blade as little as possible. So once I get enough of the polarizer separated, I’ll drop some isopropyl alcohol under the peeling layer and slowly make progress by hand. You’ll know your making progress once you smell the sour stench of vinegar.
After successfully removing the top layer and cleaning the remaining adhesive I noticed damage to the layer underneath.
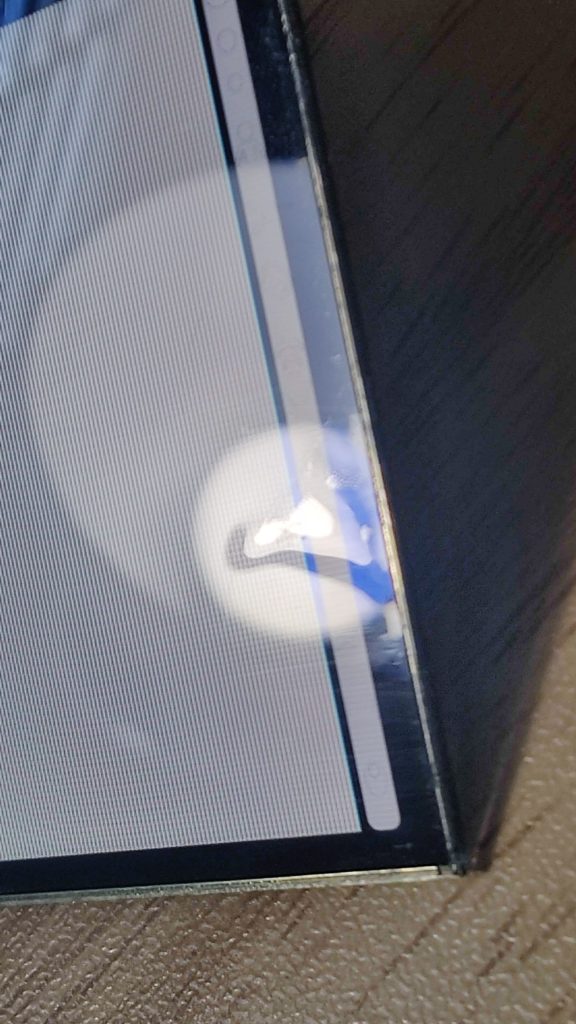
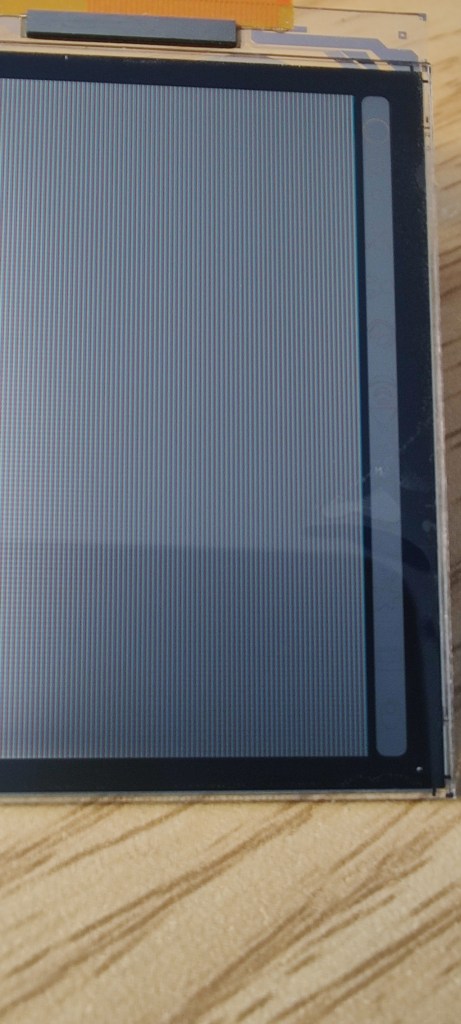
You can see in the images, a small irregular bubble on the lower right part of the screen. It looks like this layer was pulled away from the glass. In the image below, you can see more of the damage. I blame that damn razor blade.
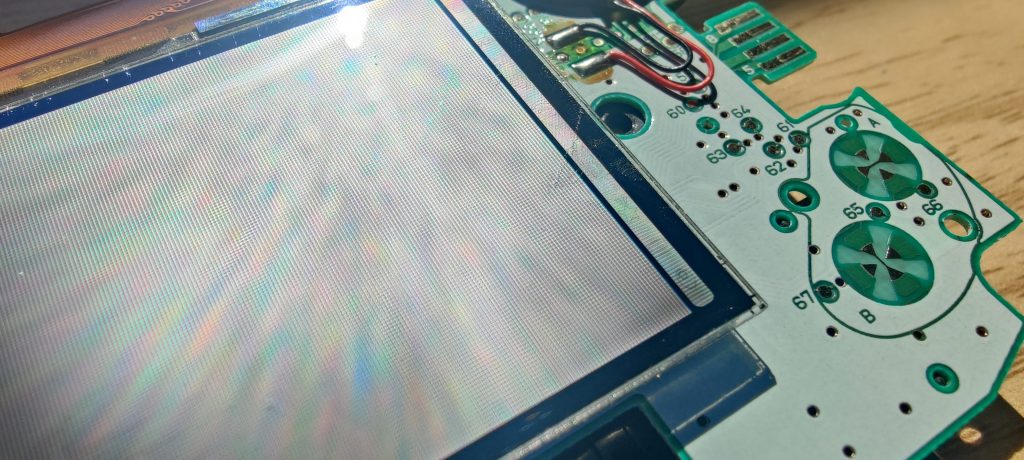
This is okay, though; Like I mentioned before we are going to remove this layer anyway, but first I wanted to test the Samsung film with an intact waveplate.
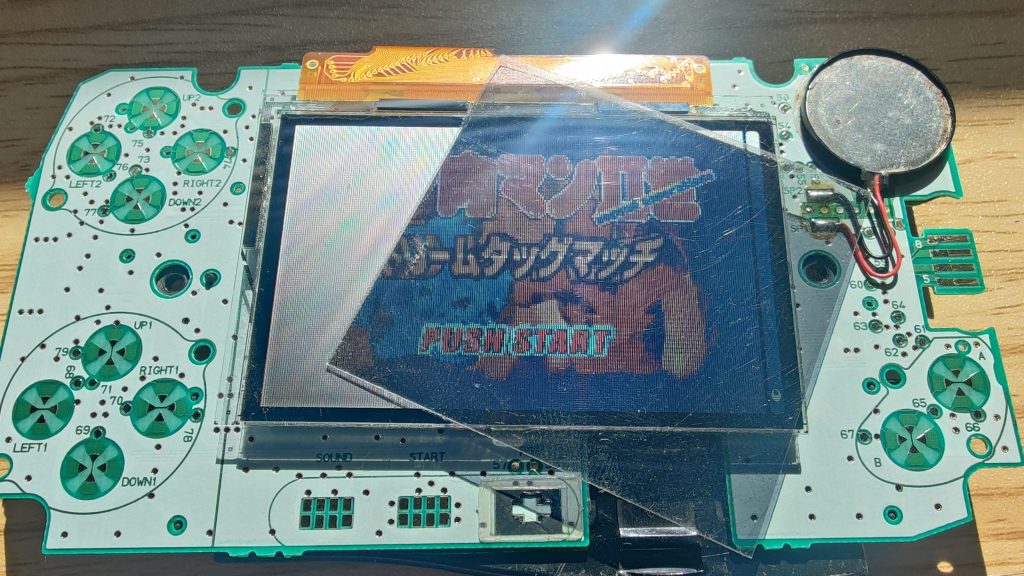
Here is some left over polarizer I had laying around. I think this for a DMG Game Boy, so I assume its linear but I can’t be sure. But notice the cut out film needs to be placed at 45 degrees to the LCD screen?
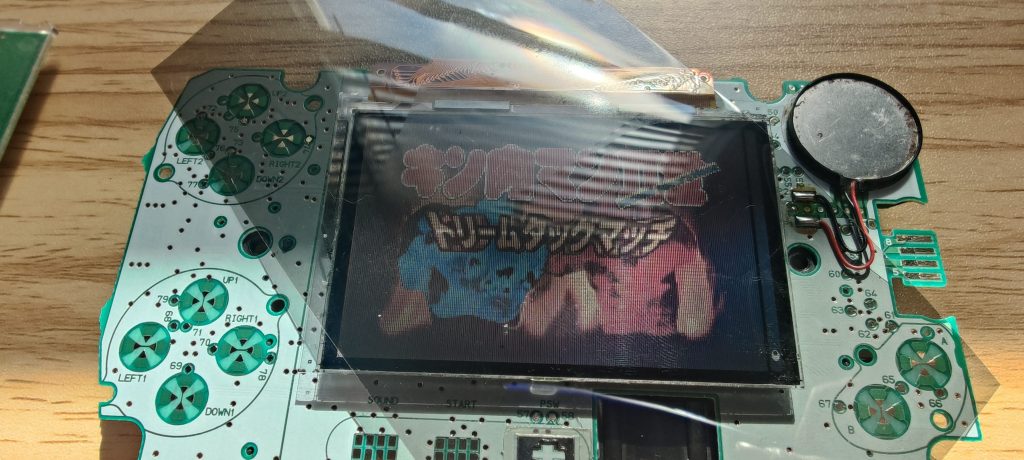
The same is true with the Samsung film. Now, keep in mind this is with the waveplate layer still intact. Another strange characteristic is the Samsung film has an adhesive backing, and the only way for the colors to display correctly is to place the film on the screen the wrong way.
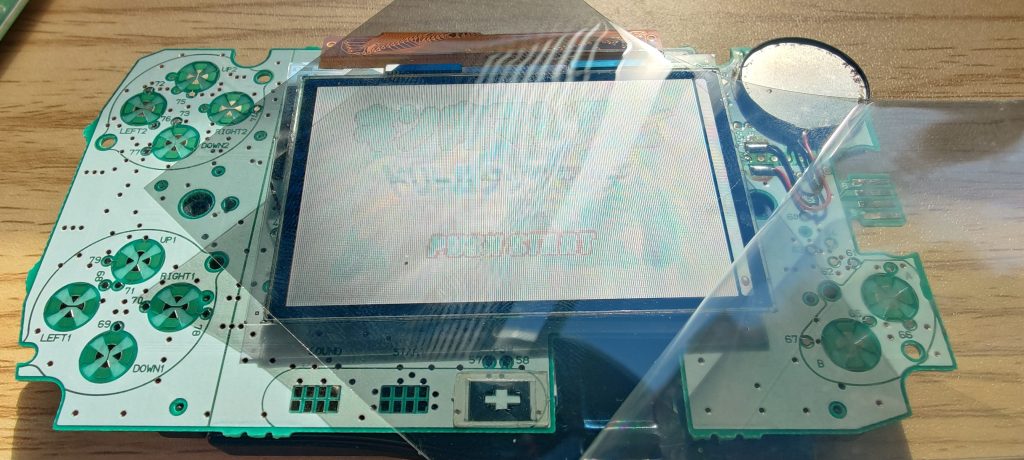
Placing the film with the adhesive side facing the screen gave me an inverted result.
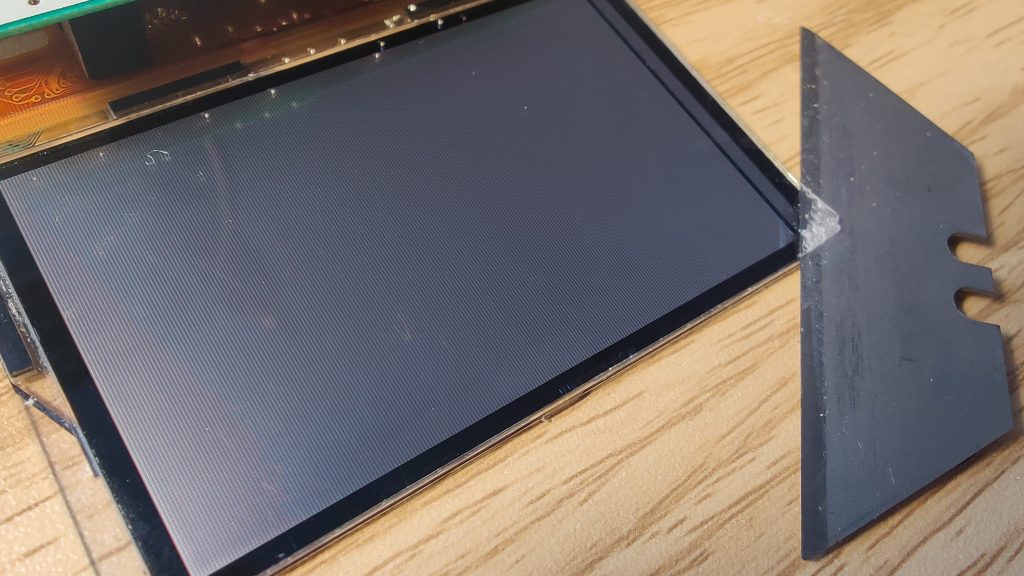
Now its time to remove that damaged layer to see how that changes the behavior of the Samsung polarizer.
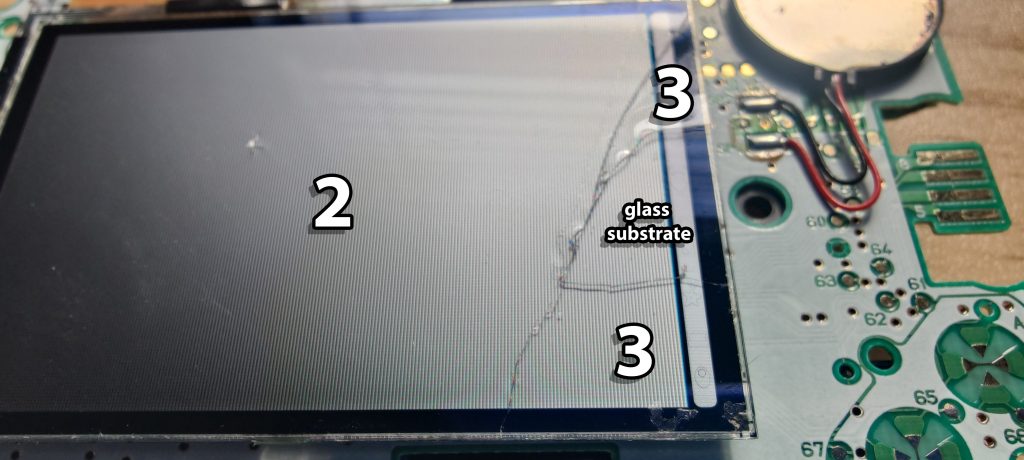
This is where I realized there were two other layers. Layer one was removed already, and you can see two other distinct layers. I was curious how the layers interacted with the polarizer films.
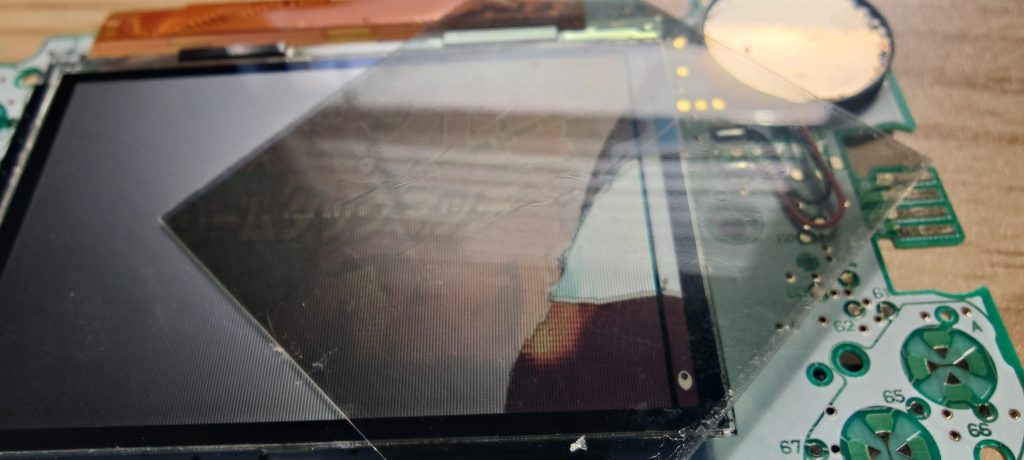
Here in the image, the layers react differently to the polarizer film. It only seems to be a slight shift in polarization. The image contrast between layers 2 and 3 changes depending on the orientation of the polarizer film. The layers have similar contrast, just not at the same polarizer orientation. But I did notice the raw glass substrate would displayed the correct colors when using the Samsung film. Conveniently, placing the Samsung film at any orientation produced a perfect image. This meant the film didn’t need to be cut at a specific angle. The best part was with the raw glass exposed, the adhesive side of the film was not facing the screen. Meaning I could simply stick the Samsung film on and not have to use LOCA glue.
Applying polarizing film is always a bit of a pain. This time, I wanted to put some of the techniques I learned while working in graphic design to use, specifically, the methods I used for applying vinyl to signs.
To make the process easier, I decided to 3D print a small jig to help with applying the Samsung film.
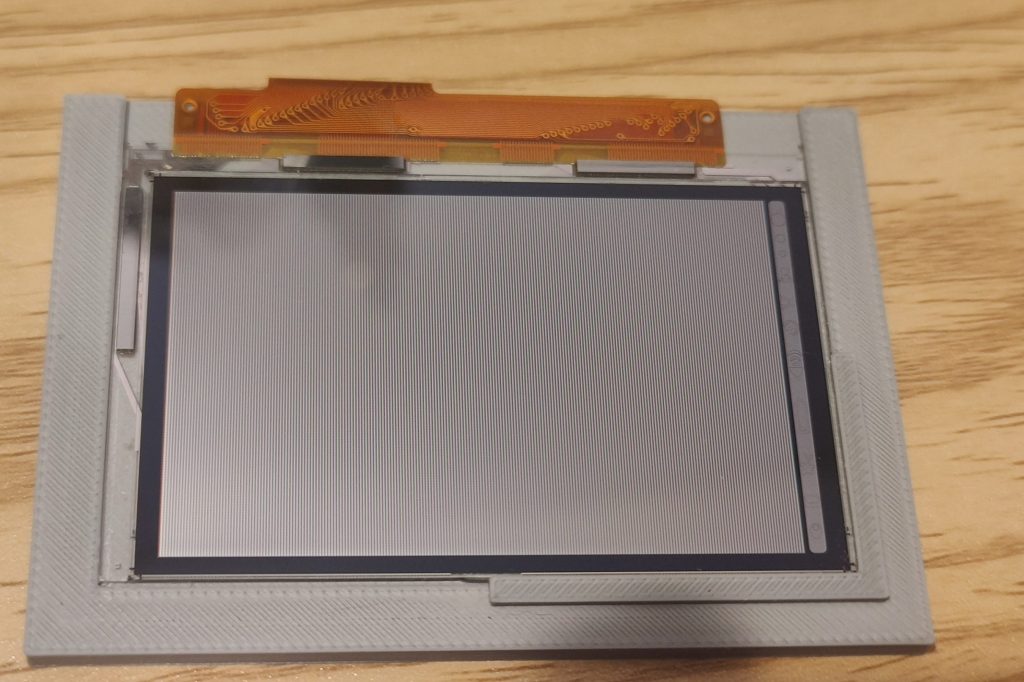
I designed the jig so the screen can slide into place, with guides along the bottom and right edges to keep it securely positioned. It can be difficult to hold the screen by the edges without leaving fingerprints, so the jig makes it much easier to handle while cleaning the glass surface.
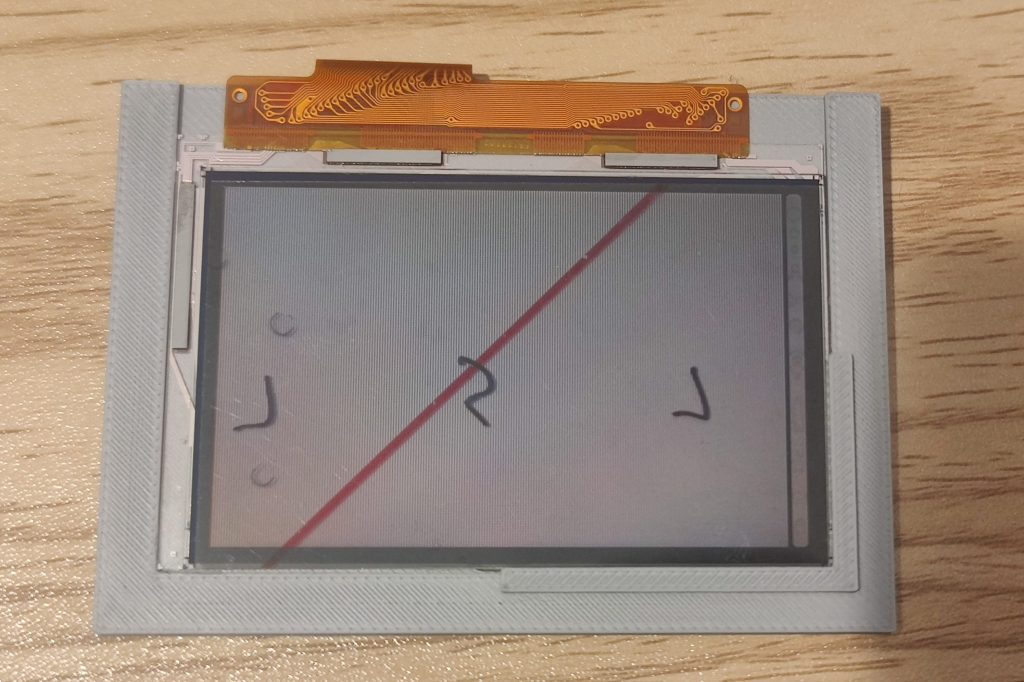
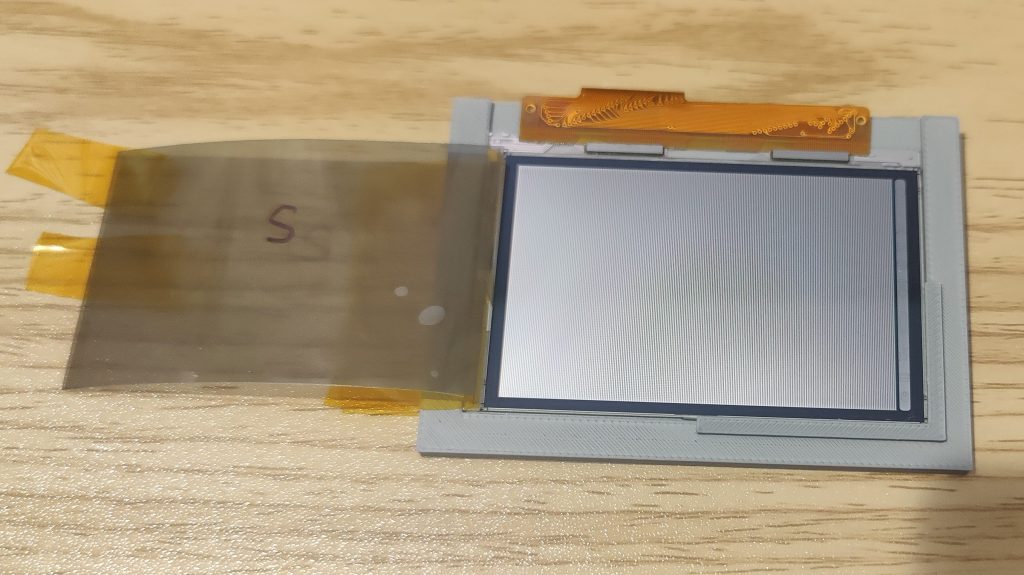
Once the film is aligned with the screen, I tape one end to create a hinge. This allows me to open the film like a door and remove the protective layer, exposing the adhesive.
I then slowly lower the film onto the LCD. The tape “hinge” keeps the film aligned as I work my way across the screen, using my finger to gently squeegee out any air bubbles as I lower the film into place.
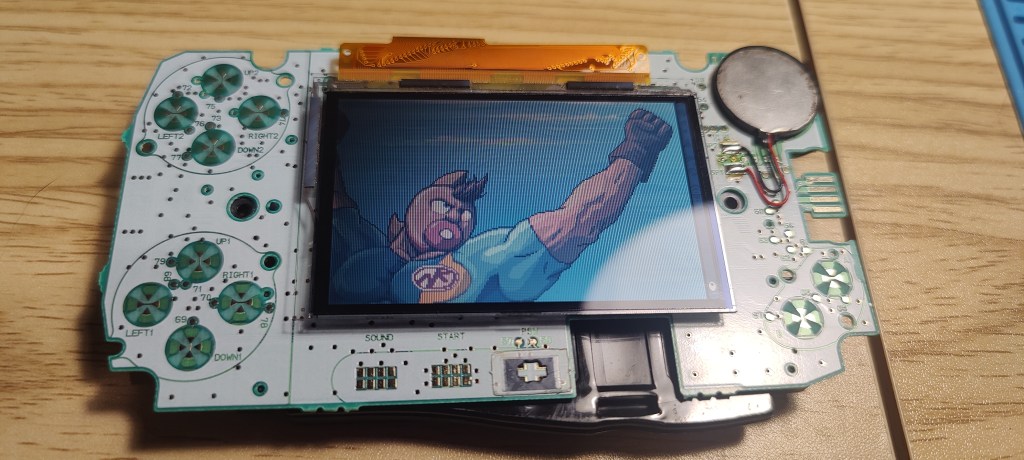
Even with my nice setup, this still took six tries and six different pieces of film. I ended up using every piece of Samsung film I had. The dust was such a pain.
I even tried assembling the screen in the bathroom with the shower running, hoping the extra humidity would help reduce the amount of dust and other particles floating around. It didn’t work.
On my last piece of film, I finally managed to assemble the screen with only one small speck of dirt trapped between the film and the glass. It’s not perfect, but it’s good enough. The whole process took hours, just another reminder of why I dislike LCD repair.
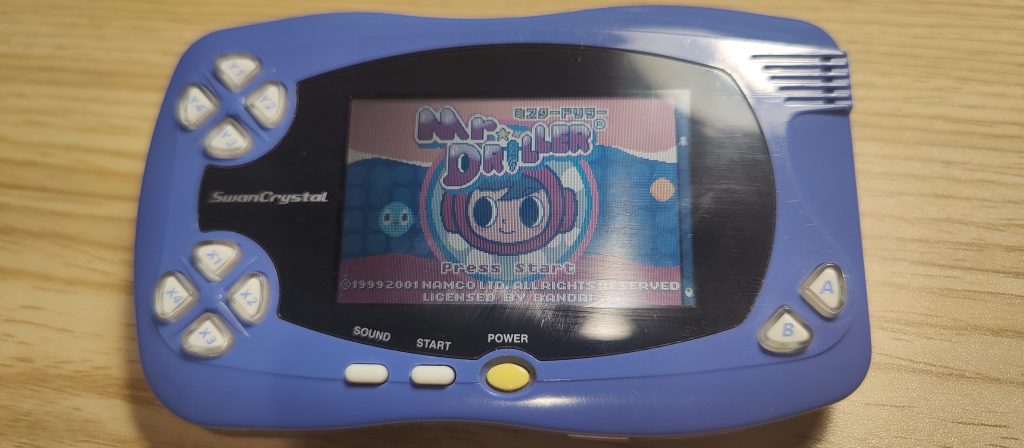
The original lens shows a lot of scratches from years of use, so I don’t think anyone would notice the speck of dirt encapsulated beneath the polarizer. It’s hidden in plain sight. If I ever install a blemish free lens, it might reveal all my LCD handiwork, but I don’t think I’ll ever replace it. Not because I want to hide my mistakes, but because of my SwanCrystal’s origin.
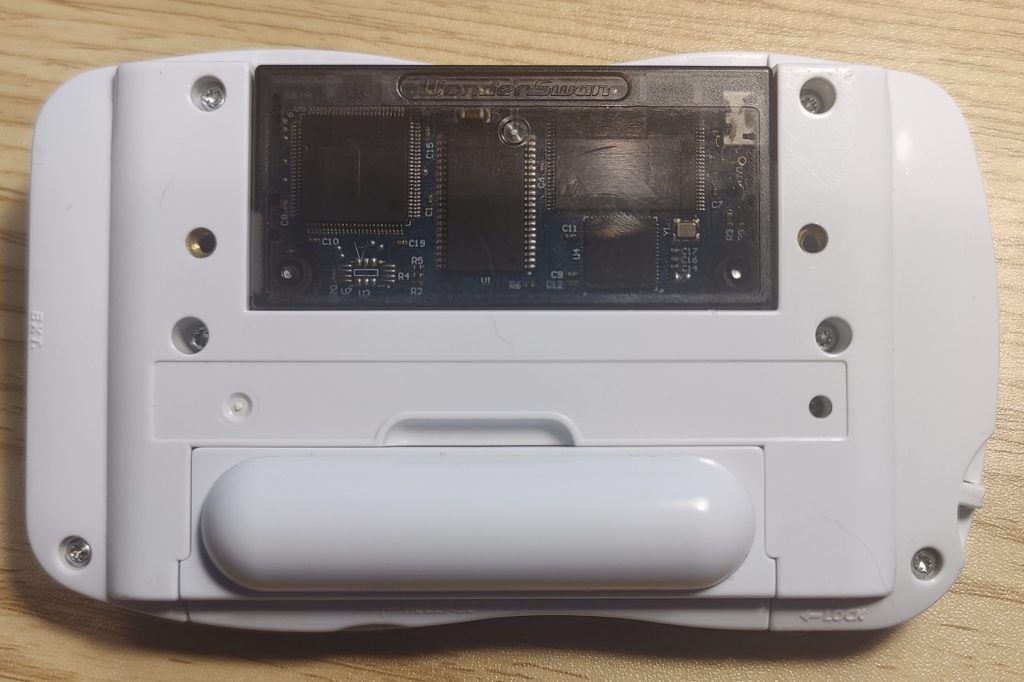
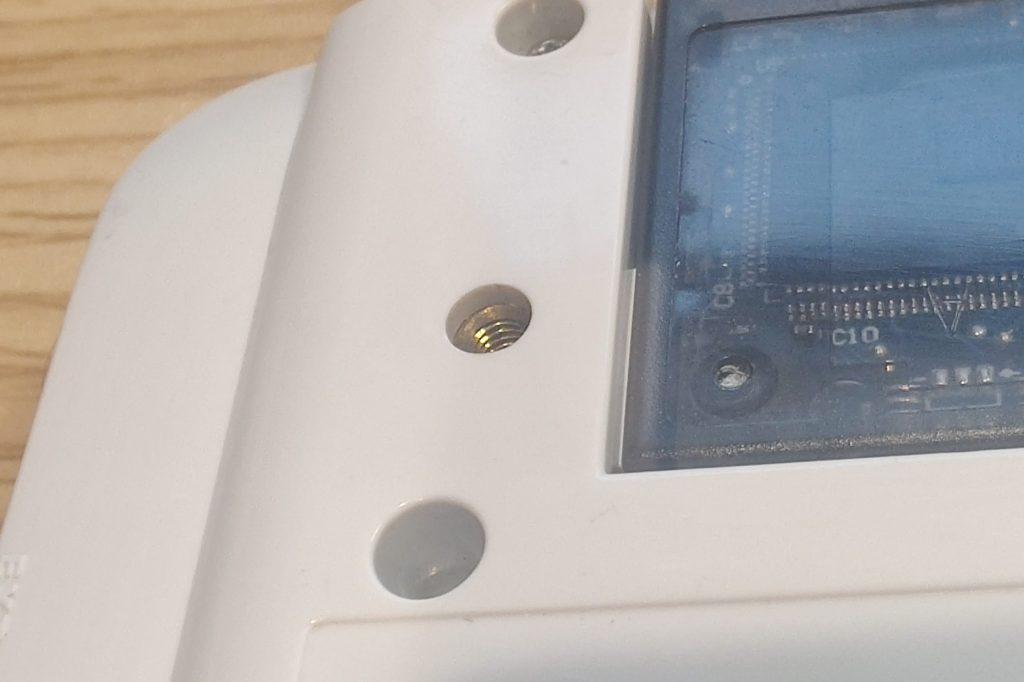
This is, I assume, a store display model. At first glance, you’ll notice there isn’t a serial number sticker on the back. I don’t think it ever had one because, if you look closer at the rear part of the shell, you’ll see metal inserts. These could have been used to mount the console to a kiosk for passersby to play.
Is that actually the case? I don’t know, but I like the scuffs and scratches. They make me wonder: How long was it in service? How many people played it? What store was it in? And how did it eventually ended up for sale before I bought it? Maybe all years attached to a kiosk contributed to the original screen eventually failing. Tough to say, but I think I’m gonna keep the original lens for now. It hiding screen imperfections from a polarizer replacement is just a bonus, lol.
It was nice to finally test the Samsung OLED film for myself. It was also great to confirm that, after getting to the raw glass substrate, the film can be applied directly to the glass in any orientation, adhesive side down, while still achieving the same clarity as the OEM film.
I really appreciate everyone who left comments on my last LCD repair post. Without their input, I wouldn’t have known this option was even available.
Anyway, may your SwanCrystals stay crystal.
Later, Nerds.


Leave a comment